We’ve had a letter about our series of War Thunder guides, from a Mr J. Clarkson. He says: “Dear KiaSA, never mind all of this signing up and game mode and aircraft type and upgrade nonsense, how can I paint ‘The Fighting Cock’ on my aeroplane?” Well, Mr Clarkson, you’re in luck, as Part 5 is a bit of a miscellaneous wrap-up, starting with with aircraft camouflage and decals.
Camouflage and Decals
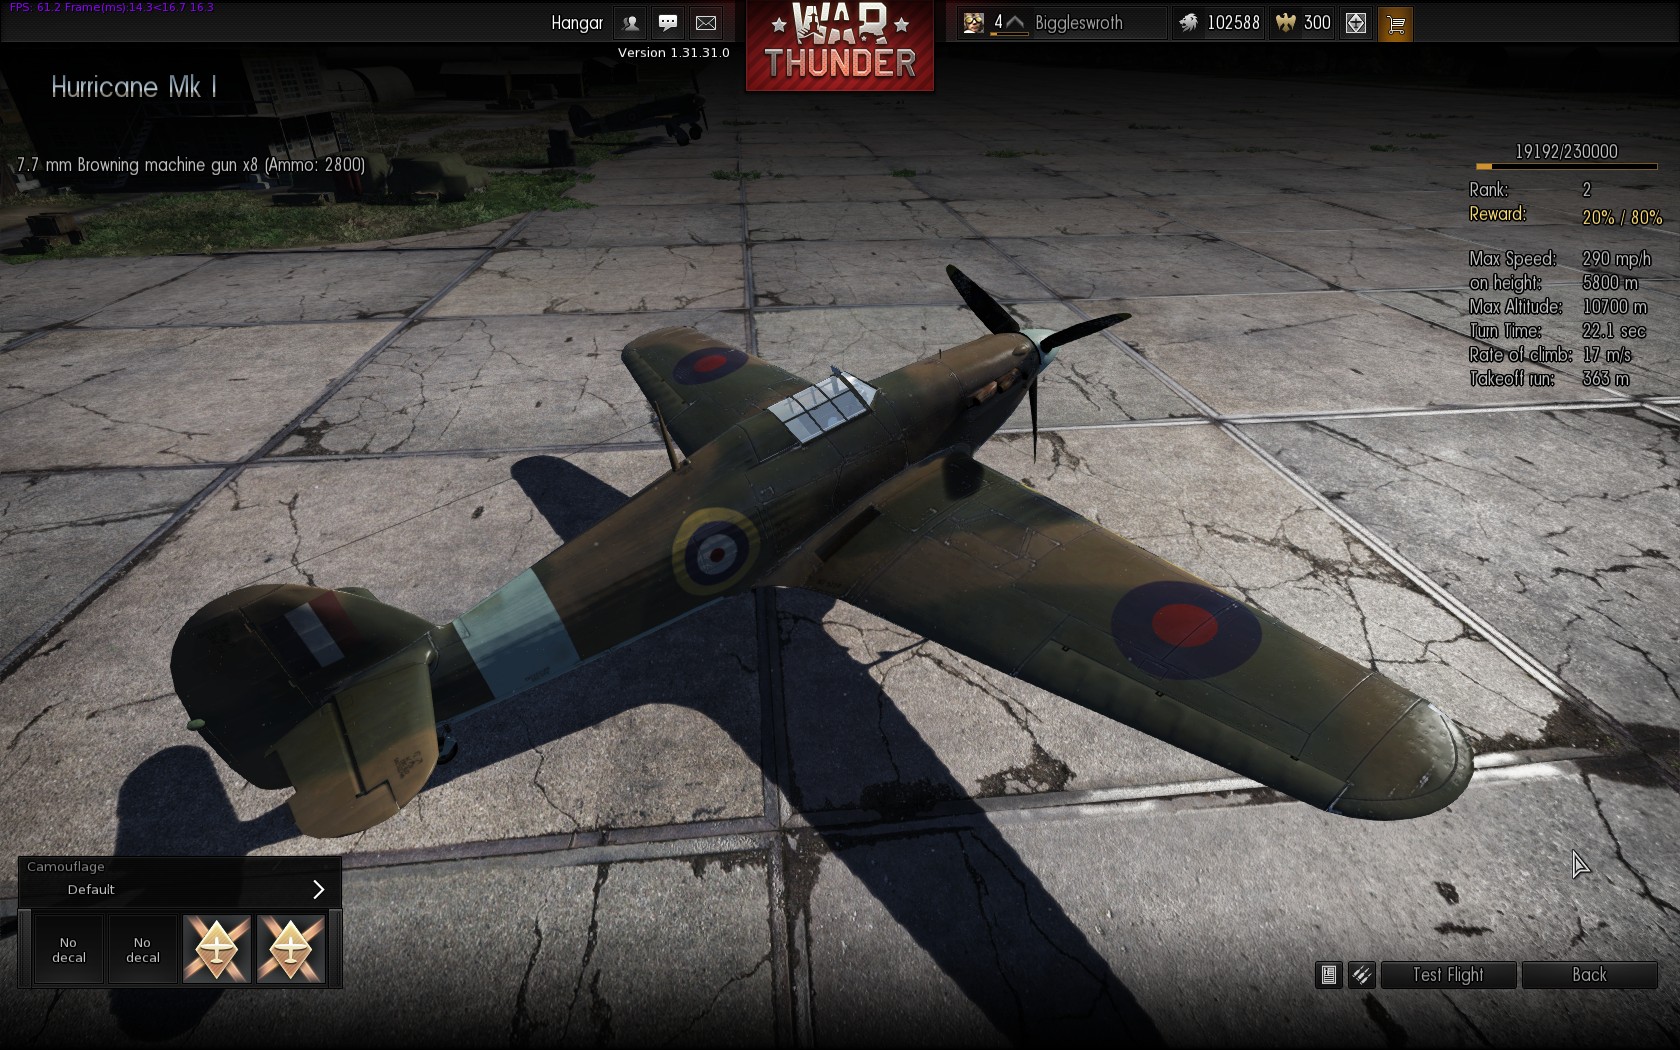
Click the left hand icon over any of your planes, “Hanger”, to open the hanger view. From here there’s a “Test Flight” button on the right, if you’d like to try out some aerobatics without a bunch of people trying to shoot you down, a “Weapons” button next to it to see the weapon loads of the plane, and an “Information” button for a bit of historical detail. In the bottom left corner is the painting section, with “Camouflage” at the top, and decals below.
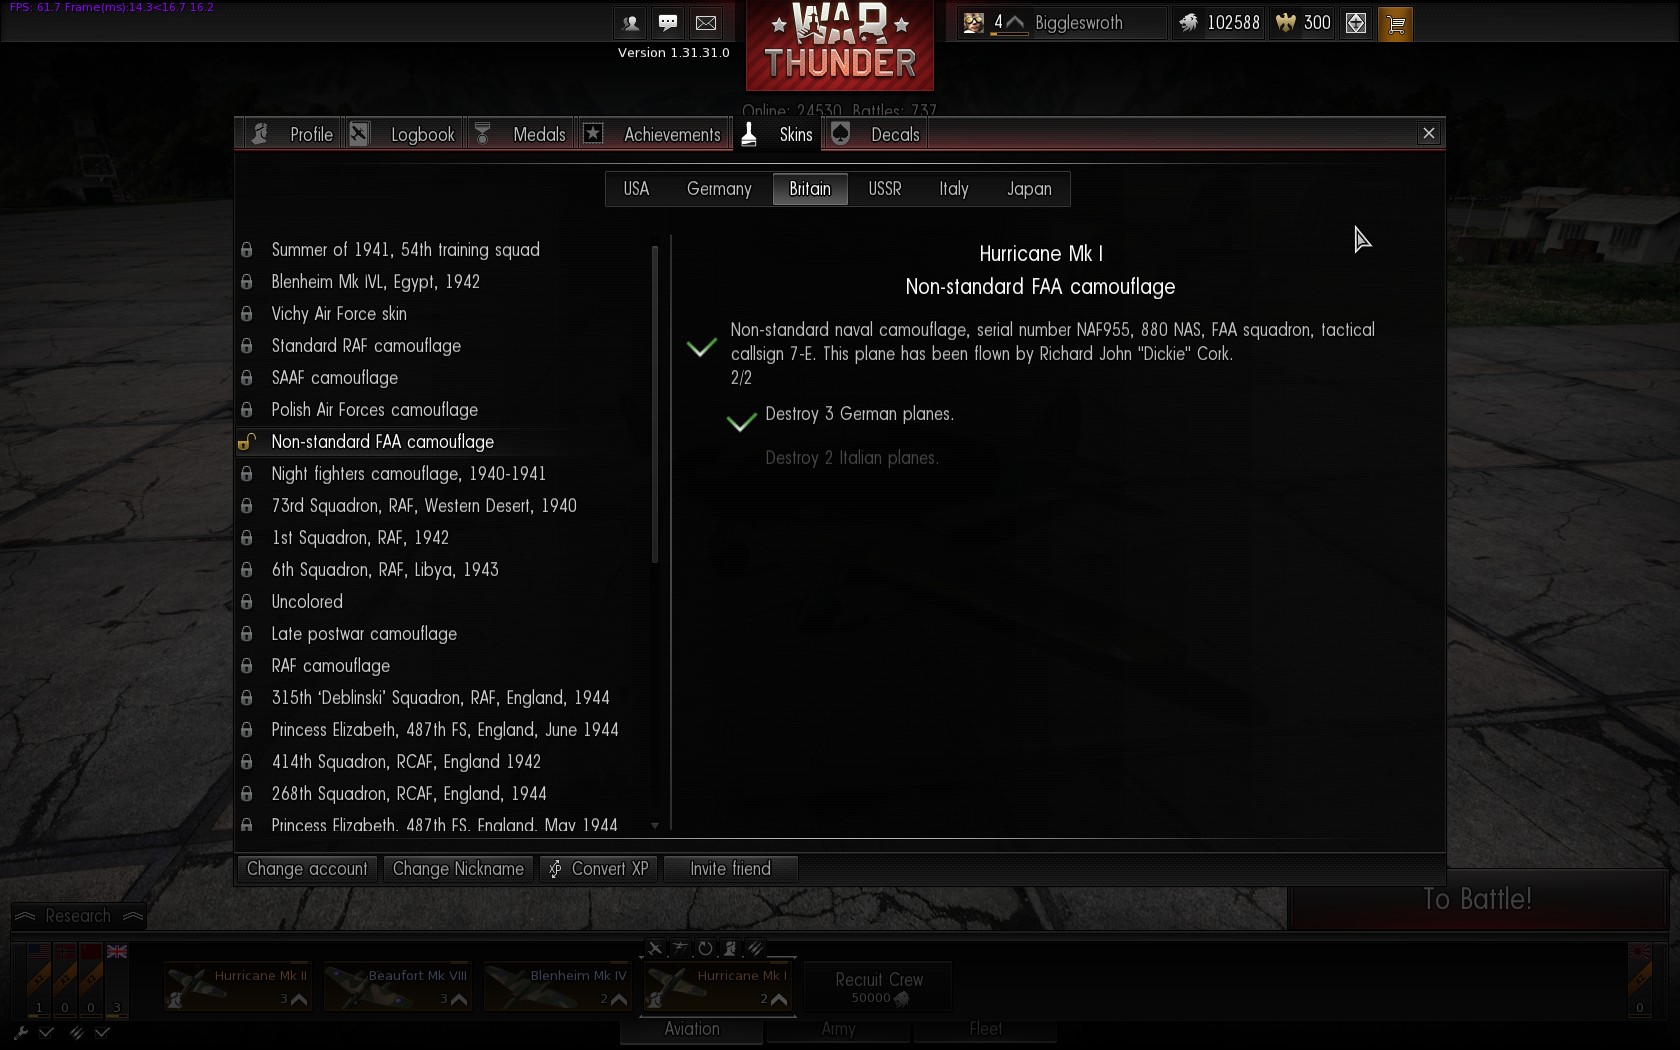
Aircraft start with a single camouflage option, some (but not all) have new skins that can be unlocked. To see what’s available, click your username at the top of the screen to access your profile, then select “Skins” in the tabs along the top, and select the country you’re interested in. Click an option on the left to see what aircraft it’s for, a bit of information, and the criteria for unlocking it (often a number of kills).

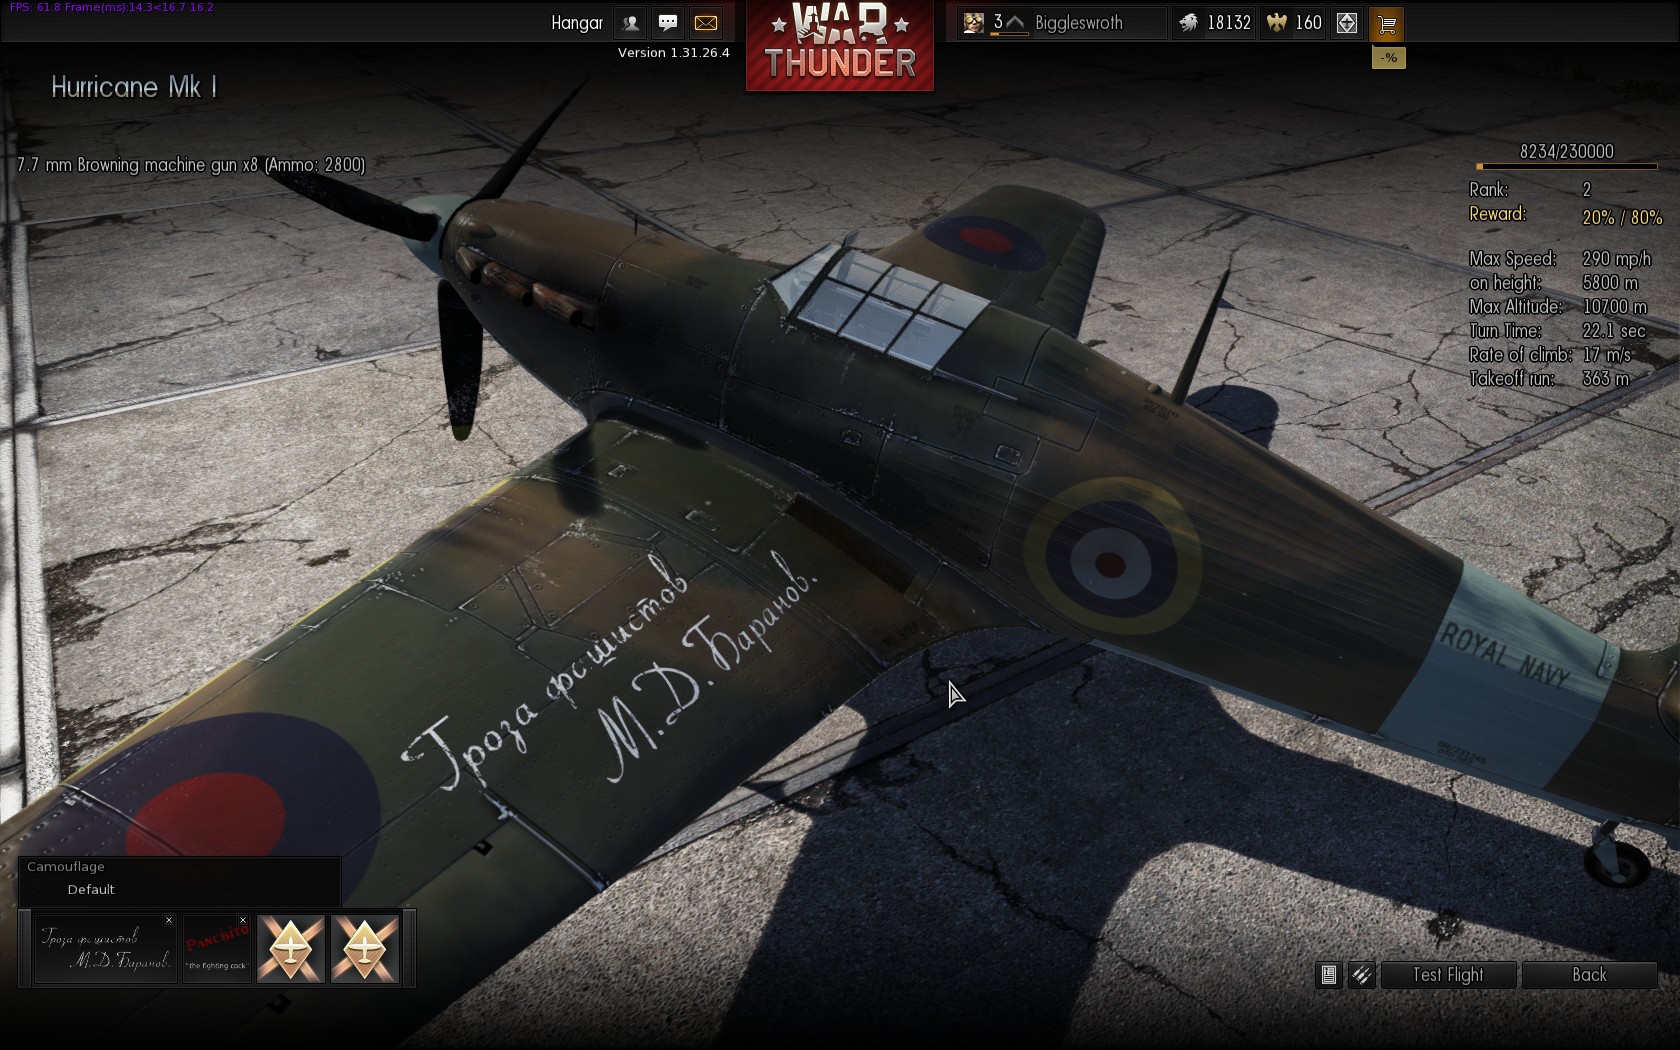
Alternative Hurricane Mk I Camouflage
If you’ve unlocked additional skins then the “Camouflage” option in the bottom left of the hanger has left/right arrows to make the selection:


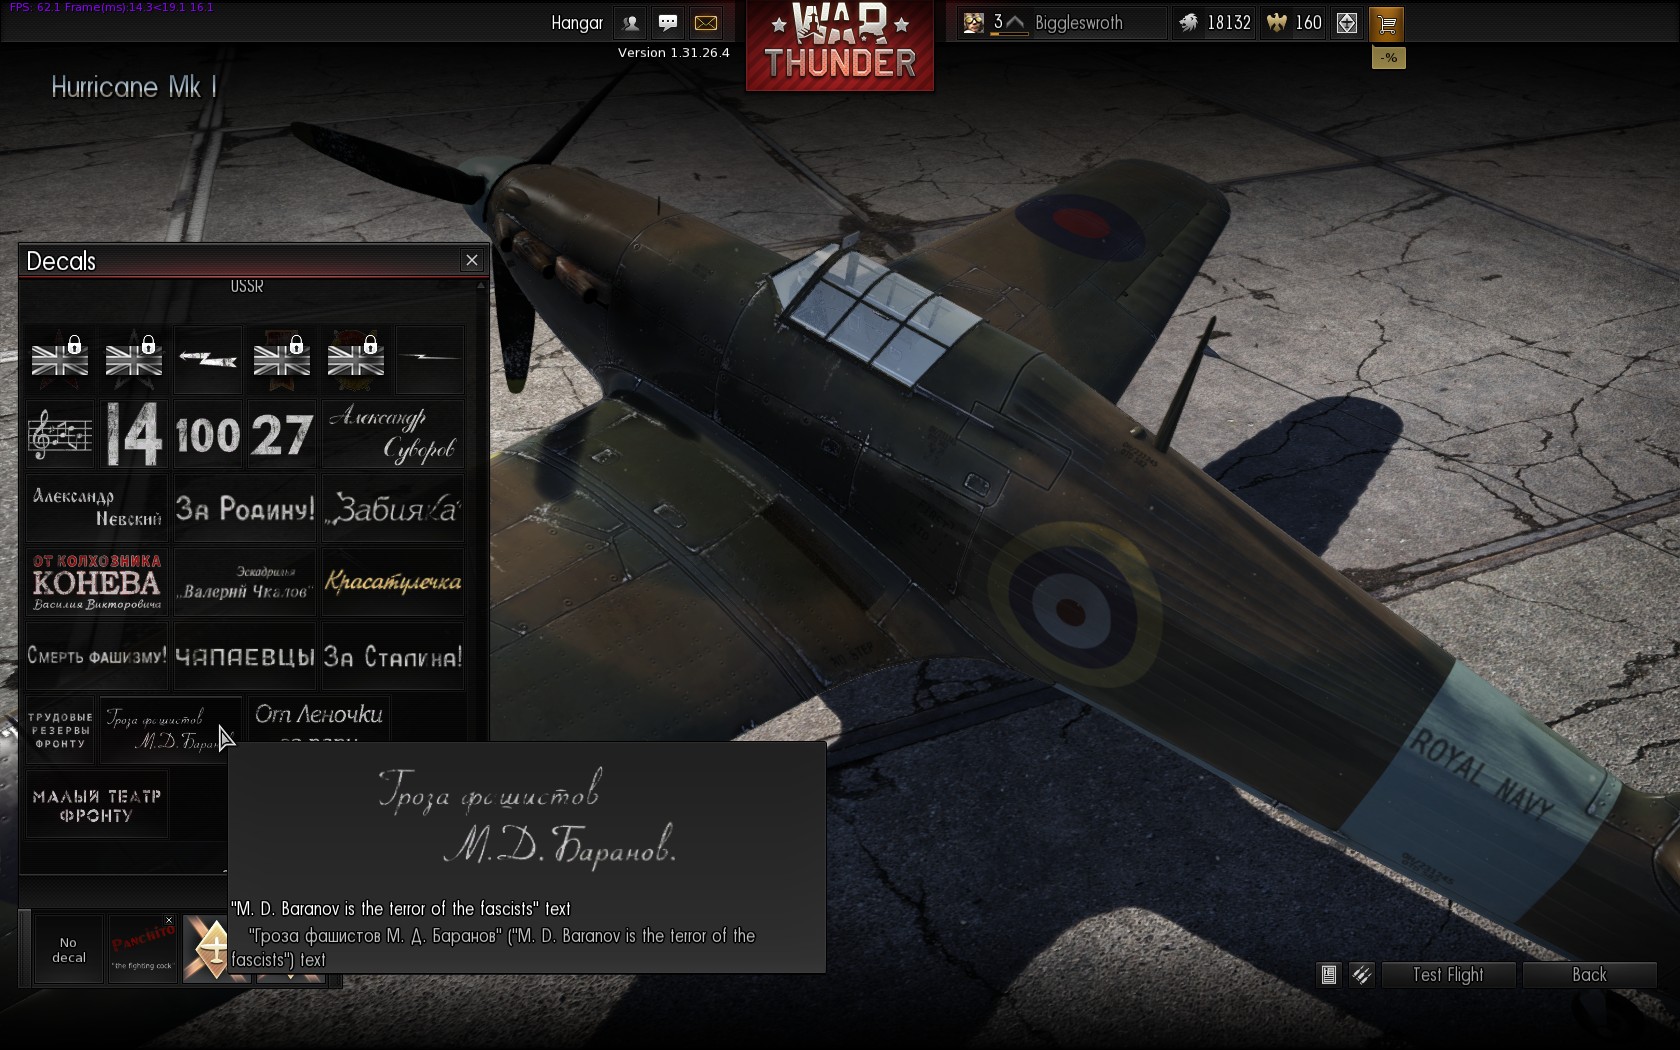
After choosing the basic paint scheme you can add your own your own touches via decals. Everyone has access to two decal slots (the boxes under the Camouflage section), with two more being available to premium players. Select a decal slot and you can scroll up and down the various decal options; again more can be unlocked through various achievements, but there’s a good selection available to start with. National insignia decals (e.g. the various roundels) are restricted to appropriate aircraft, but slogans and emblems can be applied to all.

Choosing a decal
After selecting a decal the cursor changes to a paintbrush, and you can position the decal on the aircraft. Hold the right mouse button to pan around your aircraft, and as the on-screen guide says use Shift+mouse wheel scrolling to change the size of the decal (you can manage some pretty gaudy effects by scaling decals up to cover most of the plane), and Alt+mouse wheel to rotate it.

Placing the decal
For Mr Clarkson’s benefit, in the “Allies (inscriptions)” section he can find “Panchito: the fighting cock”, based on US Bomber nose art inspired by a Disney character, though perhaps he was thinking of No. 43 Squadron, The Fighting Cocks.
Crew Skills
As you gain air force ranks, your crews are also gaining skills. The third button over a plane, the pilot’s head icon, opens the crew window with four tabs: Pilot, Gunners, Ground Service and Qualification. There’s a good guide to skills on the Wiki, including tables showing how much faster you reload with higher skills. The amount of crew XP needed to raise a skill by one point increases as the skill goes up, so it doesn’t make much sense to pump all the points into a single skill

Skill Selection – Ground Service
You’ll probably want to focus on the Pilot for a single-seat aircraft, not much point improving Gunner skills (unless you’re planning to put the crew into a different aircraft later; the crew retain their skills). With multi-crew aircraft the Gunner skills are more important; the first of these, “Number of experienced gunners”, is crucial as you start with a single skilled gunner, and if you have more than one turret position on your aircraft (quite likely on medium and heavy bombers) then the effect of skill points spent in the other areas is dramatically reduced. Extra skilled gunners are awfully expensive at 240 crew XP; you can use the “Accelerated Training” option to purchase crew XP for golden lions, otherwise it’s a lot of saving up. The third tab, Ground Service, allows you to speed up repair and rearming times; Reload Speed is especially useful in Arcade mode where you don’t even have to land to reload. The final tab, Qualifications, are specialisations that can be purchased (for silver lions) for each aircraft once your crew reaches a certain level, and offer a hefty boost to a number of other skills.
Repairing
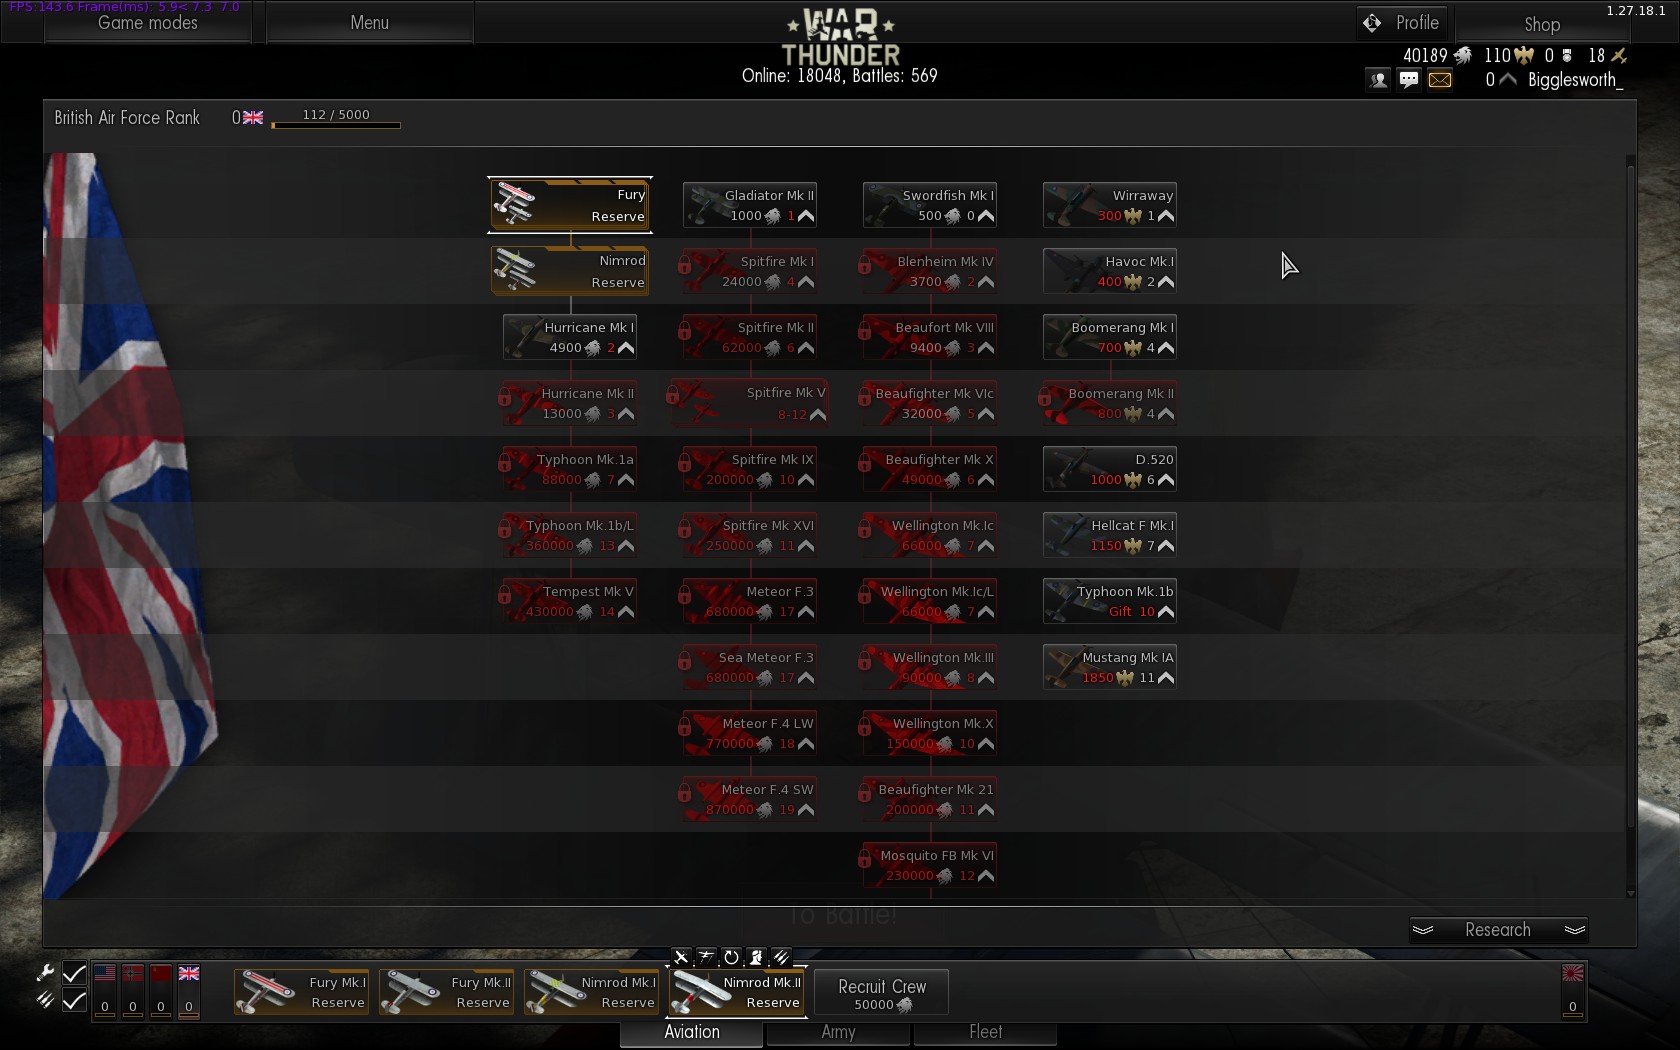
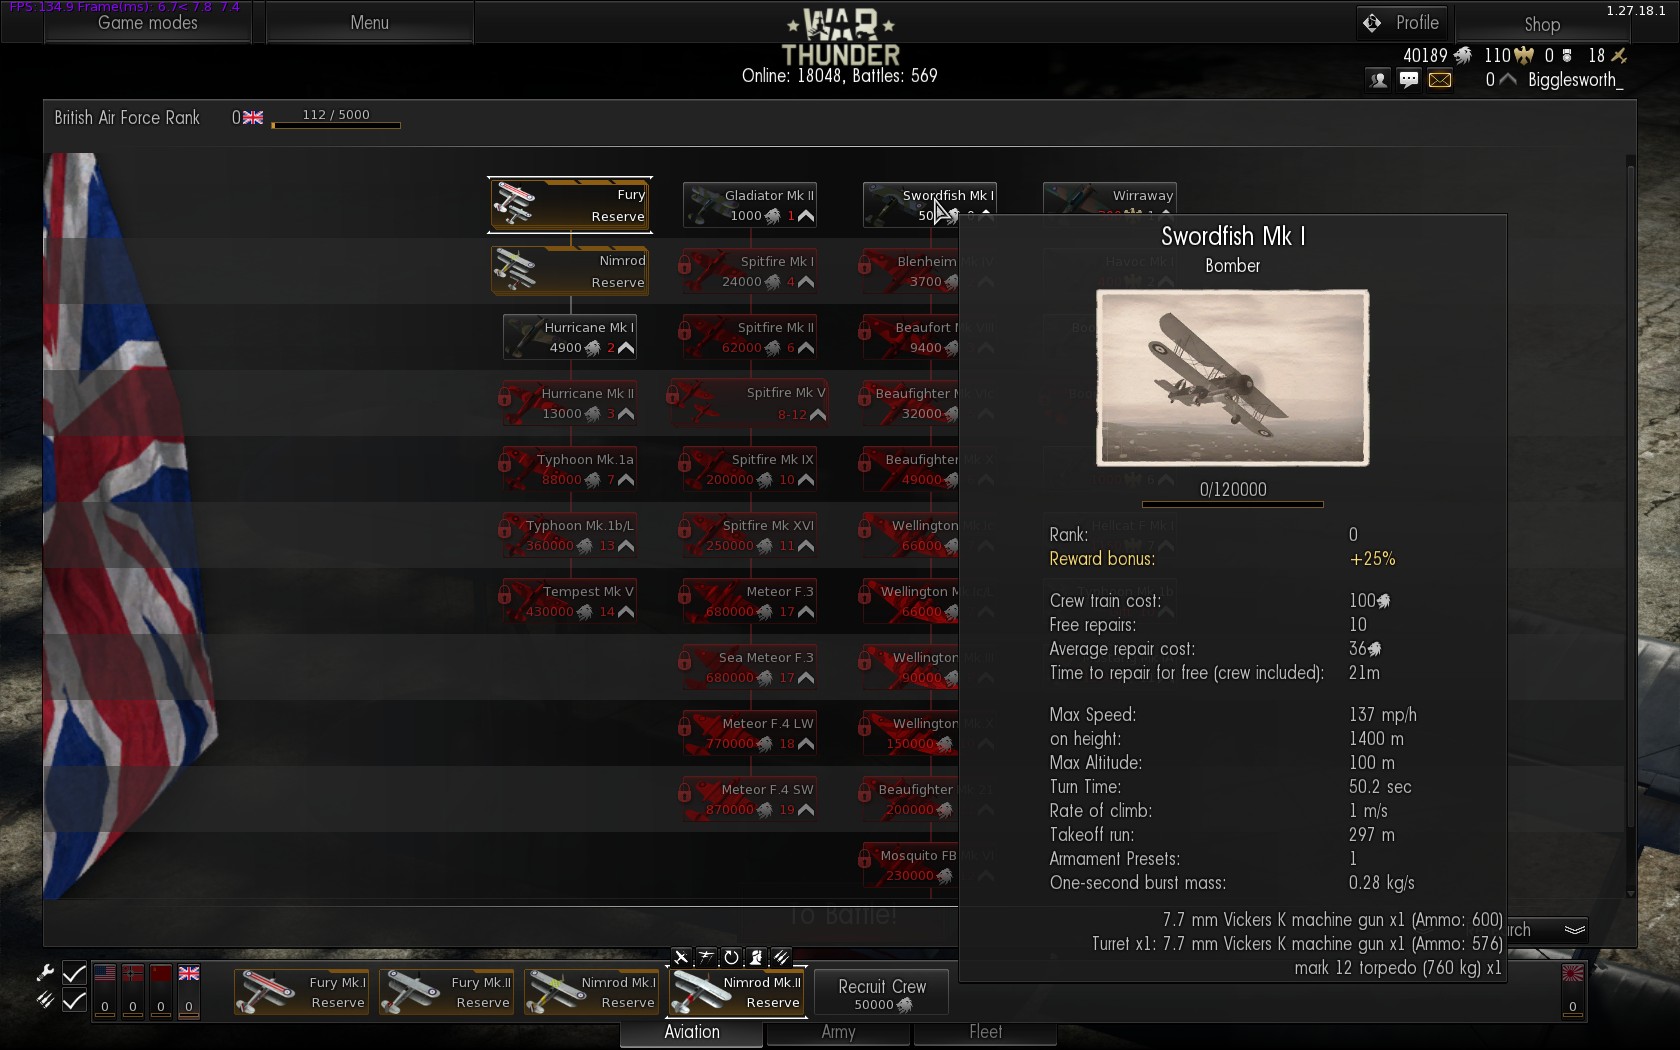
Although your great skill and masterful tactical aptitude will surely ensure you emerge from most battles unscathed, every now and again, through pure bad luck or unsporting enemy behaviour, you might get shot down. Or rammed by an enemy aircraft. Or rammed by a friendly aircraft. Or you might misjudge a strafing run and prune a few treetops with your wings (note: your aircraft warranty doesn’t cover using the plane for horticultural purposes). Or your graceful landing attempt to capture an enemy airfield may result in an interaction with the ground at a somewhat higher velocity than would be ideal. On reflection, it’s incredibly unusual to come through a battle unscathed, so you’ll need to repair your aircraft. By default this is done automatically, but if you want to save a bit of money you can un-check the box in the bottom left of the screen next to the spanner, “Automatic repair of all airplanes after battle”; your aircraft will then gradually be repaired for free over time. Each aircraft gets 10 free repairs after you buy it, you can see how many are remaining, along with the time to repair for free and average repair cost, in the stats of a plane when you mouse over it. The Rank 1 Gladiator takes 21 minutes to repair for free, or on average costs 208 lions, for the Rank 19 Meteor if you don’t want to pay 21,960 lions then you’ll need to wait 17 days, 1 hour and 56 minutes! I tend to switch between two or three different nations while waiting for aircraft to repair, or you can always manually repair an aircraft (a spanner icon appears on its bar if damaged) if you’re in more of a hurry.
Premium Accounts and Planes, and Converting XP
As mentioned in Part 1 there are two currencies in the game: Silver Lions earned from playing missions and battles, and Gold Eagles bought with real money. Gold Eagles have several uses: each nation has three crew slots to start with, a fourth and fifth can be bought with silver lions, then further crews cost gold eagles. Crew XP can be purchased with gold eagles in the “Accelerated Training” option, as per “Crew Skills” above. You can purchase some Premium Aircraft with gold eagles; these are usually shown on the right hand side of a nation’s tech tree, and tend to be more unusual variants, often foreign aircraft. Premium aircraft can be flown at any time, regardless of your national rank (e.g. if you’re Rank 3 with Britain and buy the Rank 7 Hellcat F Mk.I, you can still put it into service and fly it); be careful in Arcade mode, though, as you’re put into matches based on the highest rank aircraft in your hanger.
The “Shop” button in the top right of the screen has a few more options. You can upgrade to a Premium Account, boosting the amount of experience and lions you earn from battles (the results screen at the end has a “Here’s what you could have won…” section, showing how much you would have earned with a premium account). The Store features a couple of campaigns, and starter kits containing both premium aircraft and gold eagles.
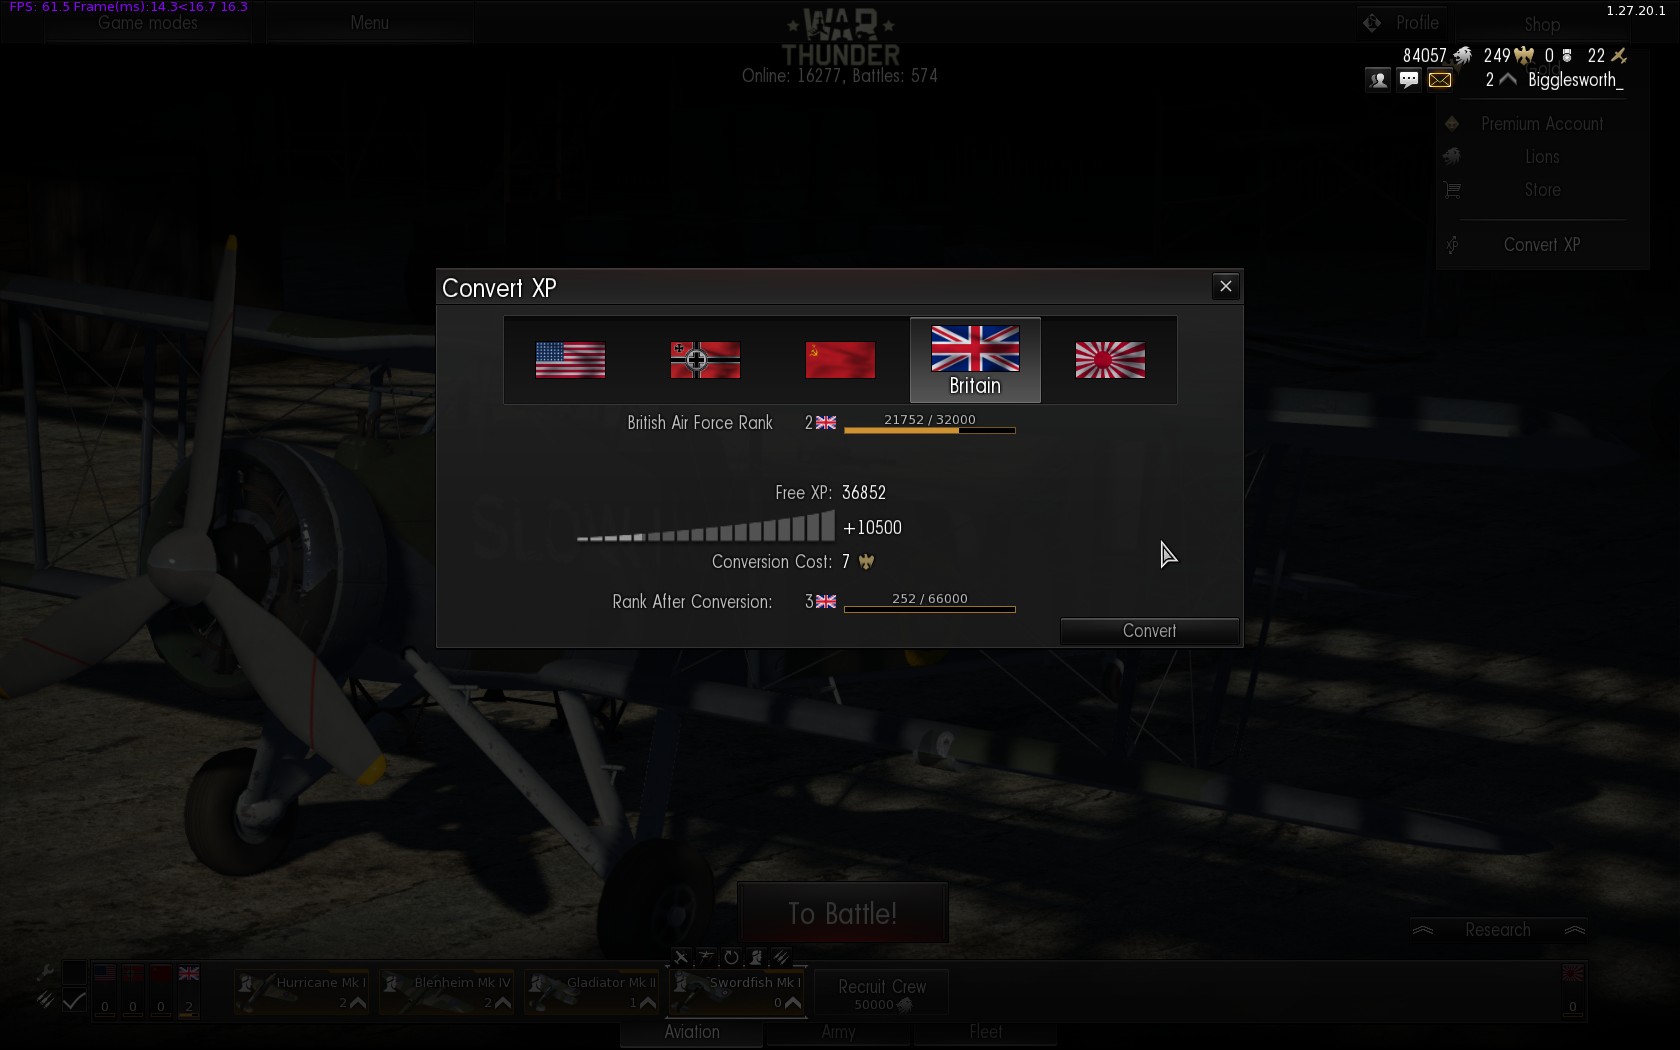
As you gain ranks for a particular country you also gain “Free XP”, this can be used with the “Convert XP” option to boost the rank of any country, so you can either really focus on getting to a high rank for one nation, or if you want to try something different but aren’t keen on being stuck in biplanes for a couple of ranks you can skip past those.

In this example I’m spending seven eagles to convert 10,500 Free XP to boost my British Air Force Rank from 2 to 3.
You certainly don’t need to buy any Gold Eagles if you don’t want to; player skill and teamwork will get you a lot further than just spending money. Like many games of the genre I imagine the pressure to spend real money increases as you move up the ranks and the cost of new aircraft, repairs and the like gets steeper and steeper, but if you’re not too hung up on progress and enjoying the battles I wouldn’t worry too much about it. If you feel the game is worth it, though, and want to progress a bit faster, by all means buy some Eagles.
Which country should I play?
There are no terrible choices when it comes to picking a country to play, each one has strengths and weaknesses. If you’re feeling patriotic you can go for your own nation (if it’s in the game), or if you have a particular favourite aircraft then go for that country and work up to it (or enjoy it right away, if you happen to be especially keen on the P-26 Peashooter). There’s nothing to stop you playing all the nations to get a feel for different styles of play, though advancement will be slower than if you concentrate on one; as repair costs rise in later ranks, you may want to turn automatic repairs off and play a different country while waiting for aircraft to repair.
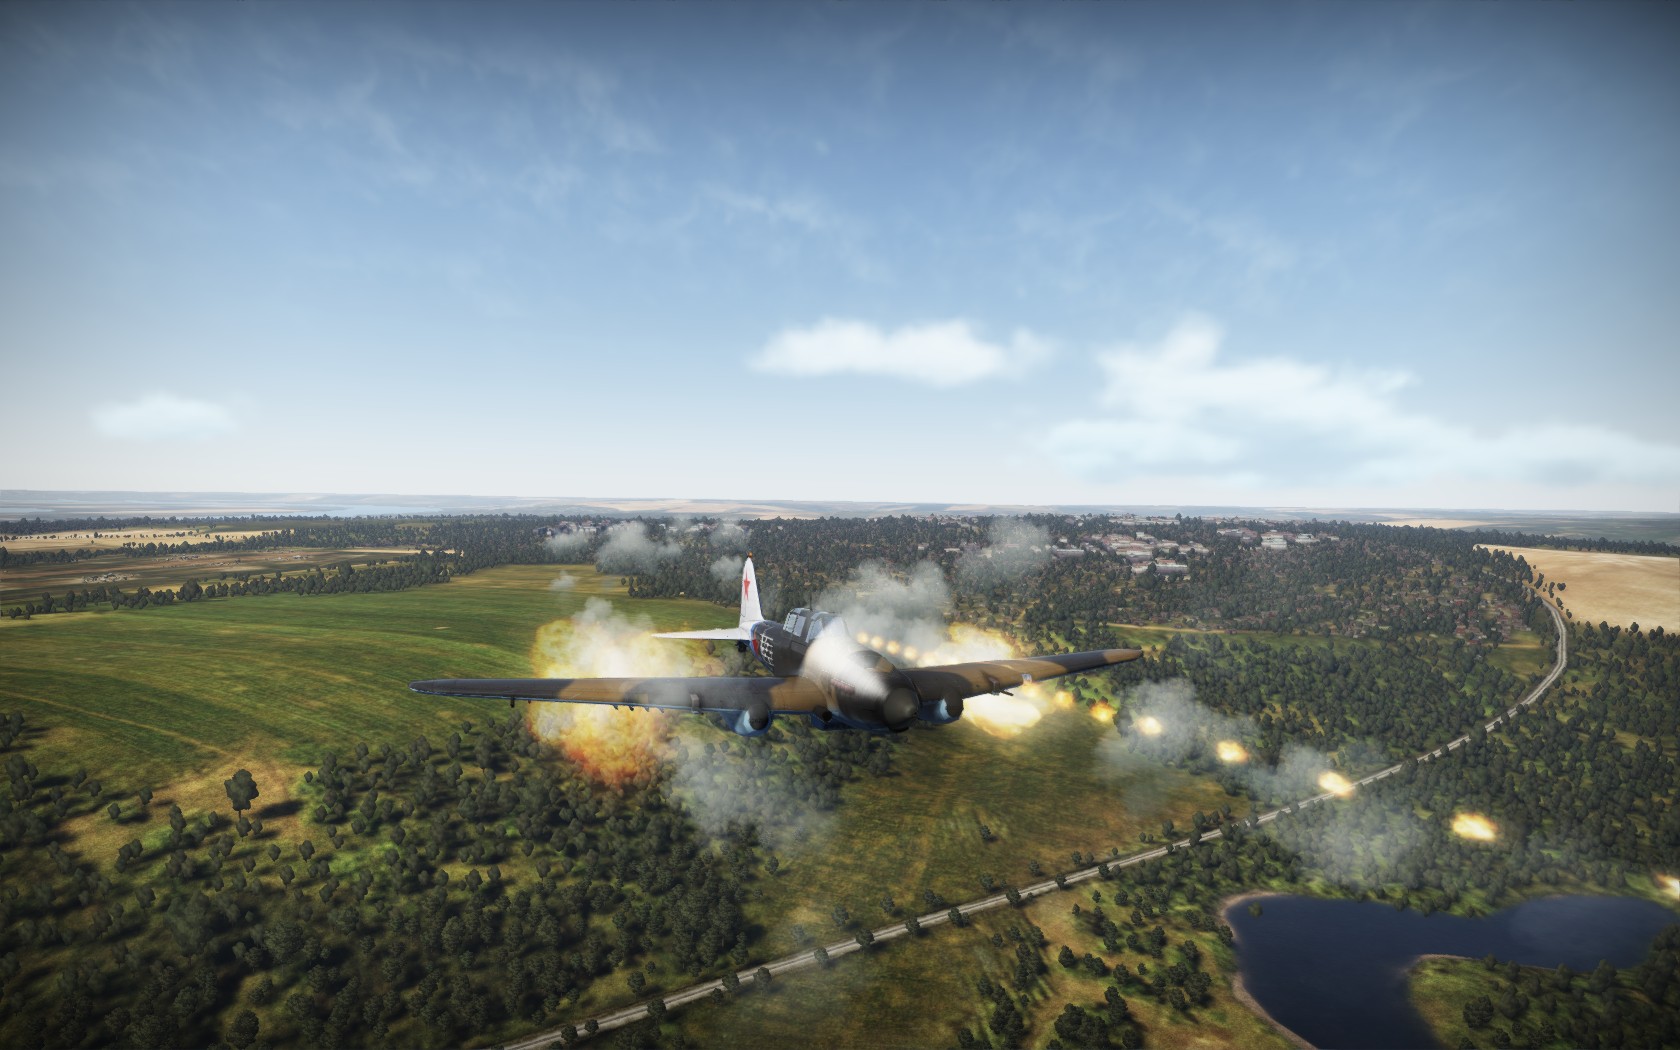
If you have no particular preference then starting off with the Soviet Union isn’t a bad idea as the I-153 Chaika they get at Rank 1 is lovely, fantastically nimble with strong armament for a biplane, a good way to get to grips with the game, and since they started handing out a bonus premium aircraft to the first country you fly with then you get a couple to play with. You can dabble in just about every style of aircraft, by Rank 3 there are single engine fighters (I-16, LaGG-3), twin engine heavy fighters (Pe-3), light bomber/attack aircraft (BB-1, Su-2) and light/medium level bombers (SB series), with plenty of variants if you prefer to pack your hanger with one particular style instead of a mixed approach. Further up the tree the Yak-9T and -9K are notable for their massive cannons (37mm and 45mm respectively) that can take out even heavy bombers with one or two shots, the Pe-2 series of medium bombers are relatively quick and can deliver 500kg bombs with precision in a dive, and the Il-2/10 are perhaps the defintive ground attack aircraft of the war.
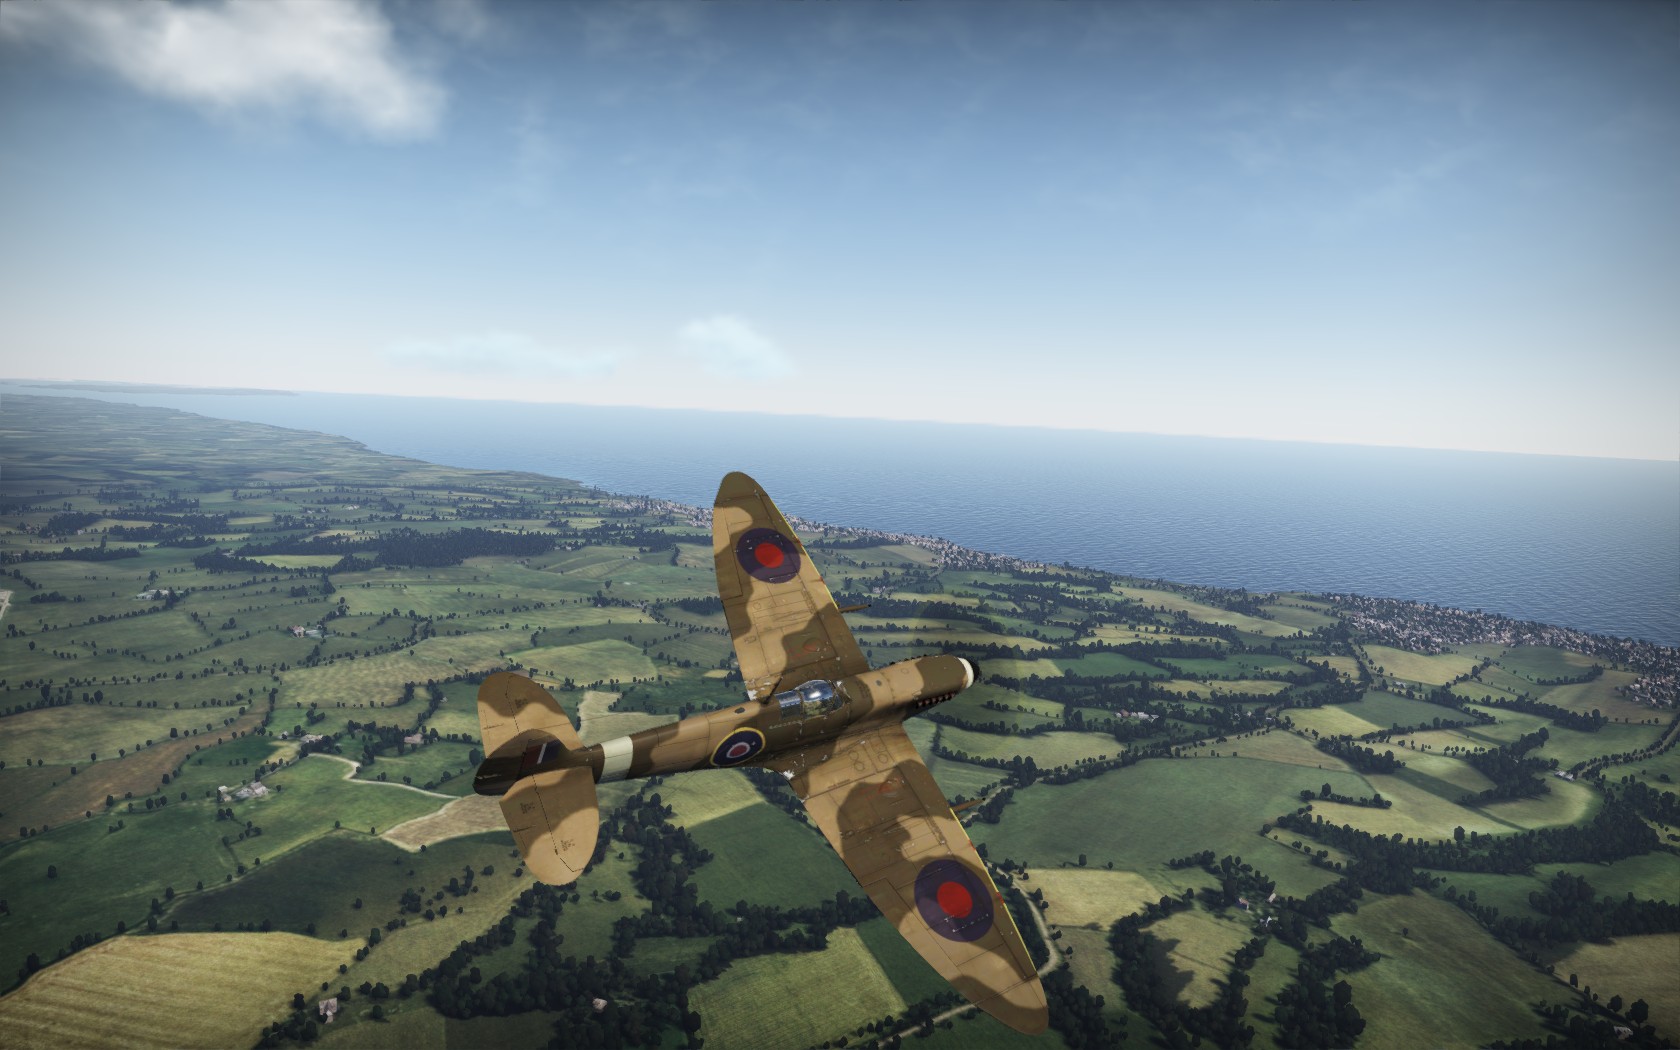
If you like fighters then Britain is a good choice, the Hurricane Mk I is an excellent dogfighter at Rank 2 and rapidly followed by the Hurricane Mk II, then the Spitfire Mk I and IIa. Their armament (8 or 12 .303″ machine guns) is good enough against most single engine fighters but a bit light against bombers, but at Ranks 5 and 6 you get the Beaufighter Mk VIc and Mk X, heavy fighters with four 20mm cannons that rip through just about anything in short order. Early British bombers aren’t so hot, though, the Blenheim and Beaufort having a light payload, but the Hurricane Mk II and Beaufighter Mk X can mount rockets to slightly beef up the ground attack potential. In the mid ranks the Wellington medium bombers can carry a decent payload, but are rather vulnerable to cannon-packing fighters. If you’re a fan of torpedo bombing you’ve got plenty of options, most of the bomber/attack lines can unlock torpedo pylons, but without being able to specifically choose maps featuring shipping targets it’s a roll of the dice as to whether you can actually use them.
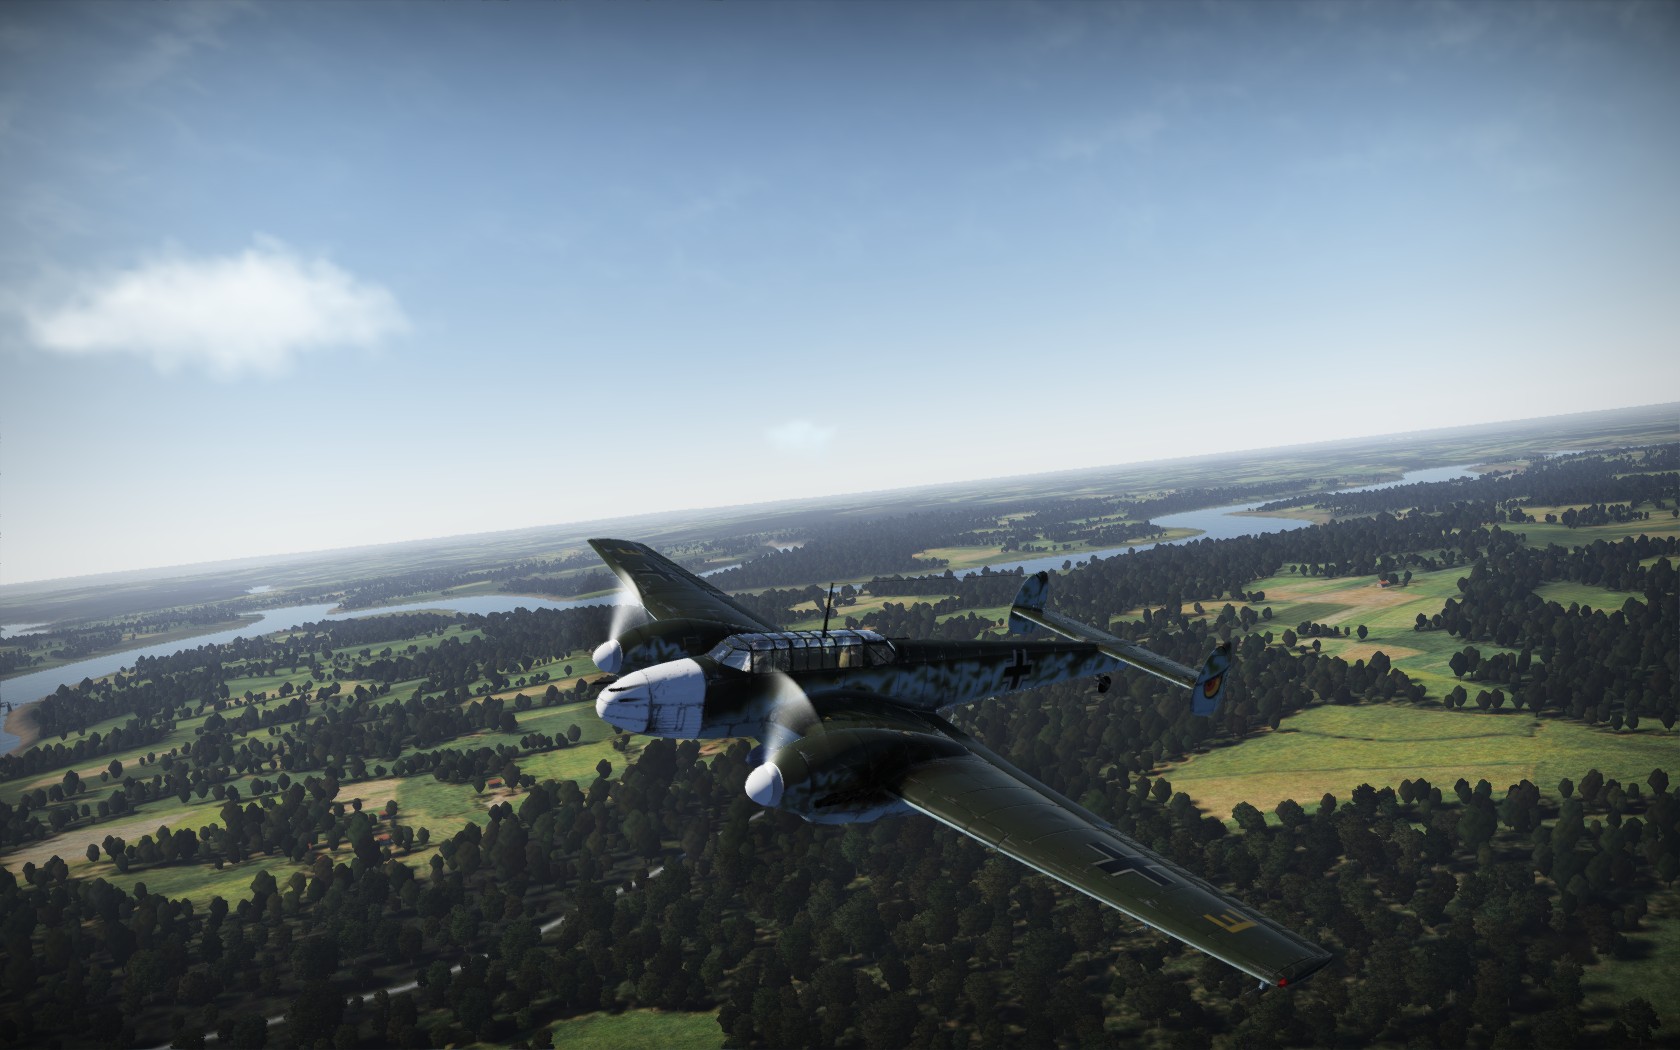
The Germans, conversely, aren’t blessed with fighters in the lower ranks. The He 112 series and Italian fighters are rather underwhelming; though some handle nicely (the MC.202 Folgore in particular) their lack of firepower hurts them, especially in Arcade battles. The Bf 110 at least packs a punch, at the cost of some manoeuvrability. There are ample bombing options, though, with numerous variants of the Ju 87 Stuka for dive bombing, and the He 111, Ju 88 and Italian S.79 series of medium bombers. The emphasis changes in the mid-ranks as you get to the Bf 109 series, excellent energy fighters (i.e. better suited to hitting and running than turning in dogfights), along with a swathe of Do 217 and Me 410 heavy fighters, while the bomber line thins out.
The USA take a little while to really get going, their early fighters are decent enough without being spectacular, slightly further up the tree the 37mm cannon of the P-39/63s pack a hefty punch, the F6F and P-47 can carry a literal ton of ordnance for ground attack as well as being reasonable fighters, and the F4U Corsairs and P-51 Mustangs are strong in the mid ranks. If you’re a fan of heavy bombers then you’ll probably want to go for the USA (or possibly Britain for the Lancaster), though it will take a while to get to Rank 13 to unlock the first B-17. The A-20G at Rank 5 is rather fun along the way with a good bombload and a nose full of machine guns for strafing soft targets (or other planes if they get in the way).
Japan suffers slightly at the moment with a comparatively small tree, but they tend to have the most agile fighters in the game from the gloriously nimble Ki-43 to the A6M Zero line. The Ki-45 heavy fighters pack large cannon, if you can line up your shots accurately, and their bomber line has some nice aircraft; the H6K can carry a massive payload for Rank 3, takes a lot of hits to bring down, and has plenty of turrets including a 20mm cannon to ward off attackers, the downside is that handles like a boat with wings, probably because it *is* a boat with wings.
Other Game Modes
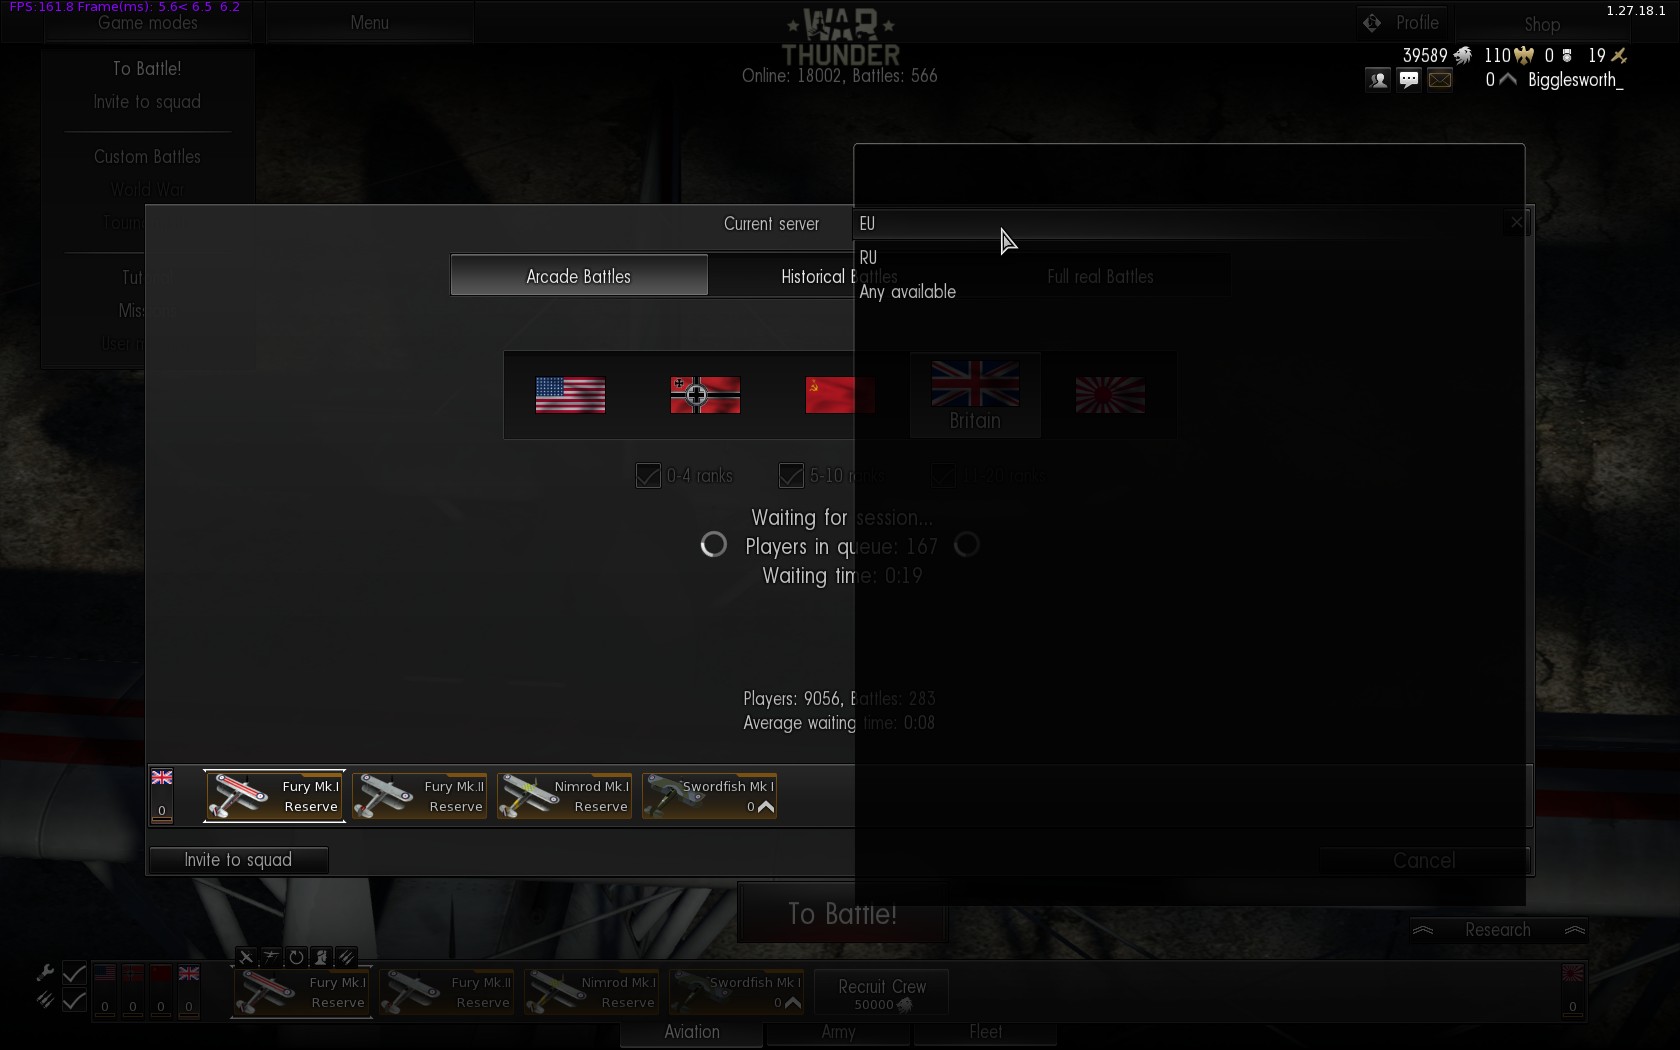
These guides are aimed at getting a new player up and running in Arcade mode, a whirling maelstrom of instant action. If you’re seeking more realistic and considered gameplay, you’ll probably want to step up at least to Historical Battles.
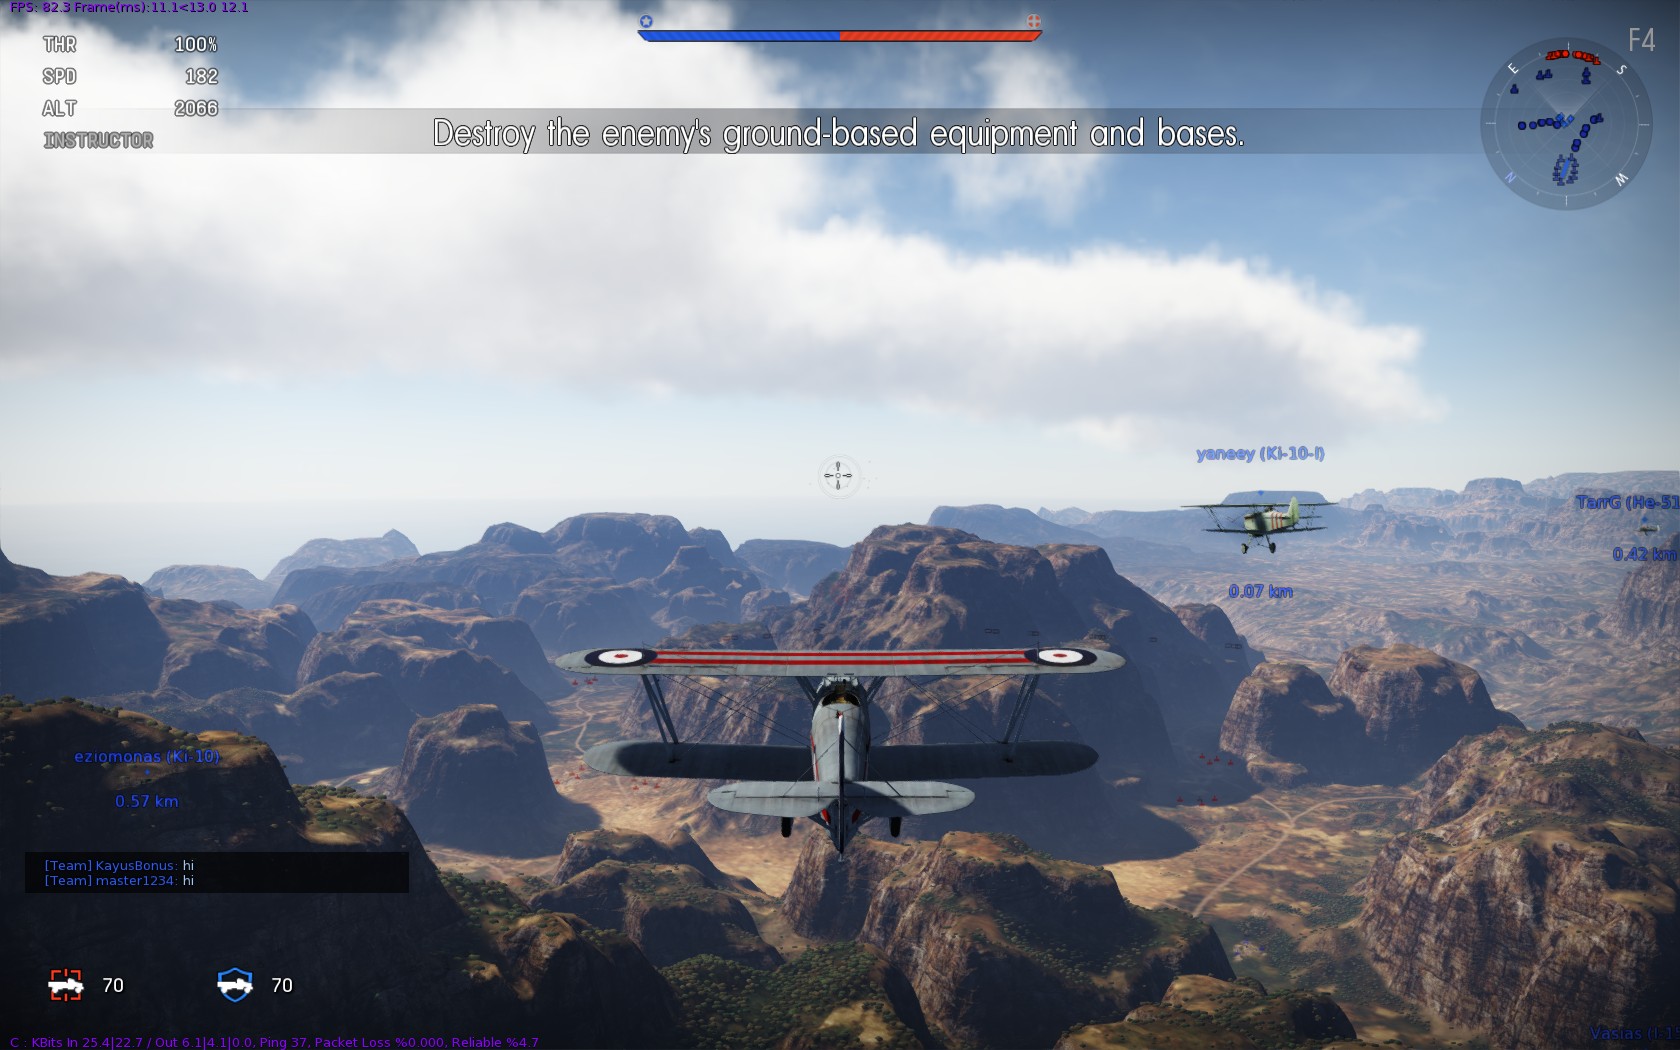
Historical Battles use the Realistic mode; you can still fly with a mouse and keyboard quite easily, the Instructor takes care of the basic flying, and you can stay in third person view, but you won’t be able to get away with the really silly stuff from Arcade mode like vertical dive bombing from 30,000 feet in a heavy bomber. You’re limited to one aircraft, no respawns, so choose carefully, and bombs and ammunition don’t reload in flight, you have to return to your airfield and land. Historical Battles are based on real scenarios and therefore have fixed teams (e.g. Germany vs the Soviet Union or Japan vs Britain), though your aircraft selection isn’t limited by the date of the battle. Once you’re confident in Arcade mode I’ve whipped up another guide if you fancy trying Historical Battles.
If that’s still not real enough for you then there’s another mode after that, Full Real battles in Simulator mode, no assistance at all with flying, you get to control the prop pitch and mixture and trim and magneto positions and… I tried a test flight in Simulator mode, and very nearly made it to the end of the runway before crashing. OK, that’s a wild exaggeration, I got nowhere near the end of the runway before crashing. One rather interesting thing is that the game supports head or face tracking hardware that allows you to look around in the game by… looking around. I gather this works in all modes, but is probably most useful in Simulation when you’re locked to the cockpit view, there’s a guide on the forums if you’d like to try it.
If you’re not so keen on player vs player combat you can fly missions or campaigns against AI opponents with either AI wingmen or human chums at the realism level of your choice (Arcade, Realistic or Simulator). Under “Game Modes” in the top left select “Missions”, from there you can join someone else’s mission, or create your own with the “Dynamic Campaign”, “Single Mission” and “Mission Editor” buttons in the bottom left.

Peter Cushing lives in Whitstable, he goes shopping on his bicycle
Well, I think that about wraps it up; if you have any questions do leave a comment, or there are some Contact details at the top of the page if you’re terrifically keen. Soupy twist!


