Part 1 got us into our first battle, Part 2 covered the main mission types, in Part 3 we’ll have a look at aircraft types.
As you fight battles you should hopefully be gaining experience, and therefore ranks in your chosen air force(s), allowing you to buy new planes as we did with the Swordfish in Part 1. Looking at the British tech tree, Rank 1 unlocks the Gladiator, a slightly better biplane fighter, Rank 2 gets us into monoplanes with the Hurricane Mk I and Blenheim Mk IV, and Rank 3 upgrades those to the Hurricane Mk II and Beaufort Mk VIII.
As more aircraft become available you may want to expand your hanger by clicking the “Recruit Crew” button at the bottom of the screen. The fourth and fifth slots are available for Silver Lions, further crew after that cost real money Gold Eagles. Extra crews are most useful in Arcade Battles, where you can use your whole hanger, if you’re planning to focus on Historical or Realistic battles then they’re less important.
Aircraft in War Thunder are in three main groups: Fighters, Bombers and Attackers. For quick identification, aircraft names in e.g. tech trees and your hanger are colour coded: Fighters are yellowy-orange, Bombers are blue and Attackers are green. Within the main groups are several sub-classifications, and as per their historical counterparts many aircraft can fulfil multiple roles.
Fighters
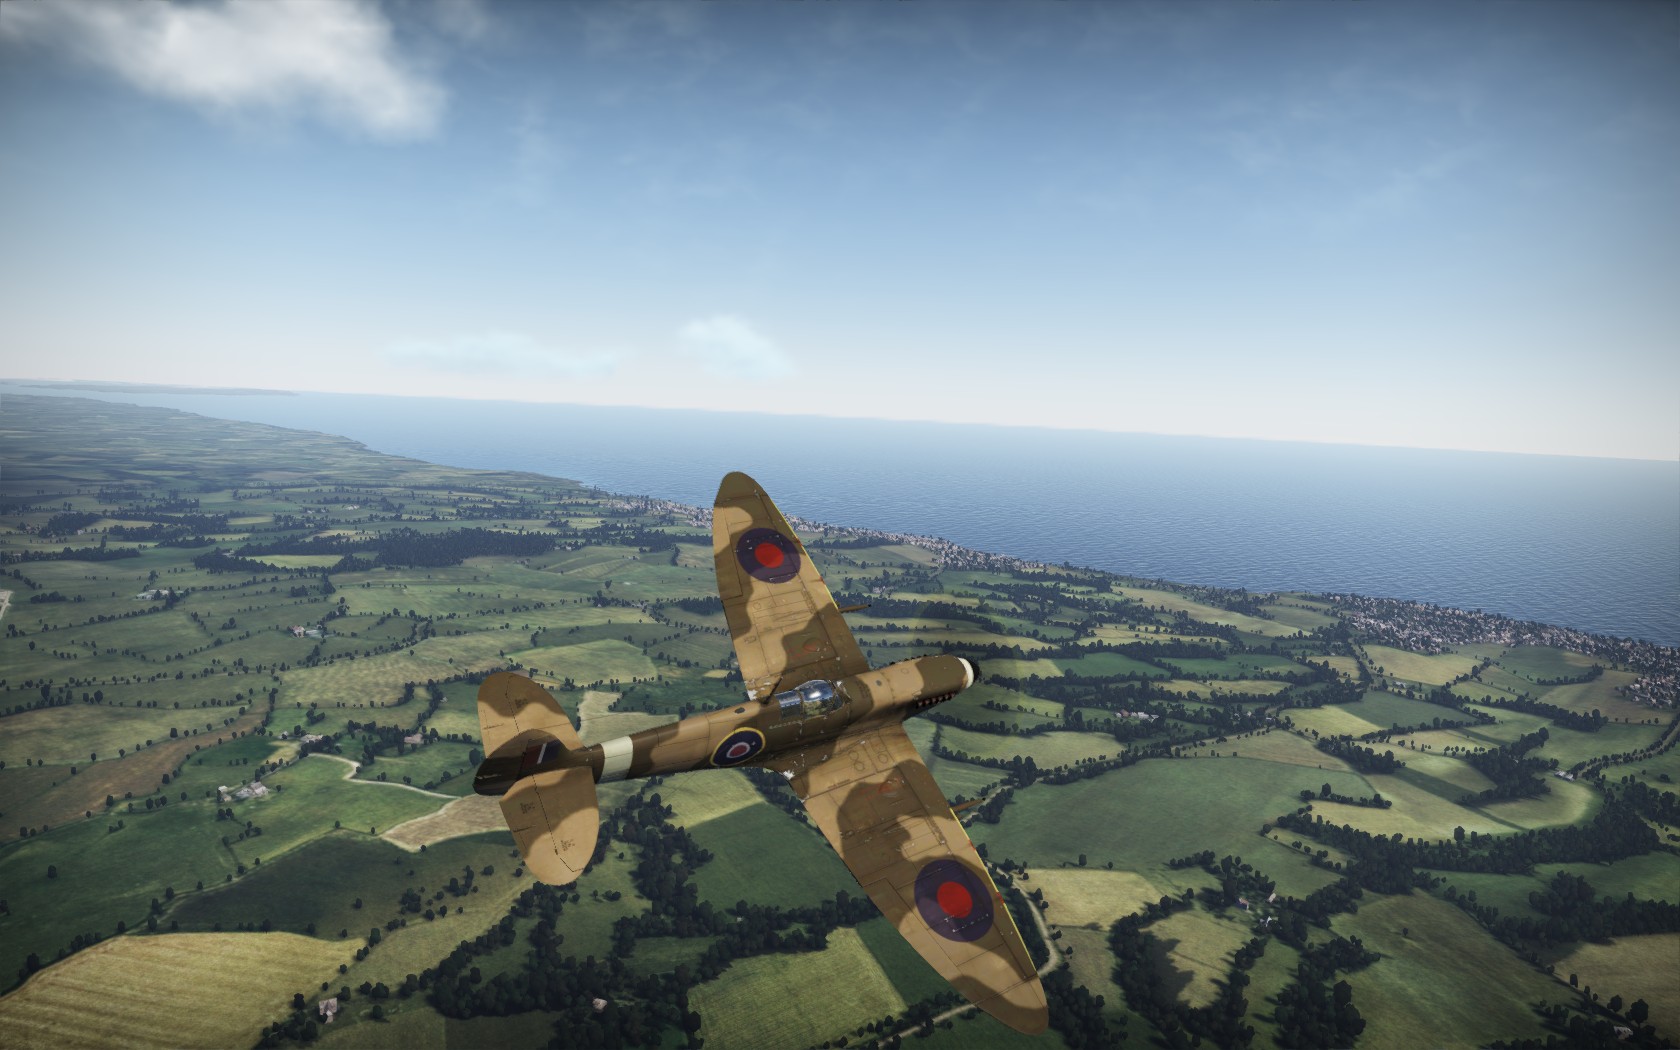
Spitfire in Flight
Fighters, as the name suggests, are designed to fight other aircraft. Most War Thunder fighters are single-engine single-seat planes, including many of the iconic aircraft of WWII such as the Spitfire, P-51 Mustang and A6M Zero. Early rank fighters have quite a light machine gun based armament that isn’t ideal for bringing down large bombers (though lucky/accurate shots can take out pilots or key components, or enough bullets will get anything in the end); once up to Rank 4 or 5 cannons or larger batteries of heavy machine guns have a much greater weight of fire.
Heavy Fighters
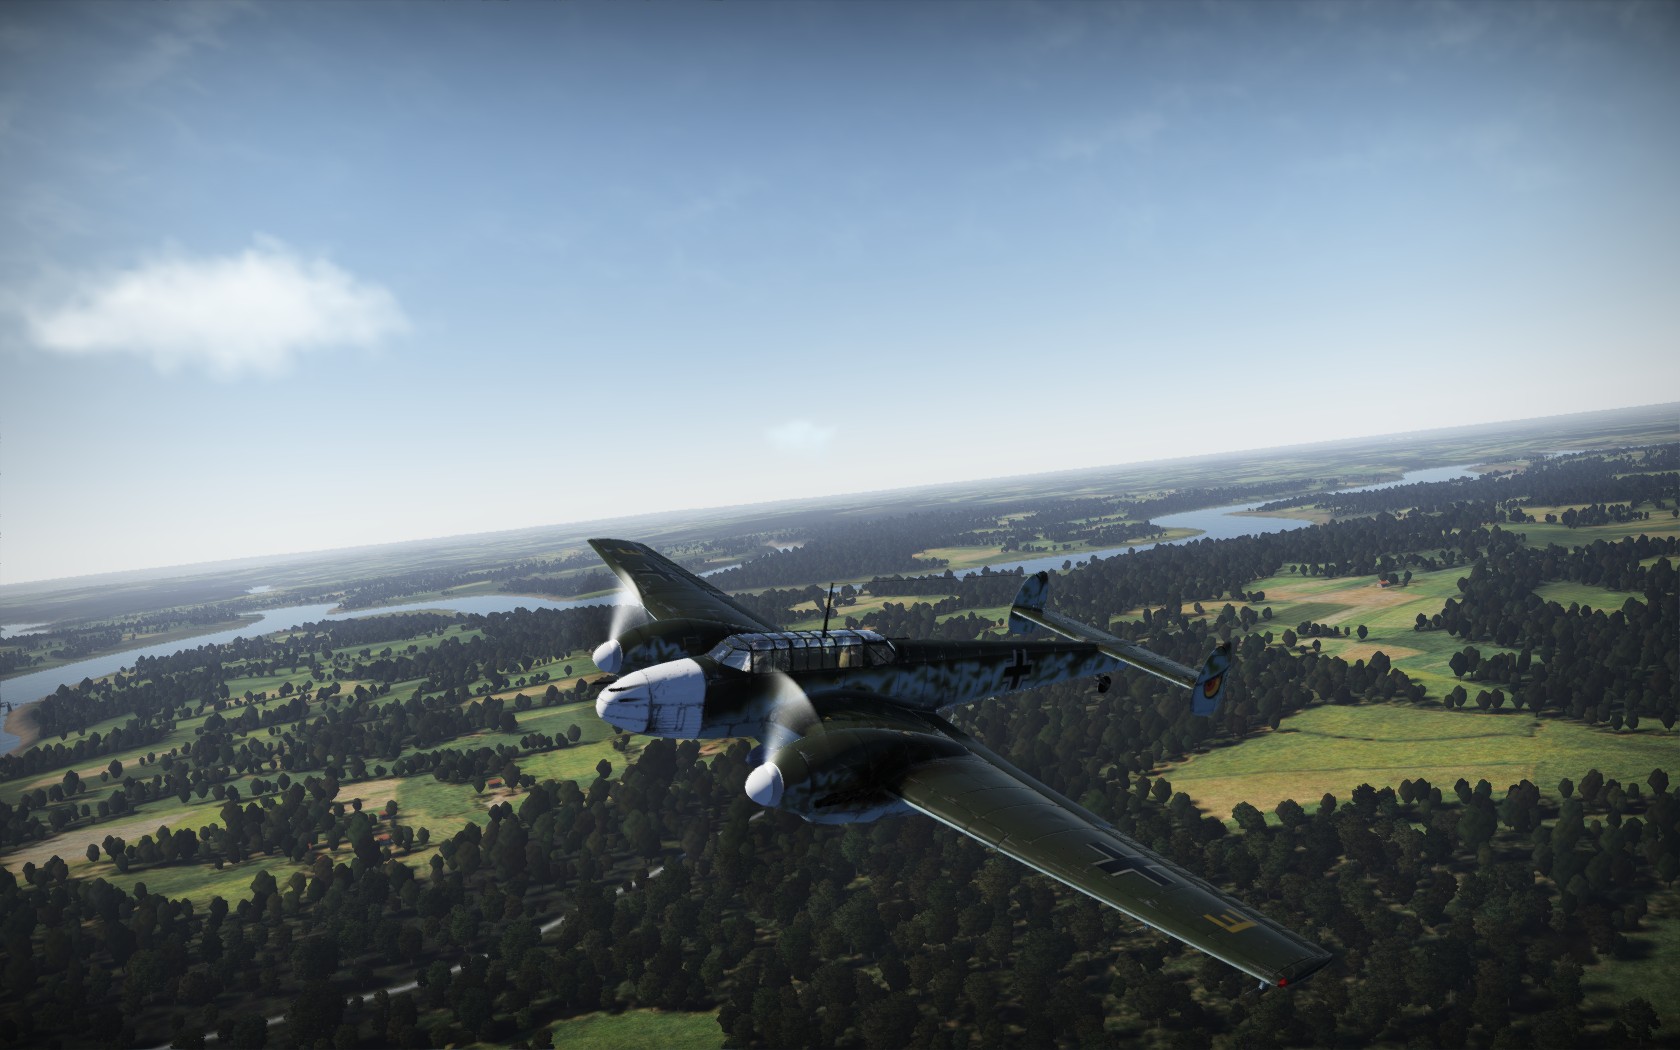
Bf 110 Heavy Fighter
Heavy Fighters are like Fighters, but heavier. They’re twin-engine, often twin-seat, aircraft such as the Bf 110, Beaufighter and Pe-3 and tend to pack heavier armament than single-engine fighters of the same rank at at the cost of manoeuvrability, so try and avoid dogfighting with more agile enemies. Rear gunners can offer a little protection, but one or two machine guns aren’t a terribly scary deterrent so don’t put too much faith in them. Heavy fighters are well suited to bomber hunting, where the lack of manoeuvrability isn’t an issue.
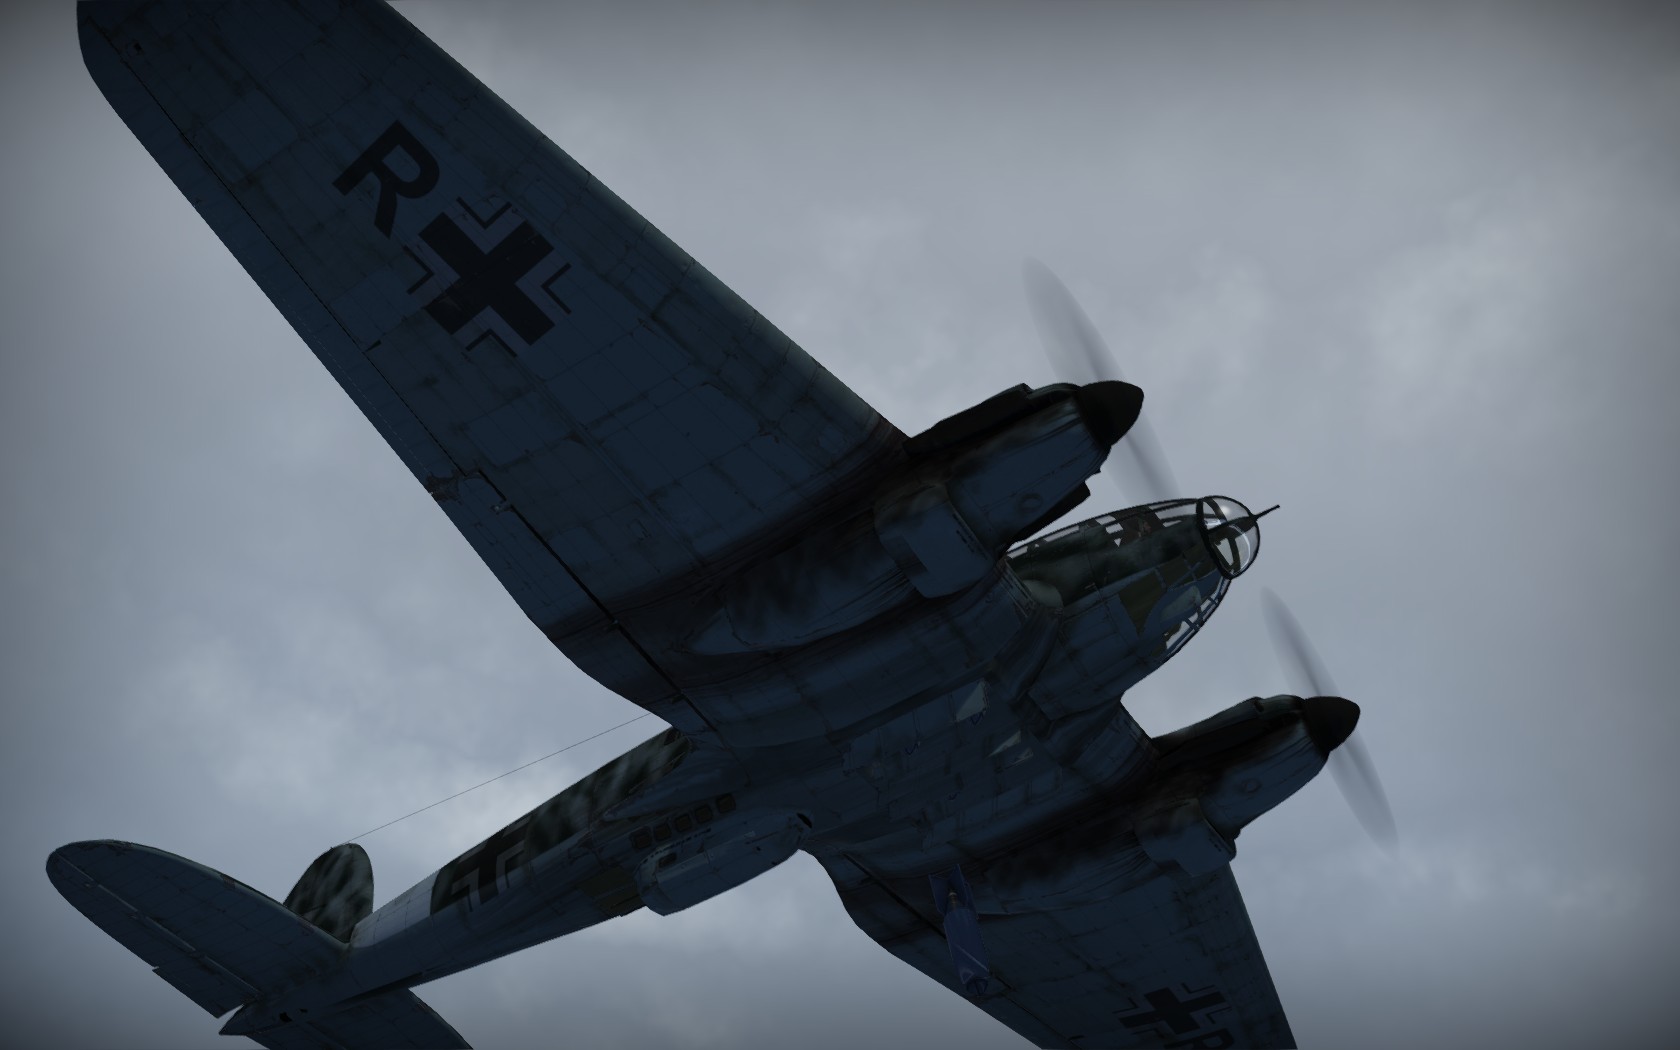
Medium / Heavy Bombers
The job of a bomber is to drop bombs; the clue is in the name, really. Medium and Heavy Bombers such as the Heinkel He 111, Lancaster and B-17 Flying Fortress are designed to drop bombs in level flight from medium-to-high altitude using the bombsight. There is a bombing tutorial, but if you skipped it the general technique is to get a bit of altitude, line up a ground target, switch to the bombsight (F7):
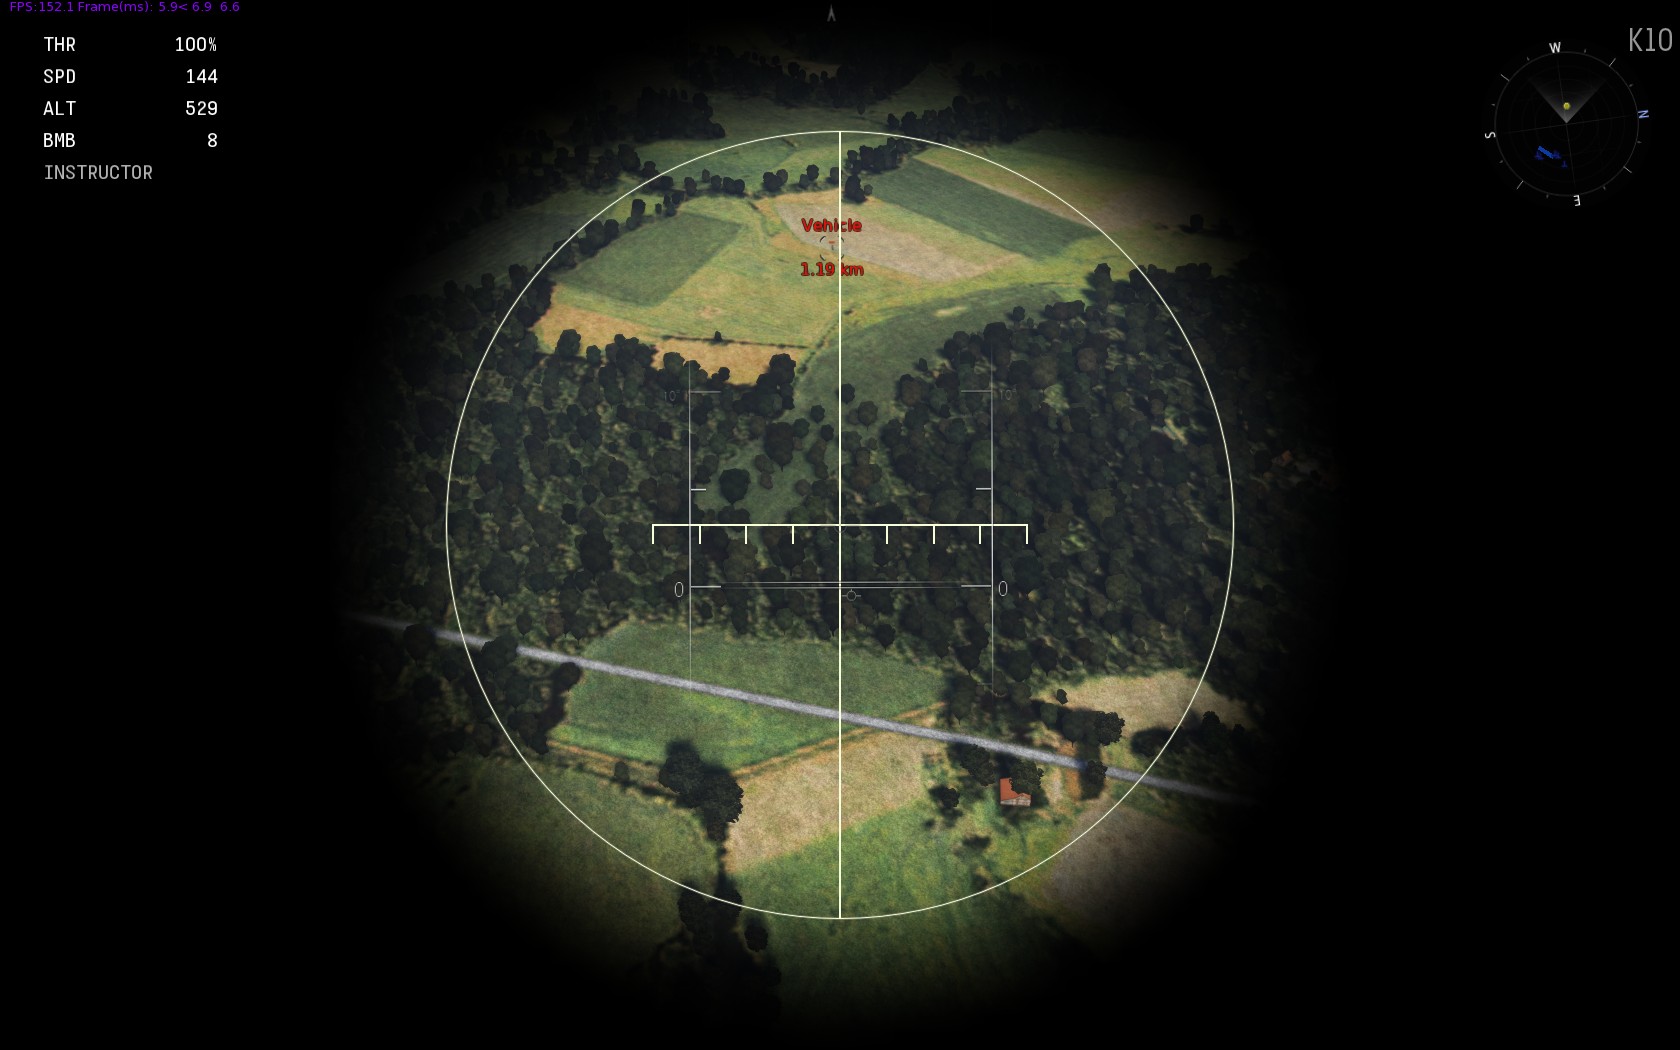
Lining up a target in the bombsight
And when the target is in the sight, hit the space bar:
Bombs away!
In Arcade mode, as well as the bombsight you have a nice, big crosshair on the ground that shows where your bombs will land, if you prefer you can use that for aiming in the third person (third aeroplane?) view; after locking on to a ground target (middle mouse button by default) then you can center the camera on that target (right mouse button by default) to keep it in focus while lining up a bombing run. The crosshair should be solid in level flight, as you climb and dive it opens up, representing bomb dispersion, you really want the crosshair completely solid for optimal accuracy.
Medium and Heavy Bombers are big, slow, lumbering targets. They have multiple gun turrets for defence, which can be quite effective with trained gunners, or if you man the rear guns yourself by pressing F6, but as fighter armament gets heavier it’s not often a duel you can win. If you want a friendly fighter escort you’ll probably need to bring a squad-mate, team co-ordination is something of a rarity in Arcade matches, so one way of trying to stay safe is to climb as high as you can, especially in the early ranks when less powerful engines mean it takes a long time for enemy fighters to gain altitude; if the enemy team are all distracted in low level engagements you can drop your bombs and potter around in safety waiting for them to reload, although if any enemy fighters also climb to high altitude at the start of the match you’re just postponing the inevitable. High altitude bombing works best against static targets, unless you can calculate how far a tank will move in the time it takes the bomb to fall and lead the target appropriately.
Dive Bombers
Some bombers such as the Ju 87 Stuka, SBD Dauntless and D3A Val are designed to deliver their bombs from a steep dive, unsurprisingly classified as Dive Bombers (this naming scheme is really quite straightforward once you get the hang of it). In a way their attack pattern is the opposite of the previous level bombers: in level flight the target reticle doesn’t show up on the ground at all, in a shallow dive it appears with wide crosshairs signifying inaccurate bombing:
Start of a dive, crosshairs open
And as the dive gets steeper, the crosshairs close up until they are solid for pin-point precision:

Steep dive, ready for release
I like to gain a decent amount of altitude and fly slightly past a target (as long as there aren’t any prowling fighters), so after the attacking dive you use all the speed you built up to continue back towards your home airfield and (hopefully) comparative safety as fast as possible, rather than bleeding that speed in a turn.
Torpedo Bombers
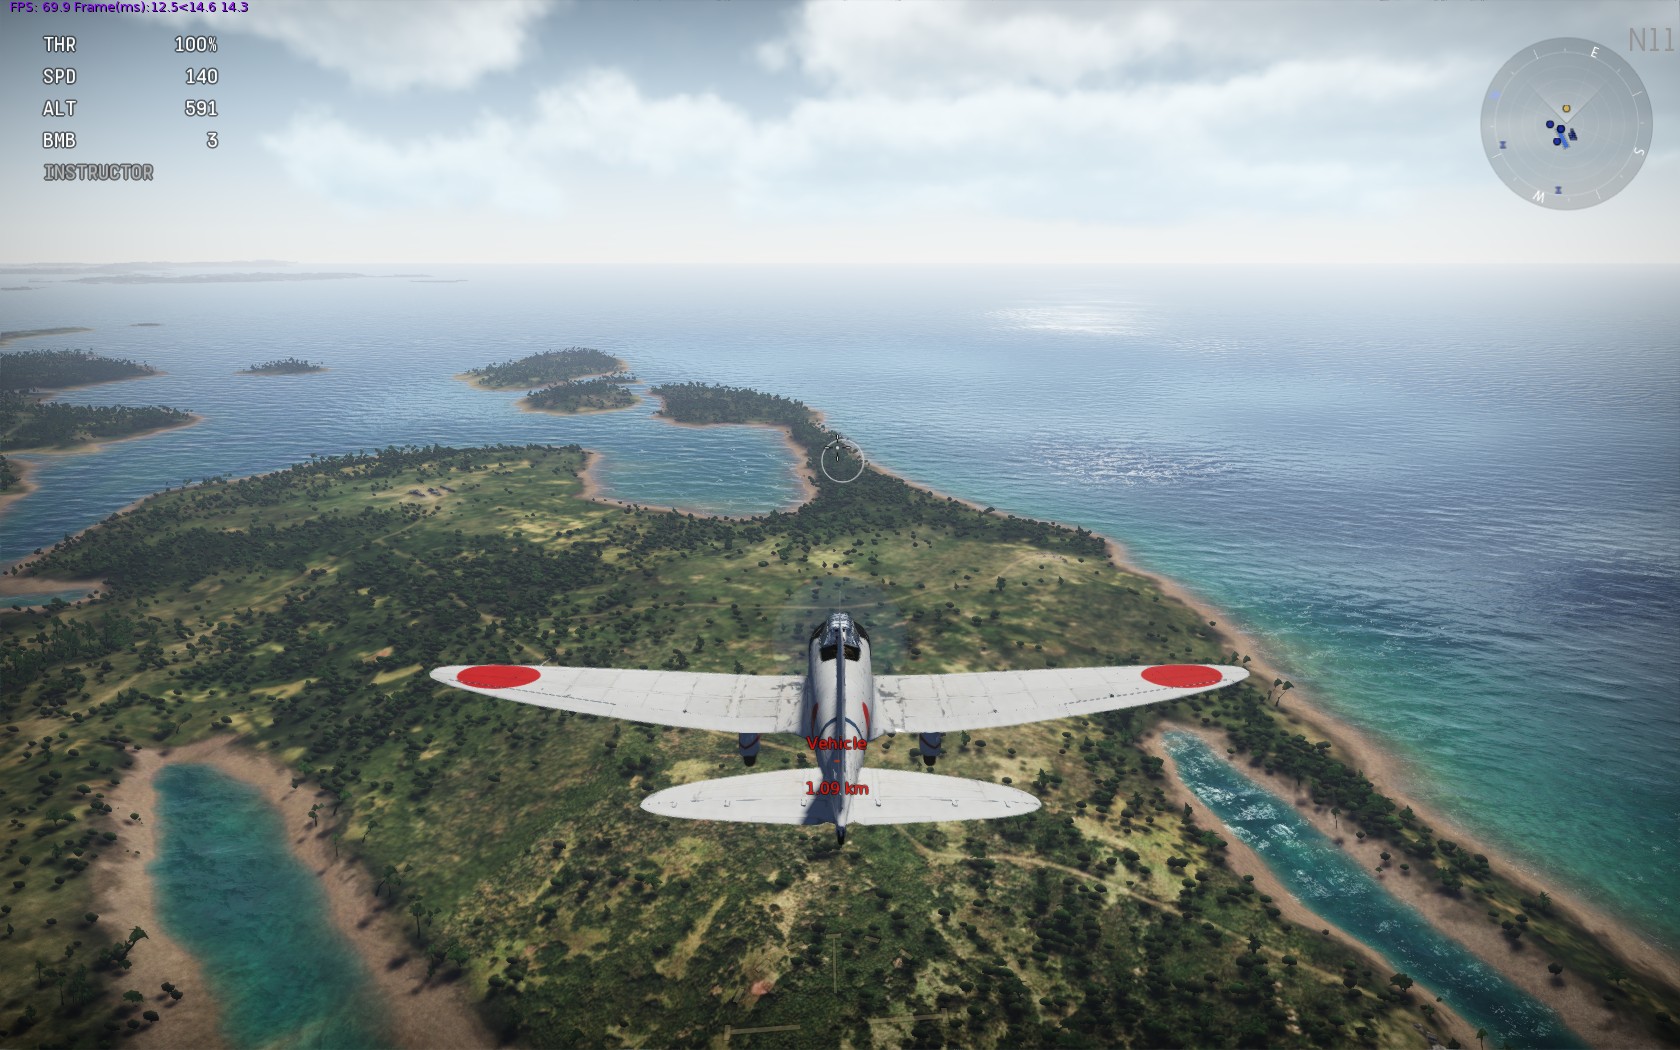
Torpedo Bombers like the TBF Avenger, Swordfish and B5N Kate are bombers that carry… anybody? Award yourself five points if you said “a torpedo”. Though if being really pedantic, you could argue that a torpedo isn’t a bomb, so they should be called “Torpedoers”, but that sounds silly. Anyway, once again there’s a tutorial that covers torpedo attacks if you’d like to practise, it’s pretty easy; you get a nice big line showing where the torpedo will go that turns green when a target is lined up (if it’s not on screen look in the bottom right hand corner and it should explain why, usually either “Too High” or “Wrong Angle”. Alternatively you might not be carrying a torpedo, in which case you’re in quite the wrong section of the guide.) When you’re about a kilometre away from your target, press space to drop the torpedo:

Lining up a torpedo run
It’s quite straightforward to line up a torpedo attack, but flying straight and level at low altitude does make you vulnerable to both fighter attack and ack-ack fire from Destroyers and Battleships.
Attackers
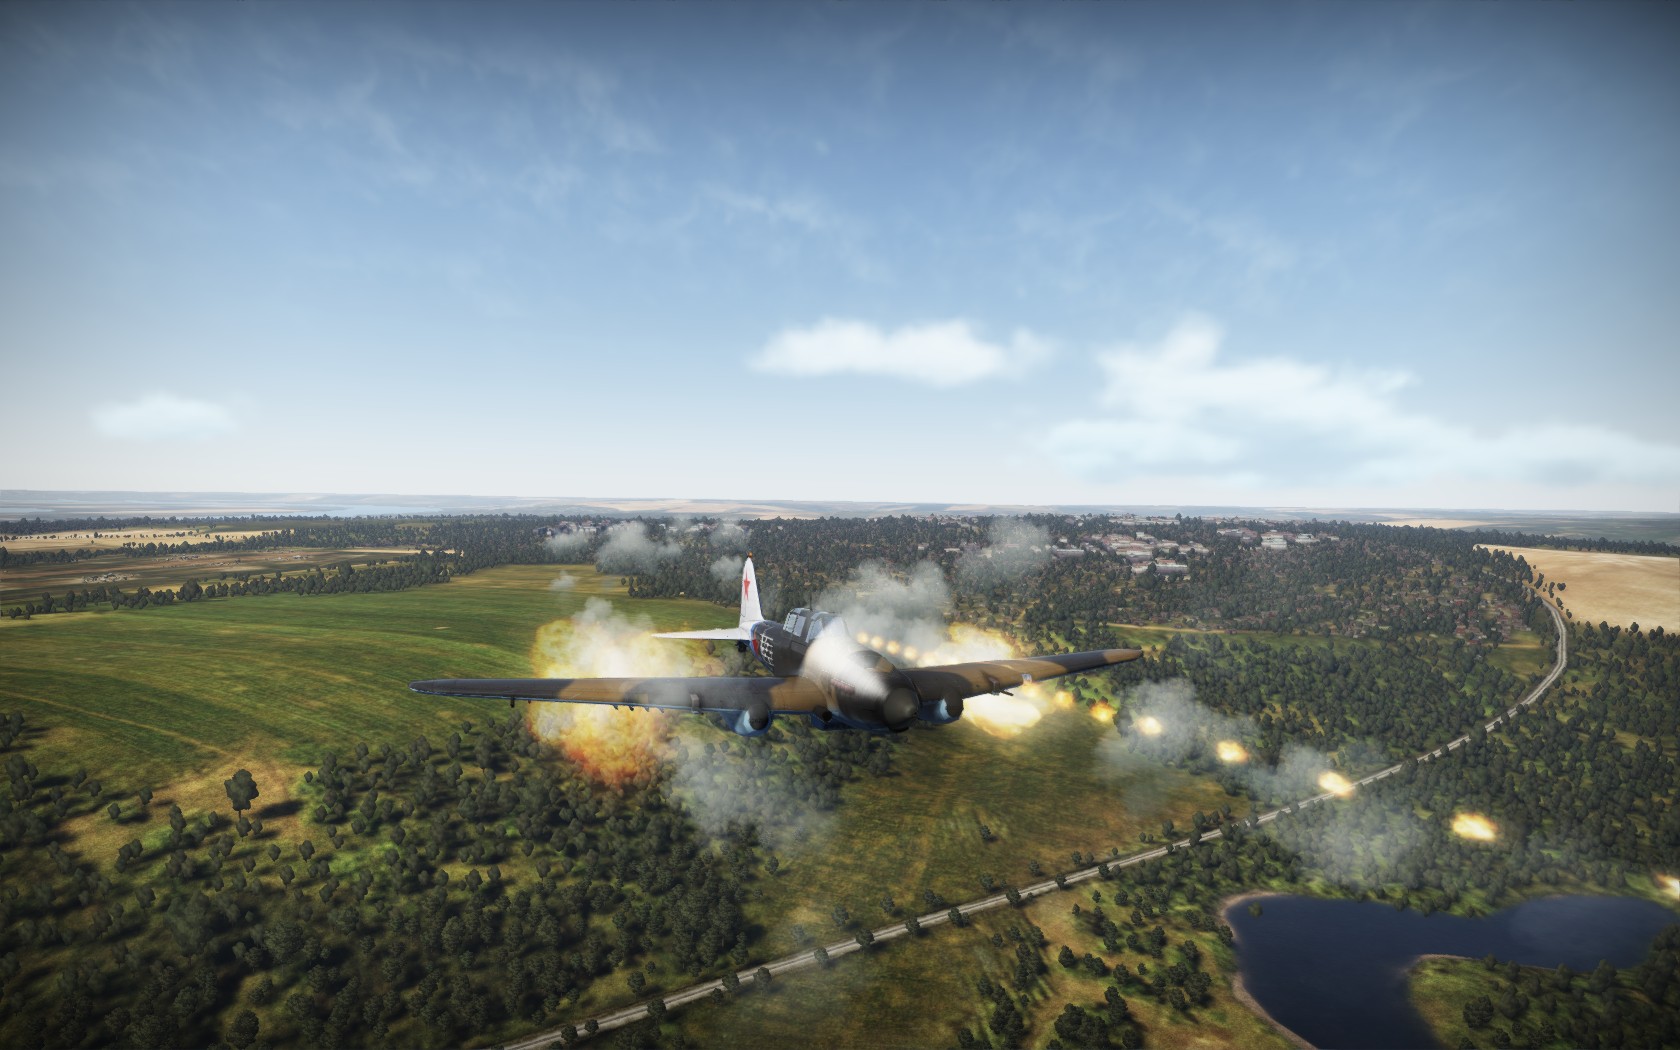
Il-2 firing rockets
Attackers are ground attack aircraft that operate at low altitude, armed with cannons, rockets and/or bombs. Few aircraft were designed specifically for ground attack, the Il-2 Sturmovik being the definitive example; other Attackers in War Thunder include the German Hs 129 and American A-20 Havoc. General technique is to point yourself at a hapless tank/pillbox/artillery emplacement, shoot it with rockets or cannons, then pull up before you smash into its charred ruin; that last bit is particularly important. For dropping bombs they tend to be most accurate in a dive, keep an eye on the crosshairs in the bombing reticle. With their powerful guns Attackers can be pressed into service in a Heavy Fighters role if there are no ground targets around, but they don’t tend to come off too well against dedicated Fighters.
Light Bombers
Light Bombers are something of a mixed bag; some early war Light Bombers like the Blenheim operate in a similar way to their Medium and Heavy brethren, dropping bombs from altitude in level flight (just with a much smaller load), others like the Soviet Su-2 are more similar to Attackers, better suited to diving attacks from low level. As the war progressed and engines became more powerful, dedicated Light Bombers generally became obsolete as Fighters could carry similar loads; the Typhoon, a Fighter / Light Bomber, can carry the same 2x500lb bombs as the earlier Beaufort.
Multirole Aircraft
Many aircraft can fulfil multiple roles, depending on weapon load; the Beaufighter Mk X, for example, is classified as a Heavy Fighter / Torpedo Bomber, but can also be fitted with rockets instead of a torpedo for more of an Attacker role. Most Torpedo Bombers can also carry conventional bombs, so they’re not completely useless on maps with no naval targets. The Soviet Ar-2 Dive Bomber / Medium Bomber can deliver its bombs either from level flight using the bombsight or in a dive. Perhaps most common, though, are Fighter-Bombers such as the Typhoon, P-47 Thunderbolt and certain variants of the Fw 190:

Fighter: now with added bombs
Fighter-Bombers generally attack ground targets like Attackers, at low altitude with rockets, bombs and/or cannon, dropping bombs from a dive, but are more capable in air-to-air fights. Hanging bombs from an aircraft will affect performance, though, so if air superiority is a priority (as it is in Historical Battles, or a Domination match after the ground targets have been destroyed) then just stick to guns. If you’re in a Ground Strike Arcade battle you might as well fit a bomb or two if you have the option, you can always just drop them if you find yourself in a frantic air fight (just be a bit careful you’re not over friendly ground forces at the time).
If you really excel at one particular aspect of the game you might want to concentrate on a single type of aircraft, but generally it’s useful to have a mix in your hanger to allow you to fulfil different roles within an Arcade mission, such as ground attack at the start of a Domination map to clear out some targets, then switching to a fighter to defend the airfields. With a selection of aircraft of different ranks you can make tactical choices, like starting off in your lowest rank fighter and hoping that everyone else gets their better aircraft shot down, so you’ll have more of an advantage later in your better planes, but then if everyone else is doing that then maybe you’re better starting in your top aircraft to rack up some easy kills…
After you’ve flown an aircraft a few times you’ll unlock the ability to upgrade it, so in Part 4 we’ll have a look at upgrades and weapon loads.
Thanks for this guide. I’m so pleased that I found it. I just started playing a few days ago and I’m completely clueless. This has been a great help.
It is bizarre that nothing in the game tells you how to capture or destroy an airfield, isn’t it? You’d think they would mention those things in one of the tutorials.
Splendid, glad you found it helpful! I was rather surprised, after the tutorials covered most of the basics, that there was nothing about capturing airfields, I tried flying through the big A or B at first…
Hah! I did the same thing. Why not? Flying through the very similar-looking big yellow waypoints worked in training. And in destruction missions I tried strafing the ground targets (AAA, etc.) at the enemy airfield. Maybe killing all the ground targets = destroying the airfield? No . . . But rolling in on an airfield with all its AAA guns working is a hell of a good way to get shot down.