Part of The Complete Beginner’s Guide
There are three Arcade PvP mission types in War Thunder (at the time of writing, subject to change over the course of development etc): Ground Strike, Domination and Air Domination.
Ground Strike
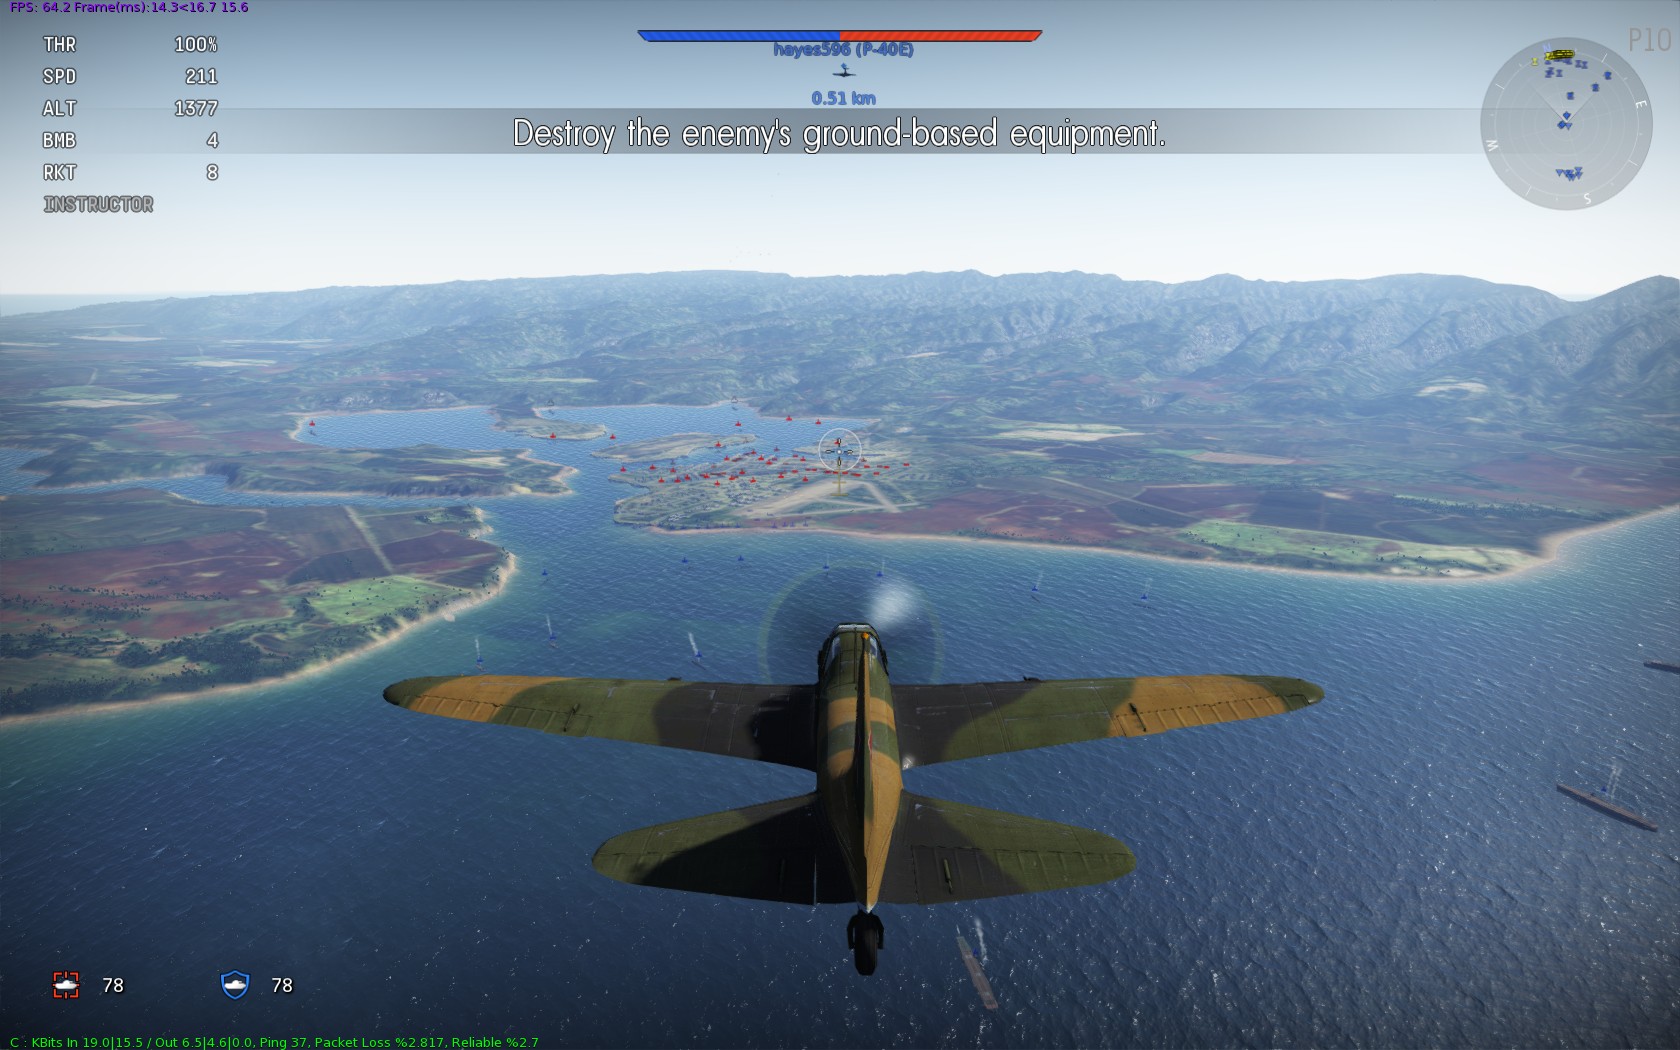
The start of a Ground Strike mission. Look at all the lovely red dots to attack!
A mode called “Ground Strike” suggests that the objective is to strike the ground as hard as possible with your plane. Turns out that’s not the case, although there’ll probably be a fair amount of crashing going on anyway. The objective is actually to destroy the enemy ground units before they destroy yours. The red and blue bars in the top middle of the screen are the team “health bars”, when one is reduced to nothing that team loses; the total number of remaining units is shown in the bottom left of the screen. Depending on the map, some ground units may not count towards victory; look for the pulsing red icons, they’re the ones you want to go for, they should show up from your cockpit view at any distance. Tanks and pillboxes tend to be the primary targets that count towards victory, but it can vary. The AI ground units also attack each other as they move around the map, so the numbers generally tick down even if no players are attacking ground targets; it can be slightly annoying if you’re lining up for an attack run on a tank only for it to be destroyed by one of your own units before your bomb lands.
Bombs or rockets are weapons of choice for ground attack, but you can still have a crack at early ground targets in a biplane with a couple of machine guns; Artillery and Anti-Aircraft Guns (either mobile or fixed) are soft targets (careful of the latter, they shoot back); Armoured Cars are also vulnerable to machine gun strafing, but take a few more shots. As you get more powerful planes you’ll encounter Light, Medium and Heavy Tanks and Pillboxes that need progressively larger cannons, rockets or bombs to destroy. On the water, Landing Craft and Patrol Boats are vulnerable to strafing, Destroyers, Cruisers, Battleships and Aircraft Carriers need large bombs or torpedoes.
Basic ground attack technique is taught in the Assault Plane Tutorial and is pretty straightforward, point nose of plane towards thing on ground, shoot it with guns, then (and this is the important bit) pull up before you crash.

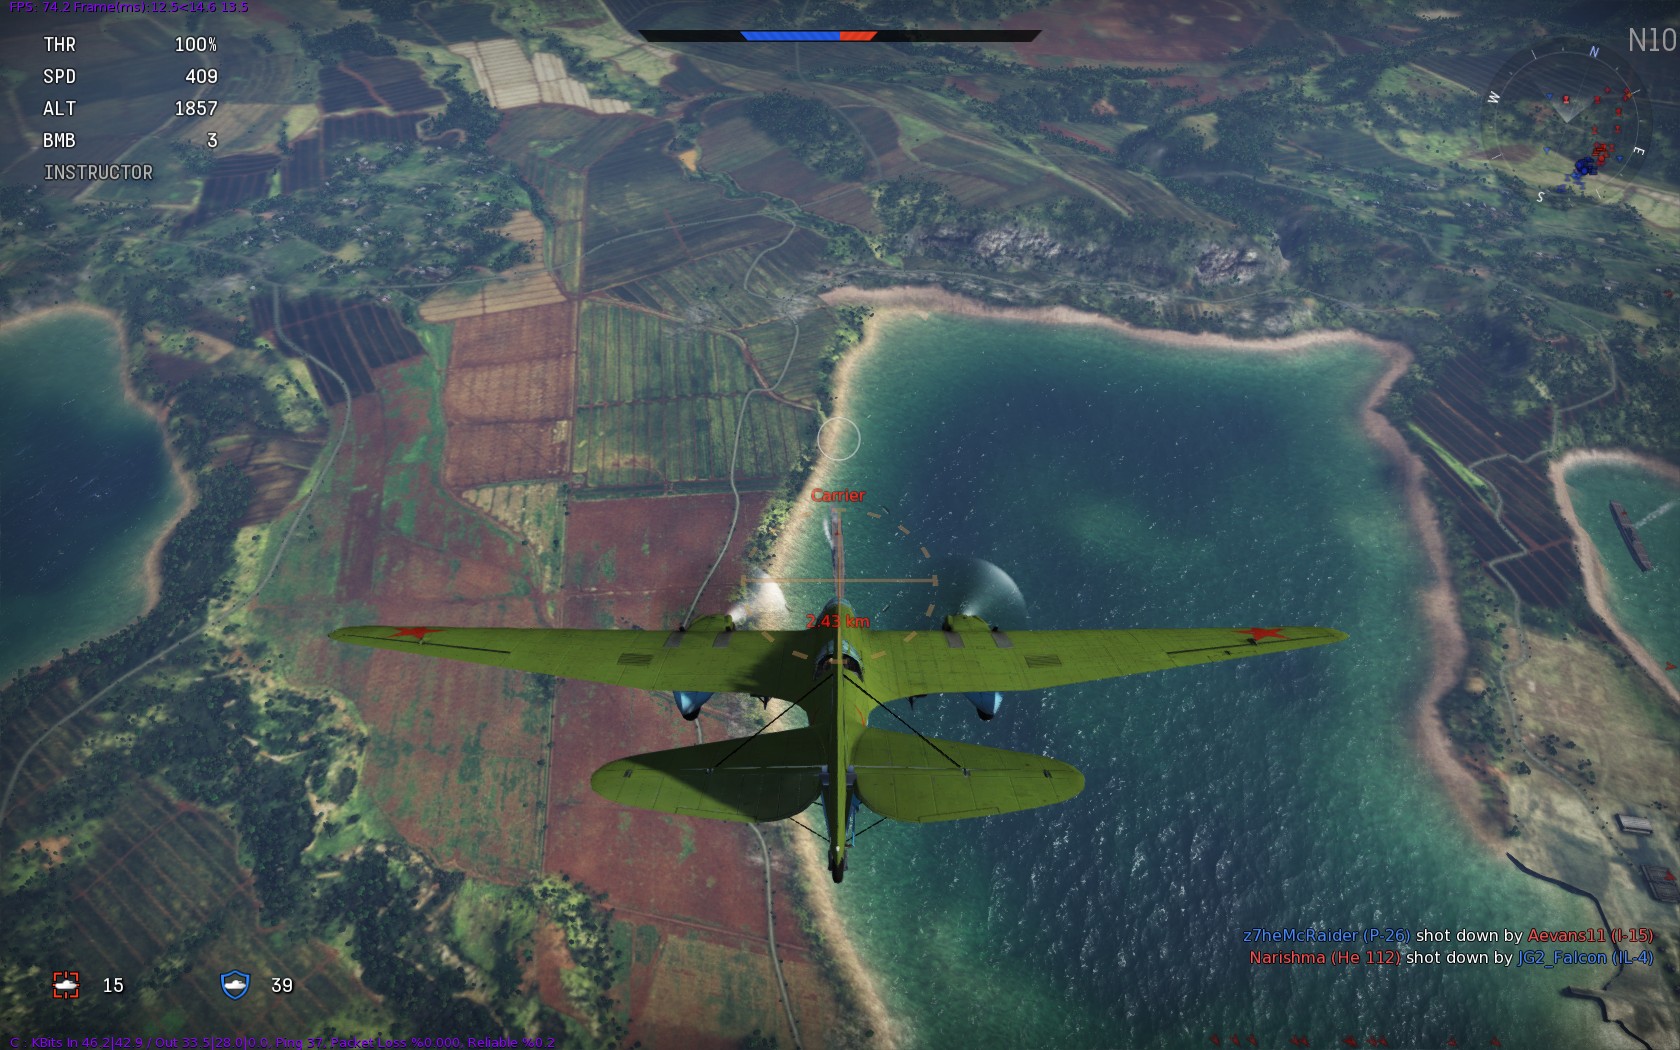
Strafing a tank
I like to fly with mouse aim and W and S as pitch down and pull up respectively, so mashing ‘S’ as you get near the ground can just give a bit of a helping hand, especially in some of the more lumbering planes that take a bit longer to respond to your mouse wiggling.
If you’re focused on ground targets you can be easy prey for enemy fighters, so it’s worth checking around before you start a strafing run. Always keep an eye out for enemy plane dots on the mini-map, but this can be tricky as they can blend in with the enemy ground unit dots, so best to have a visual check as well: hold down ‘C’ (by default) and your mouse will then control the camera instead of your plane, allowing you to scan around. Just remember to let go of ‘C’ to start flying again, especially if you’re heading towards a mountain or something…
You can’t exactly be stealthy in an aeroplane, but you can check on the map (‘M’) if you want to head off and find some undefended ground targets. Be careful as you get near the opponents spawn point, though, as newly appearing fighters can really put a crimp on your day.
Carri ‘er? I hardly know ‘er!
Though ground targets are the key to winning a Ground Strike match, if you’re more interested in shooting down enemy planes that’s fine. You can escort players from your own team who are attacking enemy vehicles, if an enemy fighter is fixated on a friendly bomber you can often take them unawares for an easy kill. You can also stay near your own vehicles to protect them from the enemy, harassing anyone making multiple strafing runs, but it can be hard to stop a determined opponent, especially if they dive down at high speed, attack with bombs or rockets, and zoom off again; as Baldwin said, “the bomber will always get through”, so if both sides are down to their last few vehicles you’re probably better off trying to destroy the enemy vehicles rather than protecting your own. Tempting as it may be, if there’s a lone enemy fighter off in some corner of the map it’s not really worth going after them, especially if three or four of your team are already in pursuit.
In the earliest Ground Strike matches vehicles are the only targets. Medium and heavy bombers aren’t very effective when bombing moving targets from altitude, though, so in later matches, once bombers start getting heavier bomb loads, there are also static strategic targets, represented by large red markers on the map:

Strategic targets in view
To really damage strategic targets you’ll want the heaviest bombs you can carry (the exact weight required depends on tier, and increases as planes carry heavier loads). Destroying a strategic target knocks a chuck off the other team’s “health bar”, meaning you don’t need to eliminate all their vehicles to win, and once you destroy the three strategic targets then the enemy airfield can be attacked. If you can drop enough ordnance to destroy the airfield (they can take quite a pounding) then the enemy “health bar” immediately starts dropping, almost always resulting in a win for your team.
If left alone, a bomber can lazily circle around a strategic target or airfield dropping bombs every minute or so as they reload, so keep an eye out for that.
Domination
The other type of mission is Domination, in which the goal is to capture airfields. So a bit like Capture the Flag, but with airfields instead of flags. Except you don’t have to bring the enemy airfield back to your airfield, you just hold onto it, so it’s territorial domination. Probably why they called it ‘Domination’, in hindsight.

A Domination map with three airfields (A, B and C)
On a Domination map there are one, two or three airfields, and the aim is to be holding more than the enemy, which causes their red bar to go down. If they hold more than you, your blue bar goes down. Once one bar reaches zero, the other team wins. There are also ground or naval units on most Domination maps, and destroying them also takes a chunk off the enemy score bar; destroying all the targets won’t win the round, but it can give you an edge. Mobile ground units will capture an airfield if they reach it unopposed, so it’s well worth clearing out enemy tanks before they get too close.
What the game doesn’t seem to mention is how to capture an airfield, and it turns out that you have to land on the runway. There is a landing tutorial available, under “Game Modes” on the main screen, that teaches you to land safely: very carefully banking around, gradually losing altitude, gently reducing the throttle, lowering landing gear and gracefully touching down. You don’t want to do that in a Domination match; you’re trying to get to the airfield and capture it as quickly as possible, so max the engine and point at the ground, full speed ahead! Except of course it’s a lot safer to land at low speed, so just before landing cut your engine completely, hit ‘G’ to extend landing gear (if it’s not fixed) and ‘F’ for flaps and pull a load of violent turns to dump speed as quickly as possible as you get near the ground. Needless to say this can get a bit tricky; all airfields start neutral, typically there’ll be one by each spawn point, so it’s not uncommon for a Domination match to start off with a bunch of people on each side going straight for the capture and an airfield littered with the burning wrecks of planes that misjudged their approach (or got in each others way and collided in mid-air). You can practise high speed landings in Test Flight mode, until you’re feeling confident you might want to leave it to others to actually capture the airfield to start with.
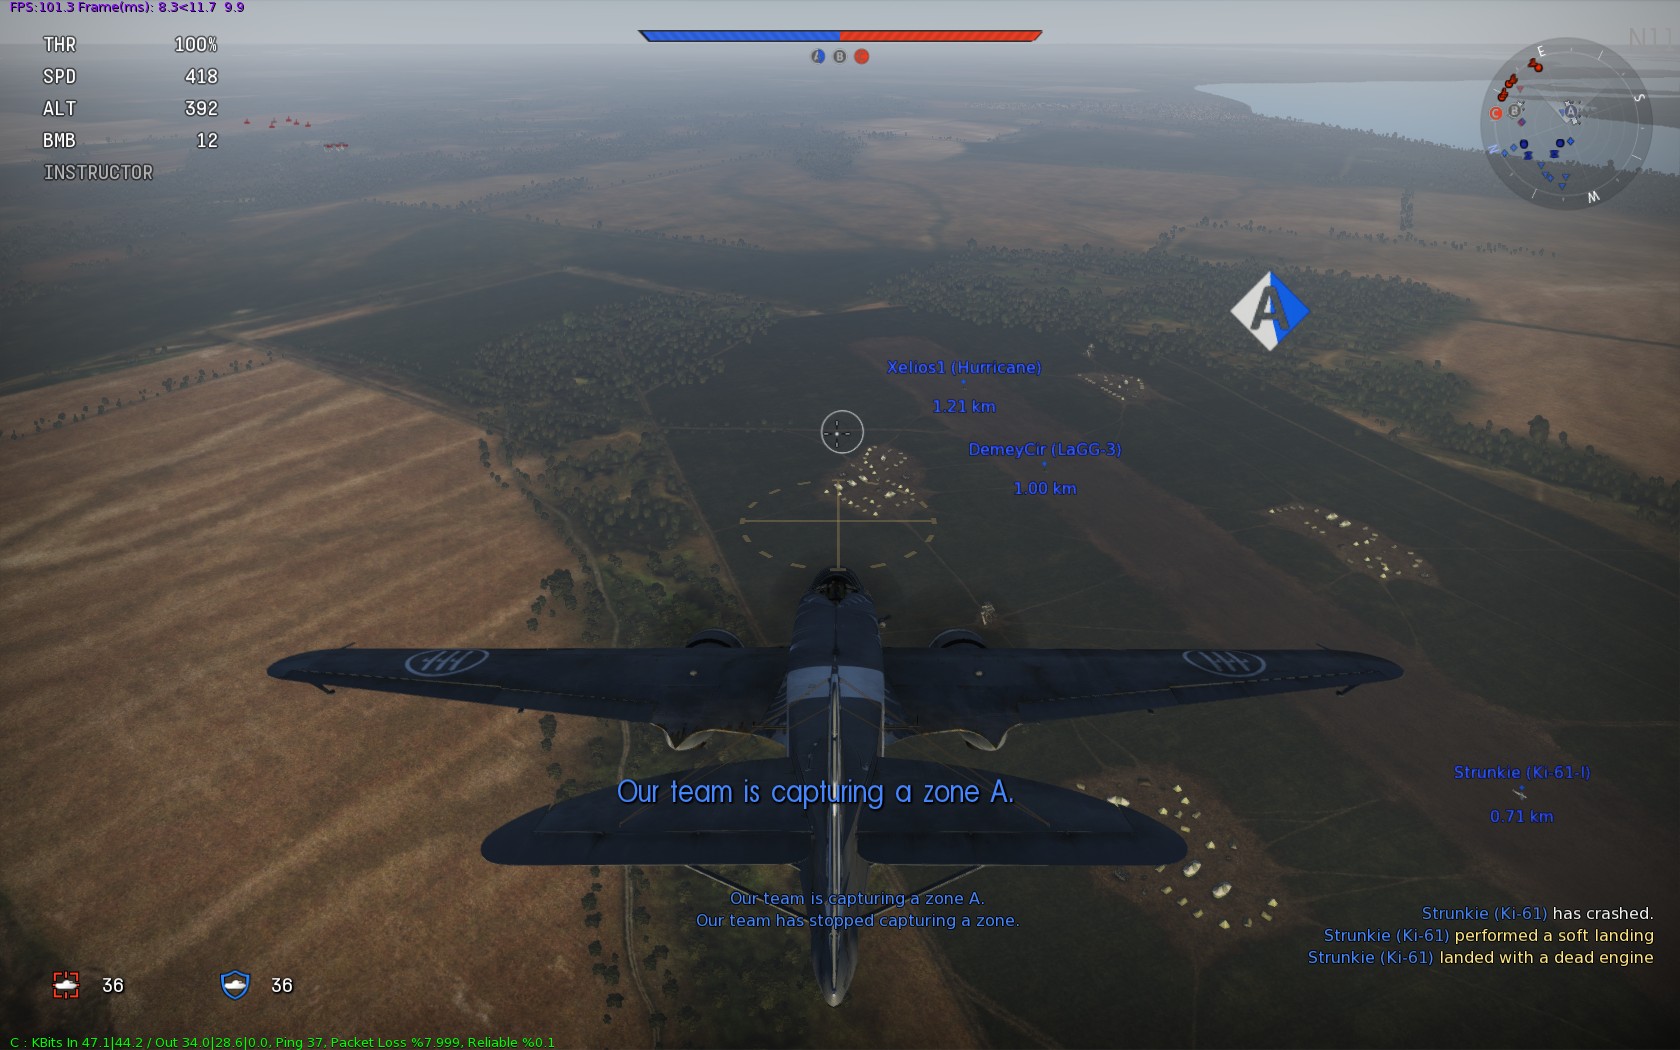
Our team capture airfield A as I offer moral support and resist the temptation to drop bombs
I say you have to ‘land’ on the runway, technically you just need to have your wheels in contact with the ground, you don’t actually have to come to a standstill; once the control point turns blue you can whack the throttle back up and take back off again to get into action. If you’re really confident you don’t even need to slow down, just pop your undercarriage down at 300+mph (only in Arcade mode, the wheels won’t stay attached for very long in Realistic) and skim down the runway, but the margins for error are rather small at those speeds.
Depending on your control settings you might find your attempts to capture an airfield thwarted by The Instructor. This isn’t the nickname of a dastardly enemy ace, it’s the bit of the game that makes flying with a mouse so easy: you wiggle the pointer around the screen, and The Instructor makes the required adjustments to elevators, ailerons, rudders and what-not to make your plane actually fly that way (if, in real life, you’re on a jumbo jet, the pilots are incapacitated, and a panicking steward asks if there’s anyone that can fly, I’m afraid Arcade battles in War Thunder really don’t qualify). The thing is, The Instructor (I like to think of him as Geoff) does his best to keep you alive. Not always successfully, if you absolutely insist on plummeting down in a vertical dive and not pulling up then Geoff won’t save you from flaming death, but when you’re near the ground he does err on the side of caution. This is normally most admirable, but as capturing an airfield at high speed in a Domination match is teetering right on the brink of crashing it can be very frustrating, as you find you can’t make the minuscule adjustments to just get your wheels in contact with the ground, and either skim along slightly too high to actually capture the airfield or have to pitch down so heavily you crash instead. You can adjust Geoff’s settings under “Menu”, “Controls” and then the “Instructor” tab in the “Mouse Aim” section; set “Auto-restricts control of the airplane near the ground” to “No” if you’re happy to accept a slightly higher risk of crashing in return for a better chance of a high-speed Domination capture.
If, in the process of landing, you clip your propeller on the ground it’s not always fatal, though obviously you’re not going to be flying anywhere. Fortunately landing at an airfield repairs your aircraft (and you get an XP bonus for landing with a dead engine, even if it was self inflicted), so as long as you weren’t going so quickly that you head off the end of the runway into a hanger building or inconvenient tree you might be able to brake (by default, hold the throttle down key), come to a stop, then get back into action once the repair timer has counted down.
As a fighter, you ought to be doing one of two things on a Domination map: defending a friendly airfield or trying to capture an enemy airfield. Defending is probably the easiest, especially if you’re not too confident on landings, just hang around a blue airfield and shoot down anything red trying to land. As a landing plane has to fly slow and straight they’re pretty good targets; if you gain a bit of altitude and loiter a little way away the enemy might be so fixated on landing they don’t even notice you until it’s too late, but don’t loiter so far that you can’t make it back in time to stop them. If you’re on your own and there are multiple incoming bandits you can try and get a bit of help via the voice commands (‘T’ and then a number; ‘Defend the base!’ or ‘Cover me!’ are worth a shot, but don’t hold your breath). Stopping enemy bombers destroying friendly tanks can also be useful, but a secondary consideration to preventing airfields being captured; it’s terribly depressing to see five or six friendly planes chasing the same damaged bomber to the edge of the map allowing the enemy to capture an airfield with impunity.
If you’re going to try and capture the enemy airfield, you really need to shoot down any defending aircraft first; if you’re lucky there might be a big old dogfight going on in the middle of the map, allowing you to sneak around a map edge to an undefended airfield, but if there are any opponents in the area it’s probably not worth trying to land unless you’re really confident of your damage absorption powers. You also need to make sure there are no enemy tanks sitting on the airfield that you’re trying to capture, otherwise it won’t matter how long you sit there, it won’t turn blue.
As a bomber, clearing ground targets, especially any getting close to airfields, is always a good idea. Bombers also look like nice, juicy targets for enemy fighters, a fact you can sometimes exploit by diving down to pick up speed, dropping your bombs, then carrying on away from the airfields, hopefully dragging a few of the enemy with you like the Pied Piper of Stalingrad. If you’re really lucky they might even shoot or collide with each other in the process, and you can take a few potshots at them with turret guns along the way. If all the ground targets have been destroyed, you can always hang around a friendly airfield to defend it. An enemy aircraft has to land, after all, or at least get its wheels on the deck, and you have… bombs! You can’t destroy your own airfield in a Domination match, so line ’em up, and as the enemy aircraft touches down thinking “ha, that bomber will never be able to stop me with its pathetic turret guns”, bombs away! You need to be at low altitude (or to have incredible skill at judging bomb drop time to account for the speed of the enemy plane); the bigger the bomb the less precise you need to be. I have to admit to giggling slightly on the few occasions I have managed to catch someone out like that.
Air Domination
The most recently added mode, and in many ways the simplest, Air Domination is a pure air-to-air competition. There is a large, floating, invisible sphere (the shaded area on the mini-map with the big ‘A’ in the middle); if planes from only one team are within this sphere then they start to capture it. Once captured, the enemy ticket bar is rapidly depleted until they lose the match.
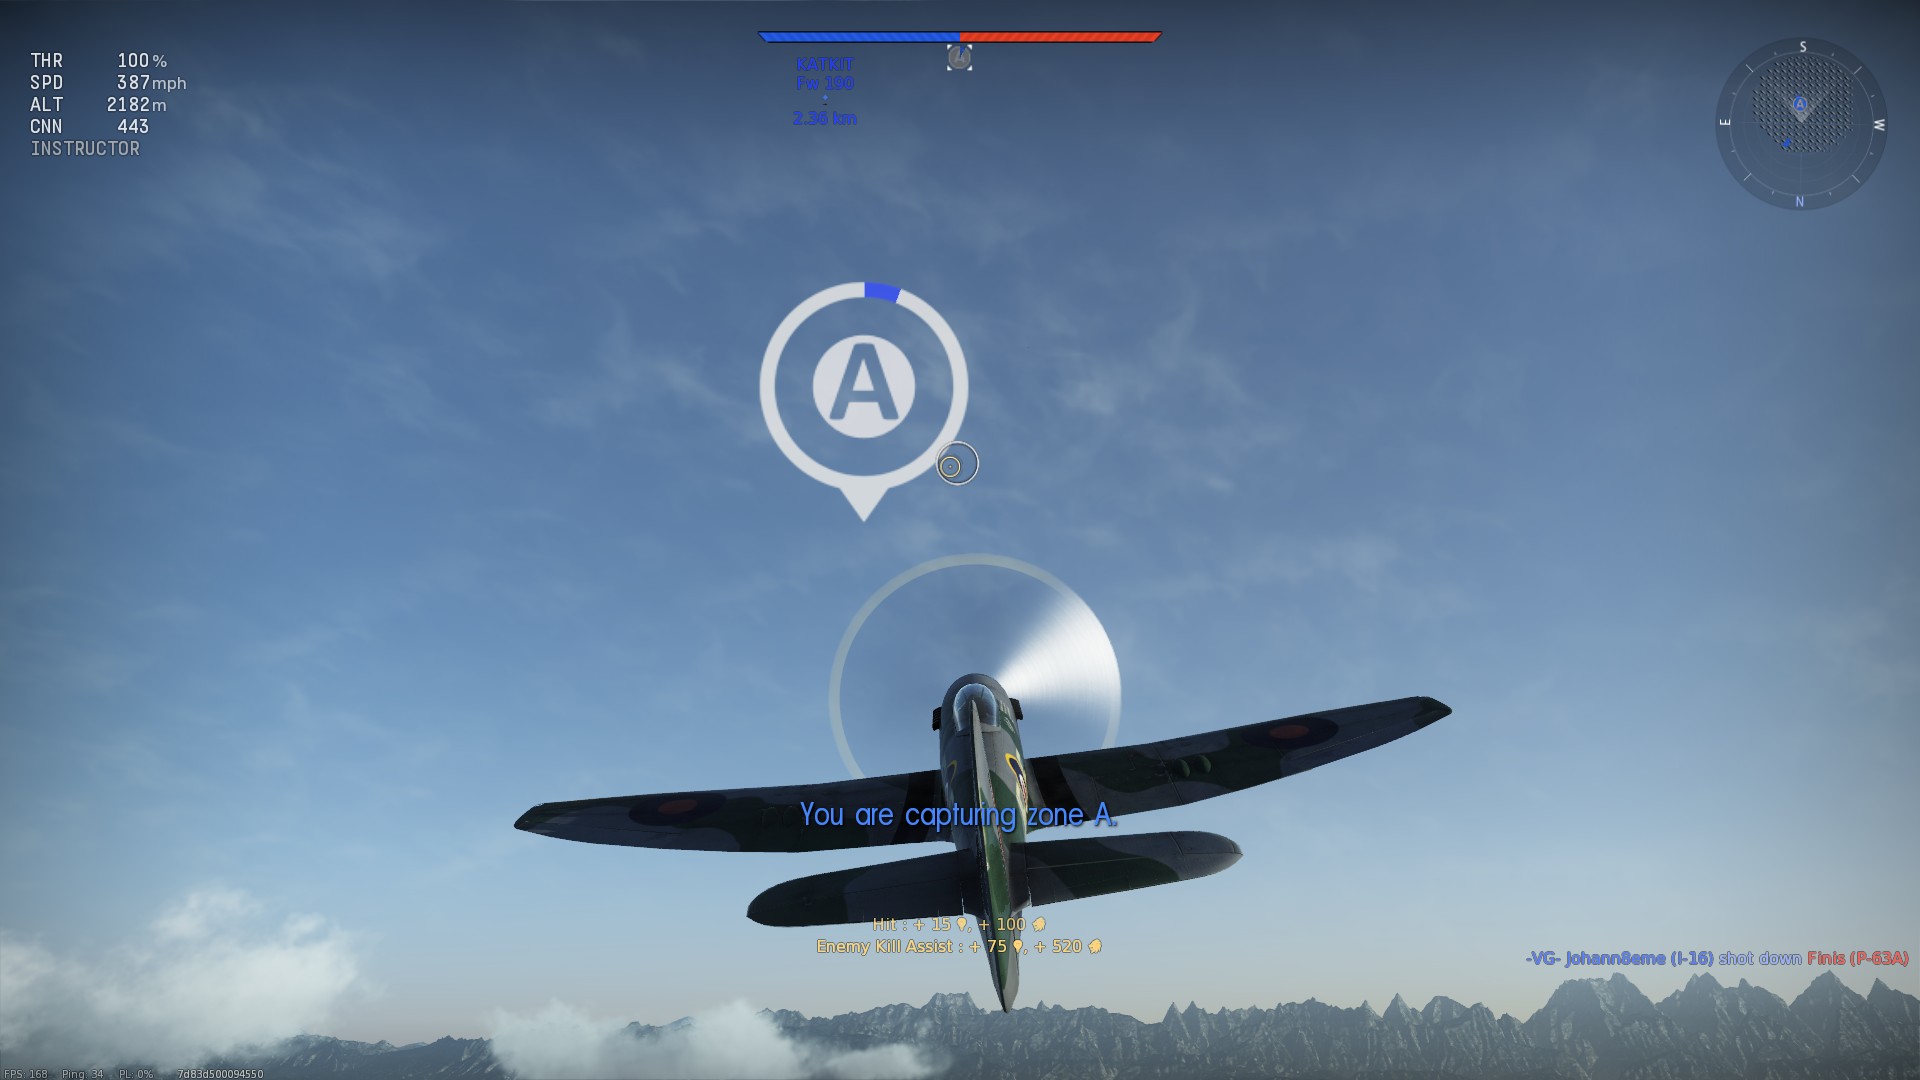
You are capturing point A!
In practise, Air Domination mode is a team deathmatch, usually a whirling maelstrom around the centre of the map, with zone capturing mostly happening when the enemy team is reduced to one or two stragglers. Matches can also finish if one team is completely wiped out, and there’s a 15 or 20 minute time limit, after which both teams lose if there’s no decisive result.
An important thing to note in Air Domination is that the capture zone does not extend to the ground, it starts at an altitude of around 800m. Dogfights tend to gravitate (quite literally) to low altitude, and occasionally one team can score a quick win if the entire enemy team gets fixated and dragged below or away from the capture zone. There’s also a maximum altitude, around 4,500m, so climbing off into space isn’t an option. A large message is clearly visible if one or other team starts to capture the zone.
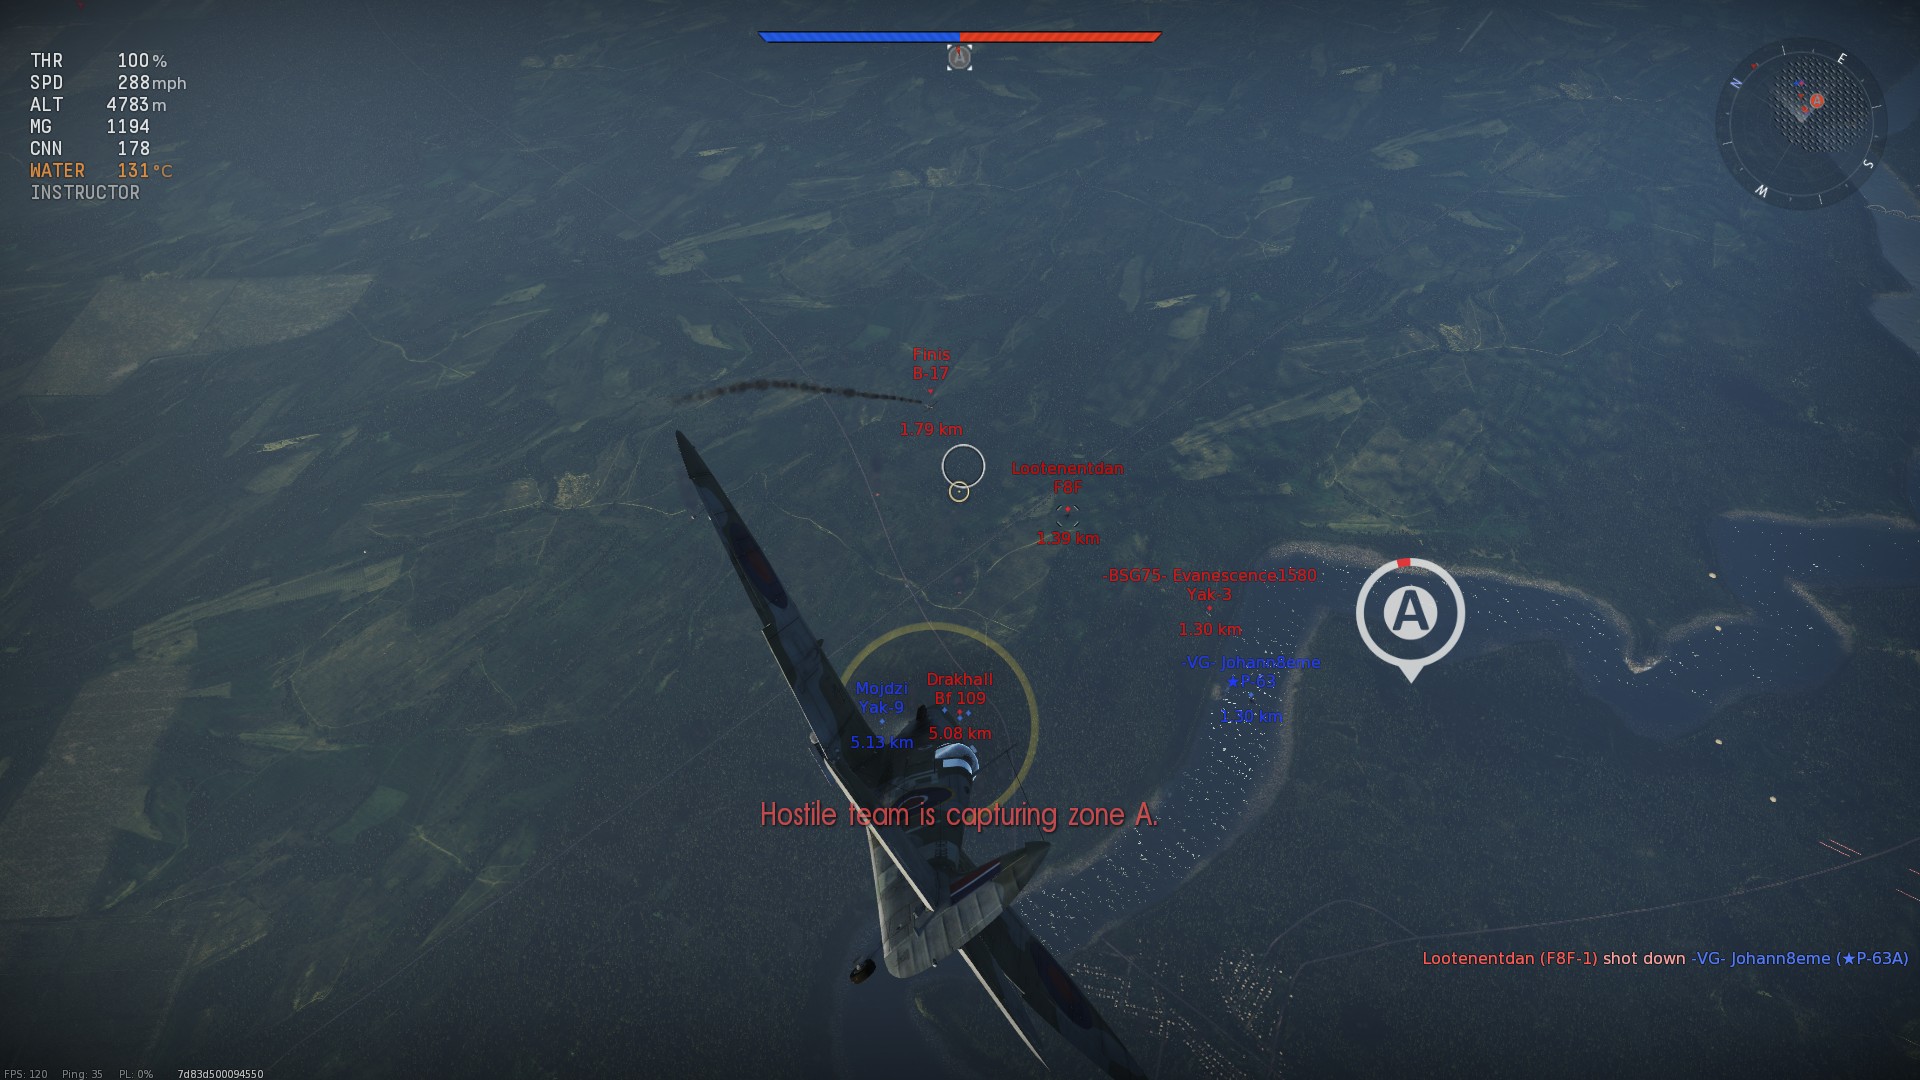
Hostile team capturing point A, better get down and stop them
There are no ground targets at all on Air Domination maps, a bit of an issue for bombers. With no choice over what game mode you’re placed into you, I’d suggest having a fighter or two (or at least an attacker) in your Arcade line-up just in case. If you do end up in an Air Domination game with a complete line-up of bombers then immediately quitting from the match is one option, but a little unfair on your team-mates; as your crew will end up locked anyway, unless repair costs are a big issue then you might as well at least throw yourself into the fray. Climbing up to high altitude is one option, especially if you can find a friendly fighter or two as an escort; bombers are such tempting targets that they make excellent bait for a trap, though it’s not so much fun being the bait. Diving away is another option, hopefully dragging away a gaggle of enemy fighters from the capture zone, though the long term prospects for survival are quite poor.
Flying fighters or attackers, diving straight into the middle of the capture zone is seldom the best strategy for long-term survival, though as long as you score a couple of kills you’ll be helping to whittle down the enemy team. Climbing tends to be a better option, perhaps slightly off to one side; keep an eye out for lone opponents you can pick off, but be sure to keep scanning around in case there’s a lurking ambusher. With sufficient height you should be able to dictate the terms of engagement, and “boom and zoom” to your heart’s content. If an enemy has height advantage over you, maintain enough speed to be able to manoeuvre and get your guns pointing at them without stalling, or at worst dive away to force them to either disengage, or lose their altitude advantage by following.
Try and stay close enough to the capture zone that you can get into it if the enemy start the capture process, but don’t feel that you have to stay in there all the time, thinning out the enemy ranks should be your main goal for the first part of the battle.
“You can practise high speed landings in Test Flight mode, until you’re feeling confident you might want to leave it to others to actually capture the airfield to start with.” : you’ve made my day.
how do I not get domination and air domination in arcade because even flying just the p 26 from the start only gave me air domination and domination and I would like to know what ground strike is
I’m afraid it’s entirely random, you just have to keep trying and eventually you’ll get a ground strike mission!