Arcade matches in War Thunder are frenetic fun, a hectic hodge-podge of helter-skelter Heinkels and harum-scarum Hurricanes, ideal for a quick blast of action, but if you’re in the mood for a slightly more in-depth match you might like to try a Historical Battle.
The are a few key difference between Arcade and Historical Battles. Perhaps most significantly you pick one aircraft, and can’t respawn if you crash or get shot down. Ammunition is also limited; the Magical Mid-air Resupply Pixies won’t arrive within 10-30 seconds with more bullets and shells, you have to return to base to rearm, and you don’t get the handy lead circle that shows where you need to be shooting to hit a target.
Aircraft handling is still nice and simple, you don’t need a joystick or head tracking software. You still have the benefit of the Instructor if flying with a mouse, so you can just point in the general direction you want to go (though by all accounts if you do use a joystick you can pull off fancier manoeuvres than mouse-wagglers, as the Instructor errs on the side of caution). You’ll need to be a little bit more careful than in Arcade mode, though, as there are some more realistic elements; if you go too fast in a dive, for example, your wings will fall off, rendering the aircraft somewhat less effective in combat.
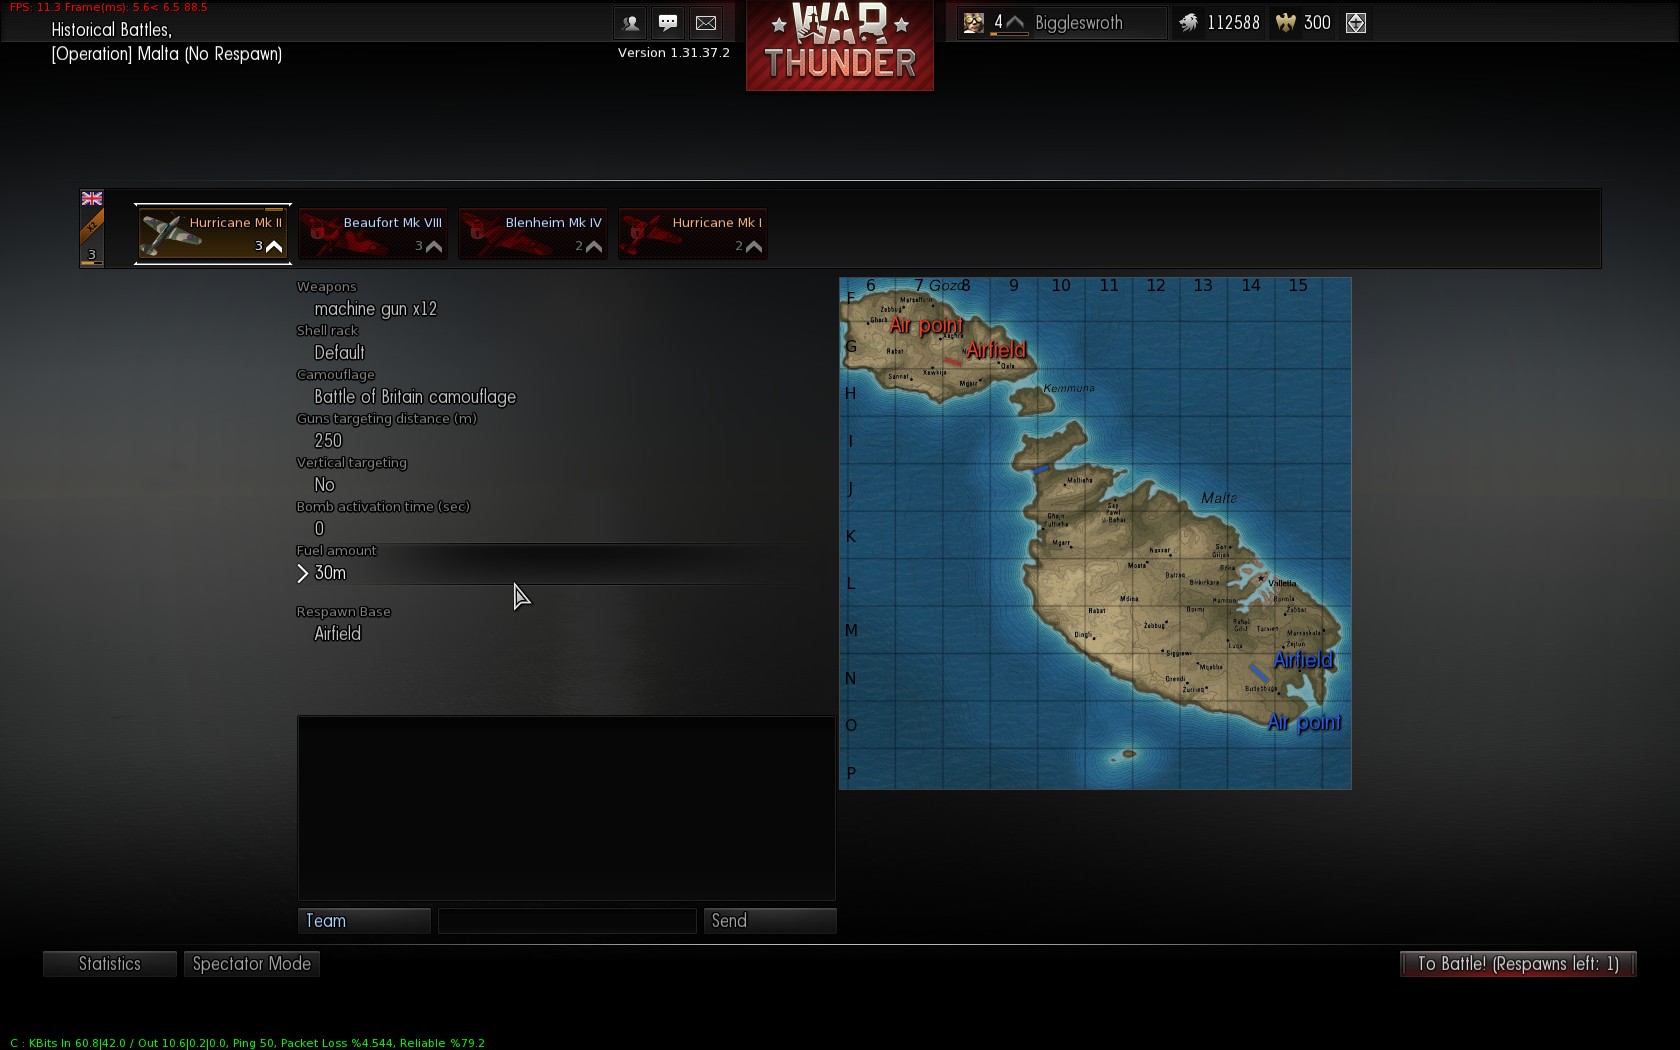
Aircraft Selection
Objectives vary between maps in Historical Battles. Some have tank columns and fixed emplacements, others have ships, a few have AI aircraft spotting or bombing ground targets; on all of them, though, you can also win by shooting down the entire enemy team, and that’s what happens the vast majority of the time in my experience. A couple of organised squads of bombers or attack aircraft, with suitable fighter cover, might be able to take out 50+ ground targets, but it’s not terribly likely in a random battle, so if queueing on your own I’d highly recommend taking a fighter along. The earliest I’d suggest joining would be with Rank 2 fighters like the Hurricane, Ki-43 or F2A-3 Buffalo (the I-153 Chaika can also do well, if an enemy is daft enough to get into a turning fight with one); significantly better options start coming in around Ranks 6 and 7, aircraft like the Bf 109 E and F, Spitfire II and Typhoon Ia, F4U Corsair, A6M Zero and Yak-1.
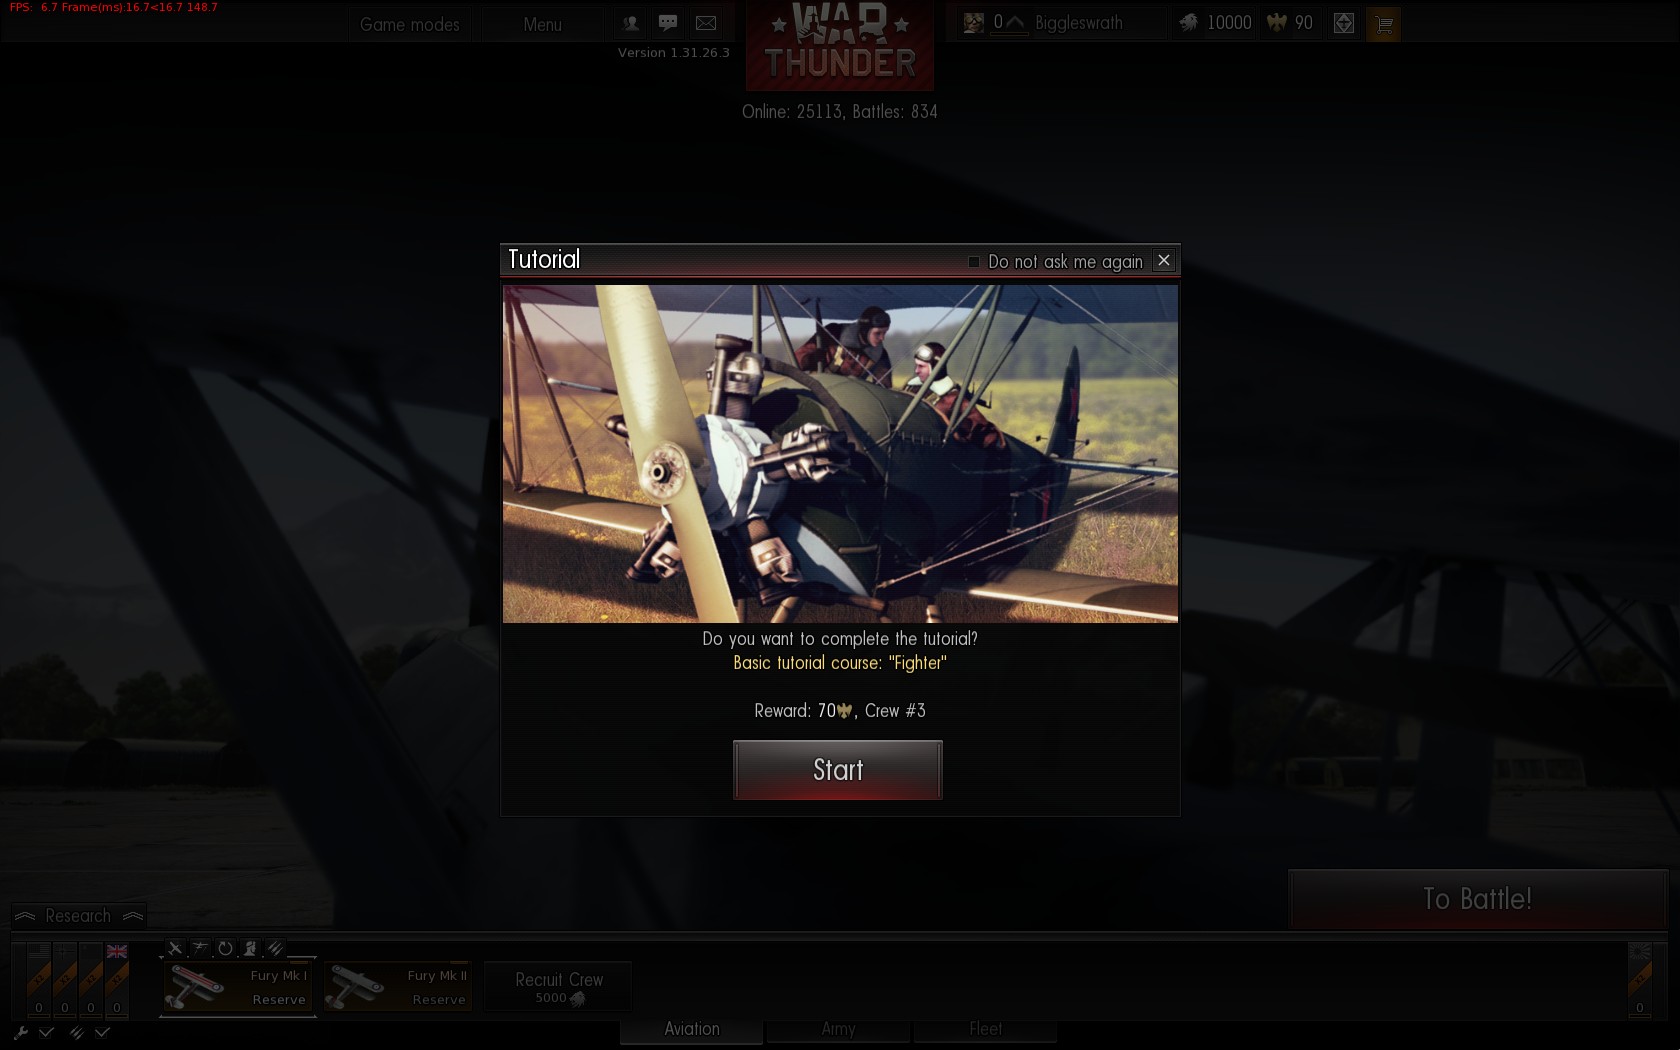
As you only take one plane into a Historical Battle they’re an ideal venue for premium planes like the Typhoon Ib, Fw 190 D-13 or the American versions of the Bf 109 F and Spitfire IX. You don’t need to worry about the levels of the rest of the hanger, or even be the same level as the plane, you can buy a Rank 14 Fw 190 and take into a Historical Battle right after the tutorial, but I really wouldn’t recommend it, get a bit of experience first!
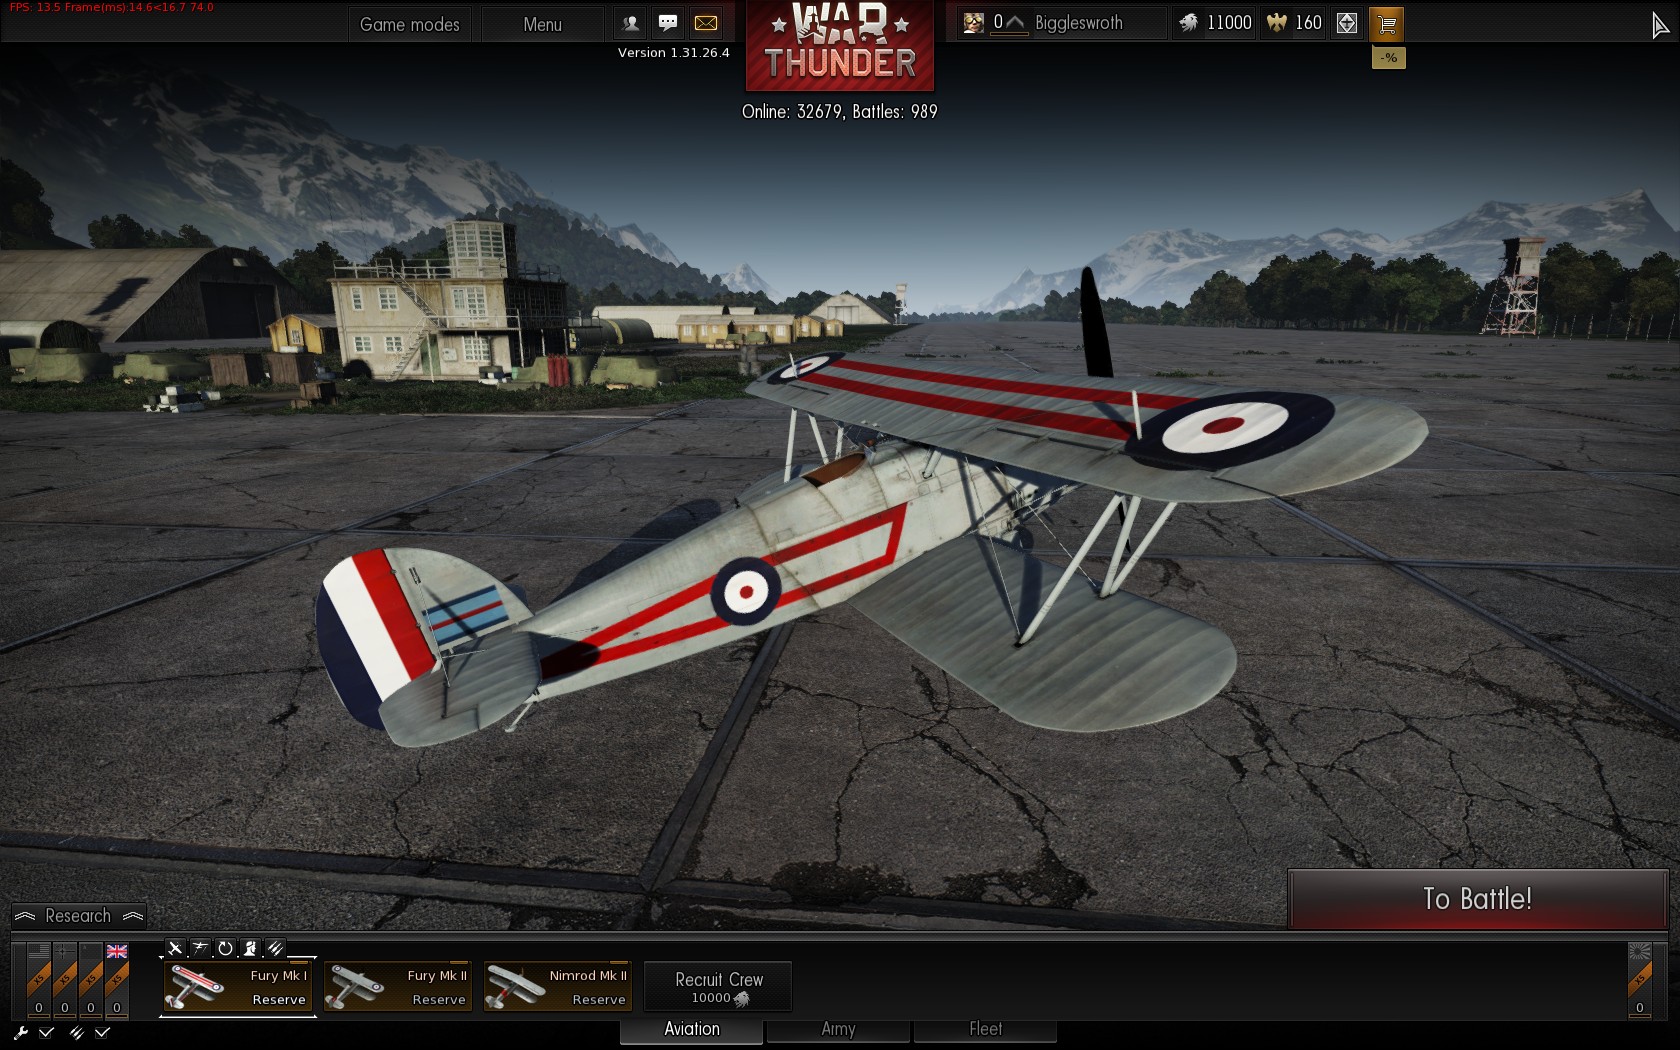
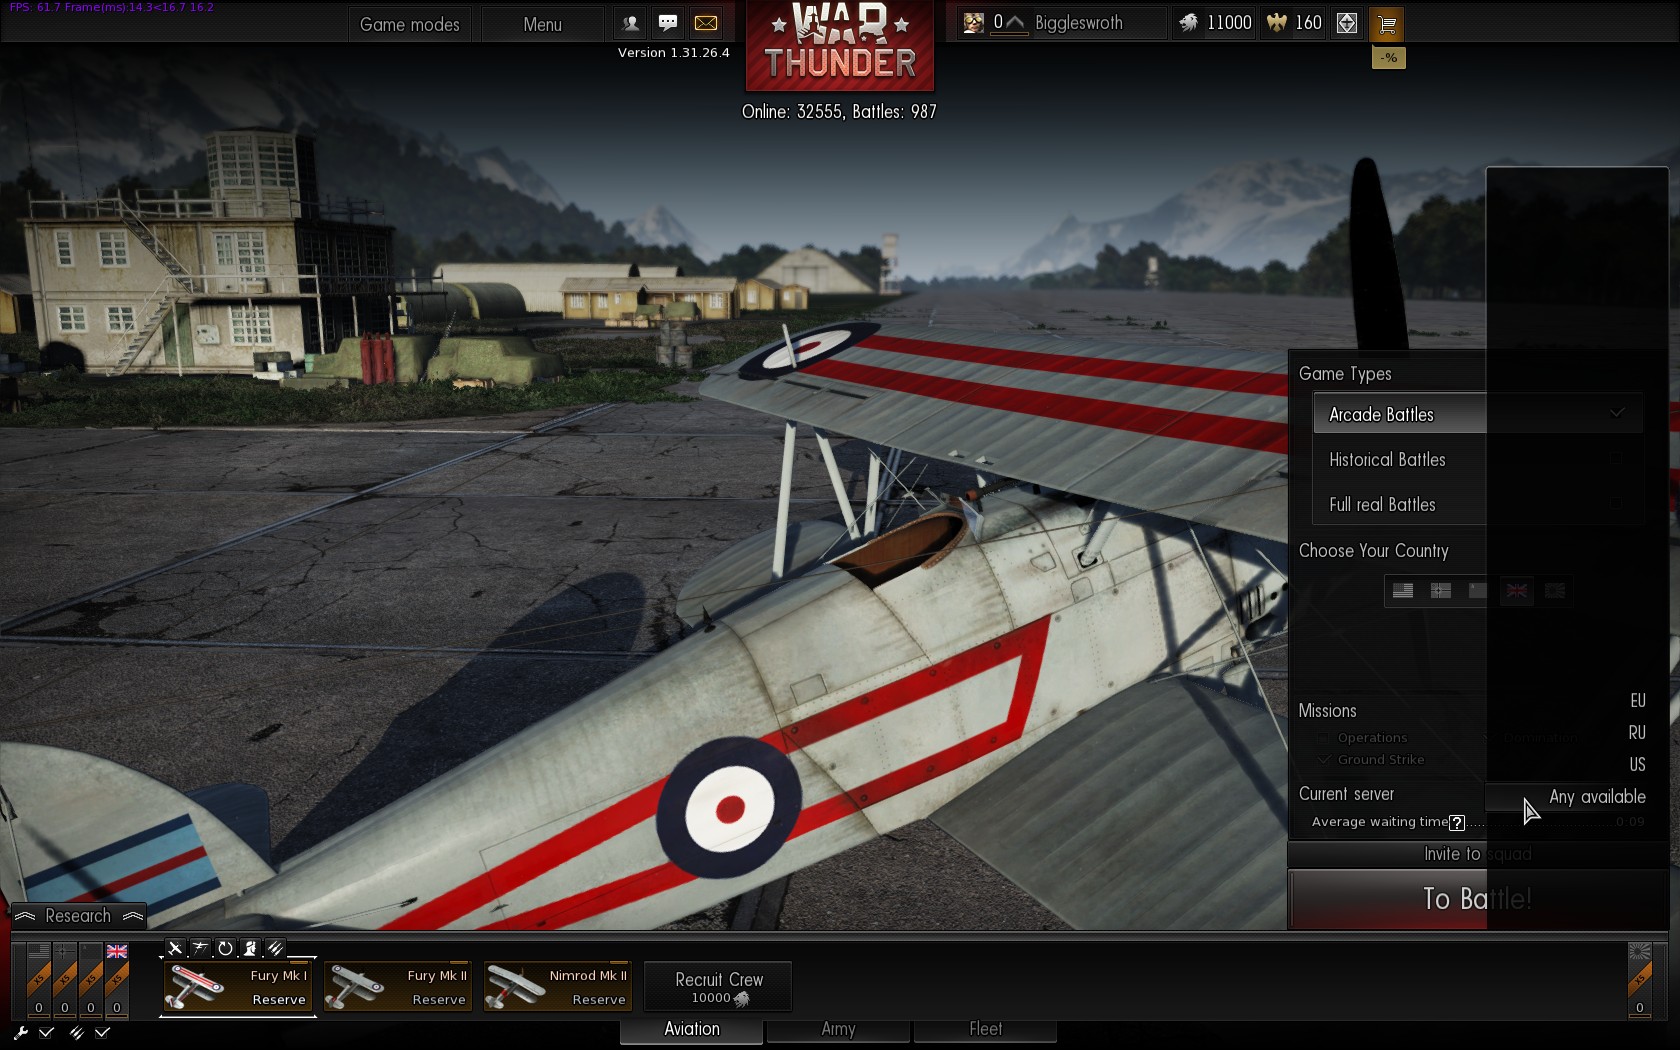
Whichever aircraft you pick, make sure you have it selected in your hanger, then hover over “To Battle” and select “Historical Battle”, and click the button!
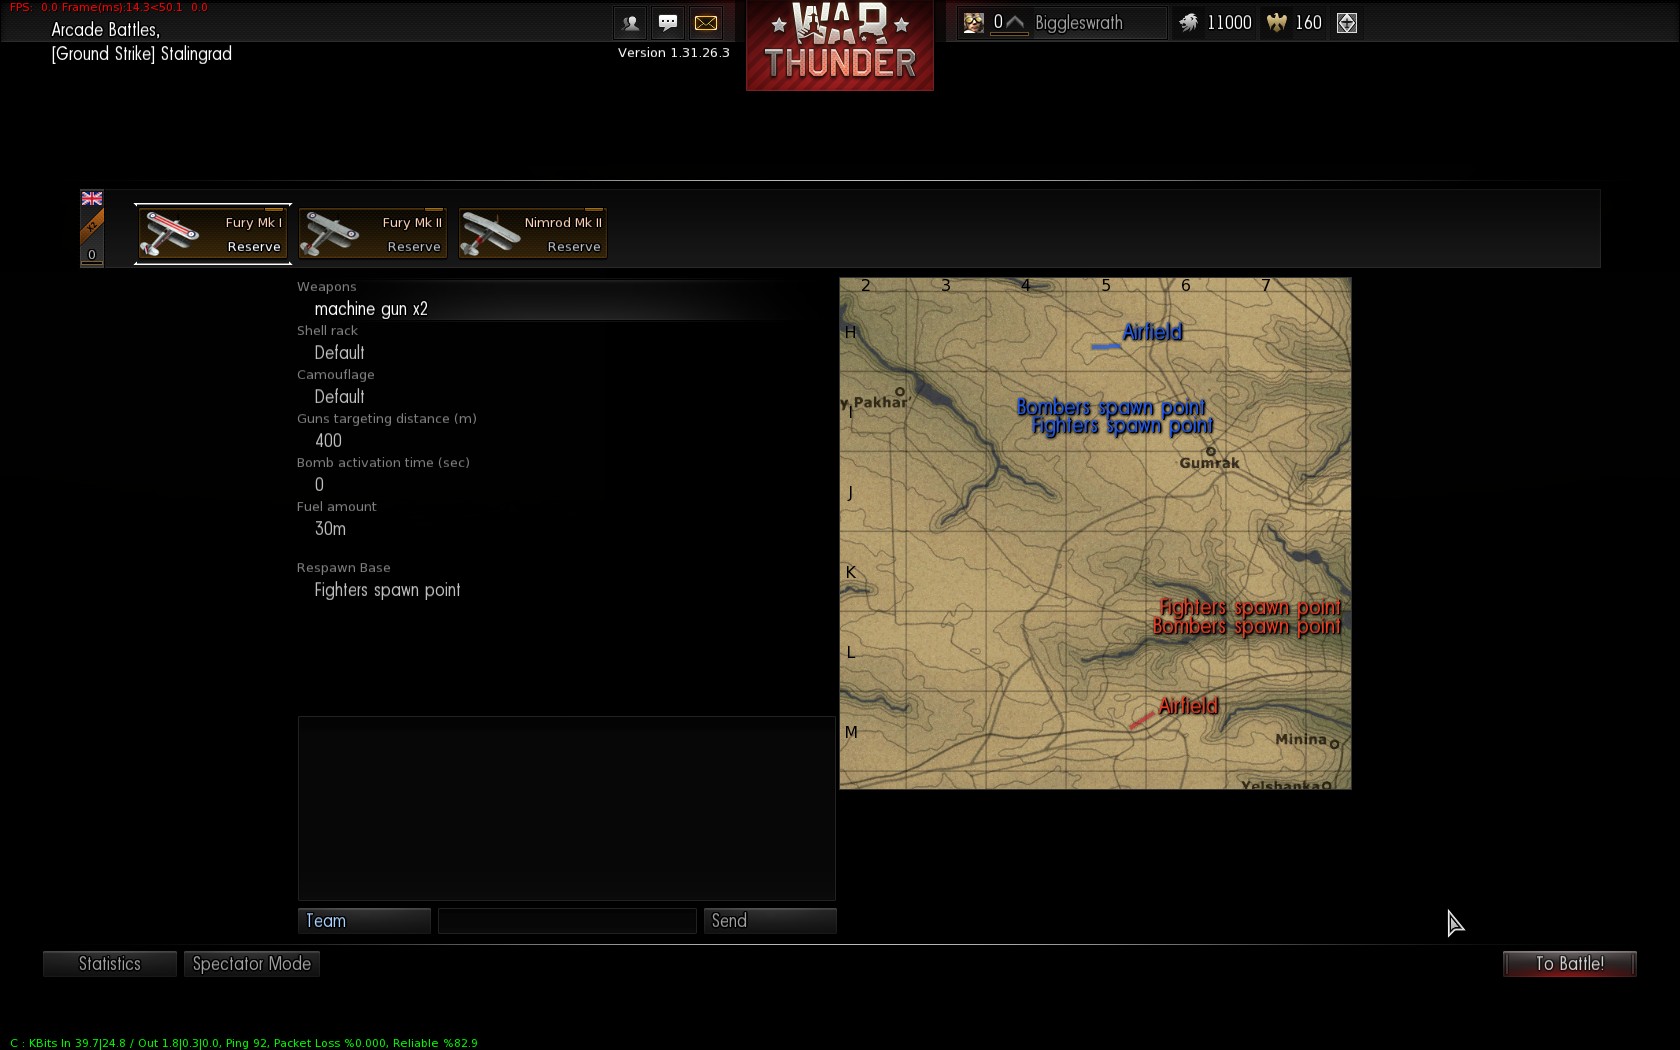
Adjusting weapons and fuel
At the start of the battle you get the familiar screen showing the map you’ll be fighting over and your selected aircraft, with the others disabled (if you picked the wrong one before hitting “To Battle” it’s too late now). You might want to make a few tweaks on this screen; if flying a fighter, then under “Weapons” I’d suggest sticking to guns only and not loading any bombs or rockets, lugging around bombs will hurt your performance in the (usually) decisive aerial engagements. I’d also suggest setting the Gun Targeting Distance to 200m or 250m; see this wiki page for the technicalities of what the setting does, you’ll usually be shooting at short range. Finally, you may like to set the Fuel Amount to about 30m; the lighter the load the better the performance, but Historical Battles can last a good while.
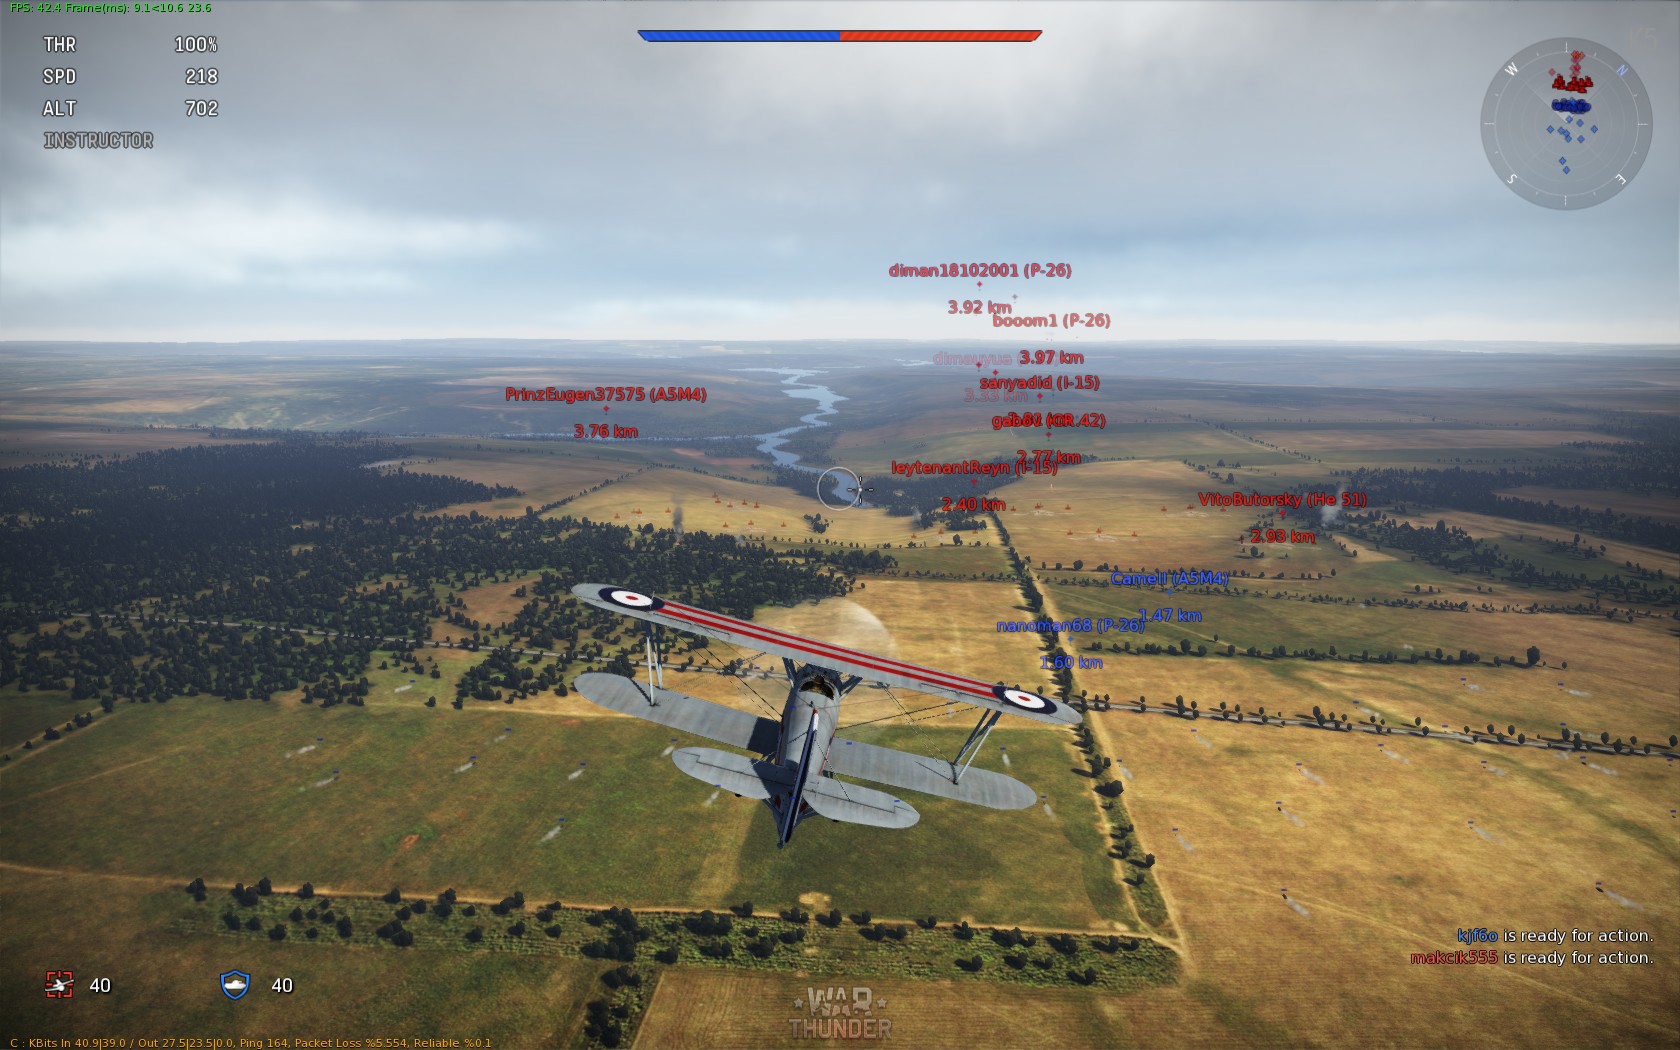
TAKE OFF EVERY ZIG
When you first select “Historical Battle”, if you haven’t completed the Take Off and Landing tutorial then the game will prompt you to do so (tutorials are also available under “Game Modes” if you want a bit more practise). Unlike Arcade mode, fighters start off on the ground in most Historical Battle maps, so you’ll need to master taking off to get into battle. Fortunately this isn’t too much of a challenge: max the throttle, leave runway when fast enough, the game even raises your landing gear automatically (or it’s ‘G’ as the default key, if you insist on doing it yourself). With a whole bunch of aircraft taking off at the same time things can get rather messy, but thankfully there’s no collision detection on the runway; be very careful as soon as you’re in the air, though.
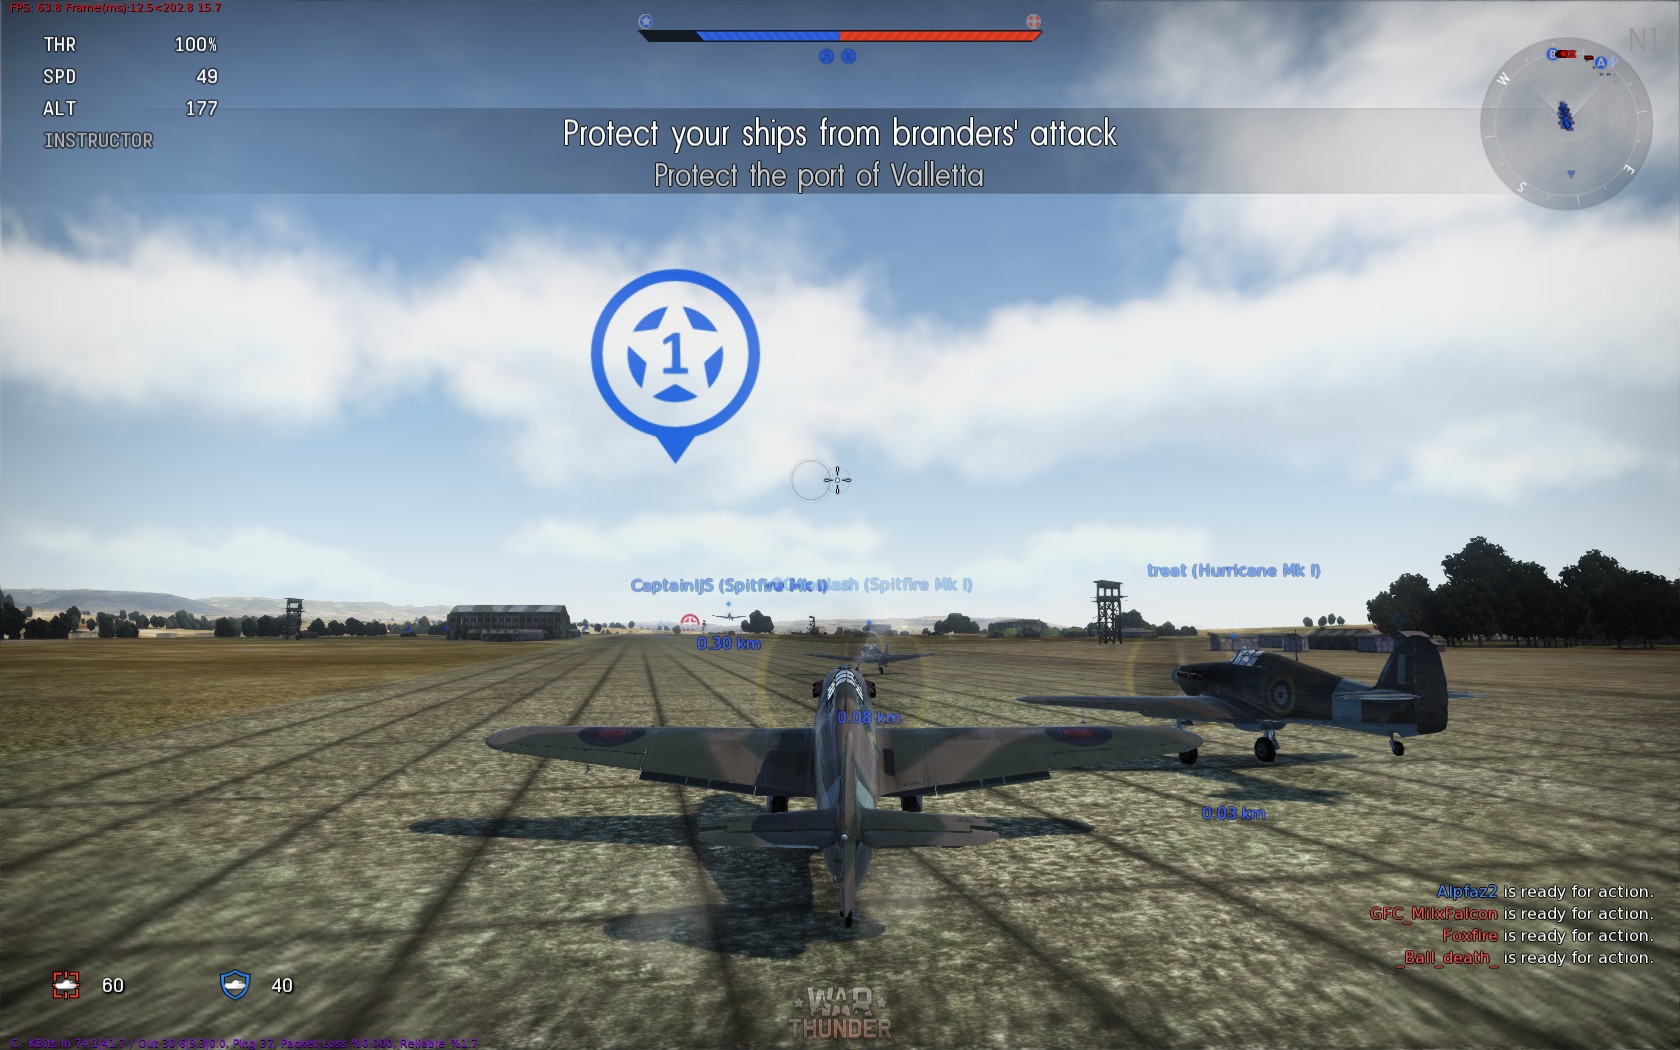
‘Scuse me, pardon me, coming through, ‘scuse me
Such Great Heights
Once in the air, start climbing. When you bump into the enemy, whoever is higher up can dictate the terms of the engagement; you don’t want to get bounced by bandits. It’s a lot easier to dive than climb, if it turns out the entire enemy team is at low altitude you can always dive down on them, just remember if plummeting a few kilometres to keep an eye on the speed so your wings don’t fall off (cut the throttle right down, and *gently* ease off the dive if the screen starts shaking).
While climbing have a look around; teamwork is absolutely crucial, don’t head off on your own or you’ll be easy pickings. Hopefully there’ll be a gaggle of fighters you can tag along with, if your team insist on adopting Starburst Formation and all heading off in different directions at least try and find one or two in similar planes and stick with them if they look like they know what they’re doing (though if they’re doing the same thing you’ll just fly circles around each other; if you’re still over your own airbase after half an hour maybe reconsider this strategy).

Up, up and away!
If you’re in a plane with good climbing performance, like the Bf 109, you can afford to head straight towards where the enemy will probably be (usually somewhere in the middle of the map); if you suspect the opposition have superior performance you might want to take a more circuitous route to get to a reasonable altitude before heading for the enemy. What could be considered a reasonable altitude depends on factors like the composition of the two teams and the layout of the map, usually somewhere from 3,000 – 7,000m (10,000 – 25,000 ft).
So far there’s one map where climbing might not work out: Berlin, where the allies need to destroy 21 light pillboxes to win. If a bunch of rocket/cannon armed attack aircraft and fighters make a beeline for the pillboxes they can clear them out in short order, it’s the only map that I’ve personally seen end before one team loses all its aircraft or has to return to base to rearm, though others may be introduced in the future.
Ticking away the moments that make up a dull day
It’ll take a few minutes to get into combat; you can have a bit of a chat with the team, if you share a common language, and formulate some advanced strategies like “Hey! Let’s try and shoot the enemy with guns and stuff!” You can get an idea of what you might be up against by pressing ‘Tab’ for a list of combatants. Unlike Arcade, you won’t see the exact make and model of your opponent’s aircraft, but the icons give a general idea: orange = fighters, pink = naval fighters, blue = bombers, green = attackers, the silhouettes show whether they’re single or twin engine, and bomb/rocket/torpedo icons show whether they’re packing ordnance. (Patch 1.35 update: you no longer see aircraft type icons for the opposing team.) You could alt-tab and browse the web, but that’s a bit dangerous, you might get so engrossed in a Wikipedia article about the 1913 South Lanarkshire by-election you forget to alt-tab back and end up as a particularly easy kill. If you have a hobby that can be done in three minute chunks in front of a PC that would be ideal, or you could always go and make yourself a weak lemon drink. Either way, after a little while you should see some red dots on the screen, and then…
It’s clear it’s boom time, boom boom
Most of the action in Arcade battles is at low level; capturing or defending airfields, strafing ground targets, crashing to the earth in a blazing fireball. With the extra space and time in Historical Battles, air combat manoeuvres play a bigger part. One technique to be particularly aware of is hit and run, or “boom and zoom”. The essence is: start off higher than your opponent, dive onto them at speed, open fire (the titular “boom”; shouting “I’M THE BOOM KING” is optional), then speed away, usually back to higher altitude, before they can return fire (that’s the “zoom” part; you can sing “zoom zoom zoom“, if you like). Obviously that’s the simple version, have a browse of the Tactics section of the wiki if you’d like some more details, or enjoy a full four part article at SimHQ with plenty of graphs n’ stuff.
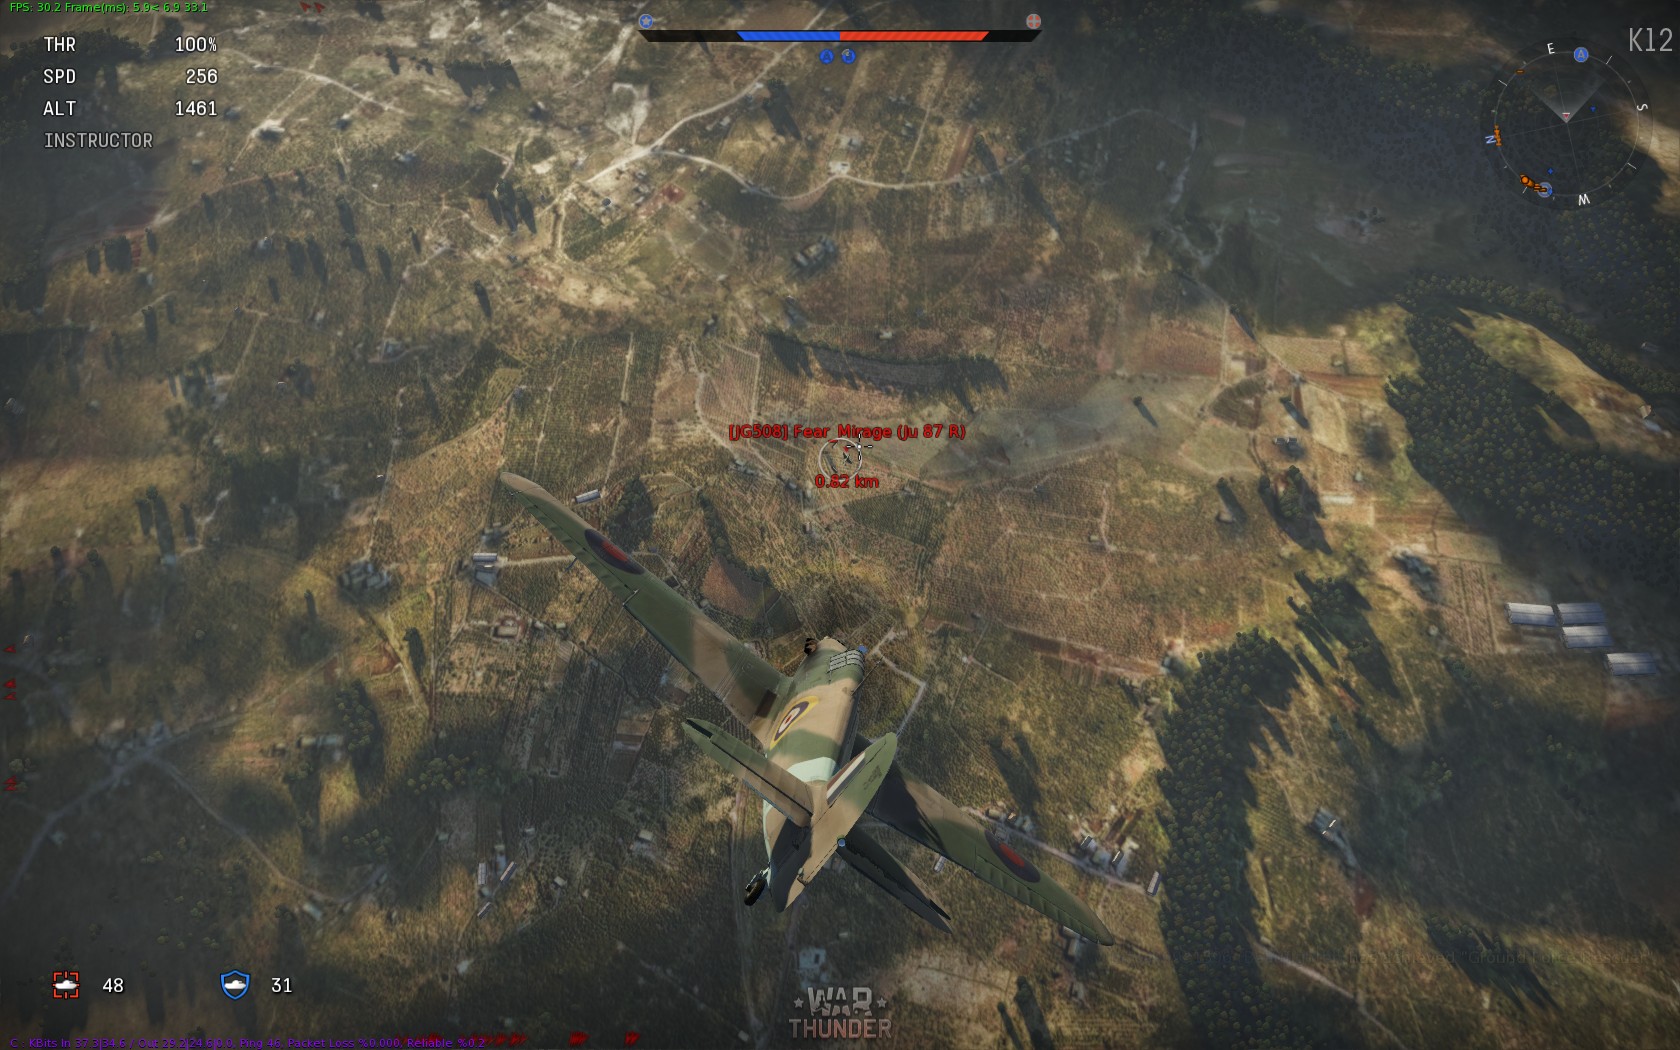
You like boom, I like boom, enough small boom let’s boom the boom
In the perfect scenario the defender isn’t even aware he’s under attack until his plane explodes; with ‘radar’ and target highlighting this is unusual in Historical Battles, but not entirely impossible, especially if the attacker is coming out of the sun. Even if the defender is aware of the threat there isn’t a massive amount they can do; turning into the attacker is generally the best way of trying to avoid the ‘boom’, but unless the attacker cocks it up then the best the defender can hope for is a quick snap shot before the attacker is out of range, back at higher altitude. Boom and zoom tends to be the preferred strategy when facing a more manoeuvrable opponent, avoiding a turning fight in which they have the advantage, hence the importance of climbing at the start of a fight: you either want to hit and run yourself, or if you’re more manoeuvrable you want to make sure you’re not being bounced.
The Battle is Joined!
Without turning this into a multi-volume epic it’s not really possible to offer detailed guidance on the best tactics for every plane in the game; if you’d like to know how best to handle a certain aircraft, which aircraft fit a certain style of play, or how to pull off various manoeuvres have a browse of the Wiki, or search for “War Thunder tactics” on YouTube, or ask the nice people on the forums or Reddit.
A couple of general points, though. Don’t just rush off straight towards the first target you see, especially if it’s at much lower altitude; keep your eyes open and look out for the rest of the enemy team (hold ‘C’, by default, to look around with mouse; do that a *lot*). Try and stay fairly close to the rest of your team so you can cover each other, but not so close that you risk a collision, be very careful if piling in on an aircraft someone else is attacking. Let your team know when you’re attacking (‘T’, ‘-‘ for “I’m attacking (target)”), and call for help if under attack (‘T’, ‘4’ for “Cover me!”); equally keep an eye out for other people calling for cover (their name will flash, if you can see them) and help if you can, but if they buggered off on their own, are 10km away from anyone else on the team and spamming “Cover me!” every five seconds then sod ’em.
With ammunition being limited, rather than blazing away at anything within about a kilometre it pays to make every shot count, only fire if you’re (fairly) sure of a hit, the closer the better (I tend to start around 200-250m if possible, hence that setting for Gun Targeting Distance). Without the handy lead circle of Arcade mode high deflection shots are tricky; if you’ve played a lot of Arcade you might be able to remember roughly where you need to shoot in various circumstances, a brief speculative shot now and again can pay off, but don’t waste too much ammunition.
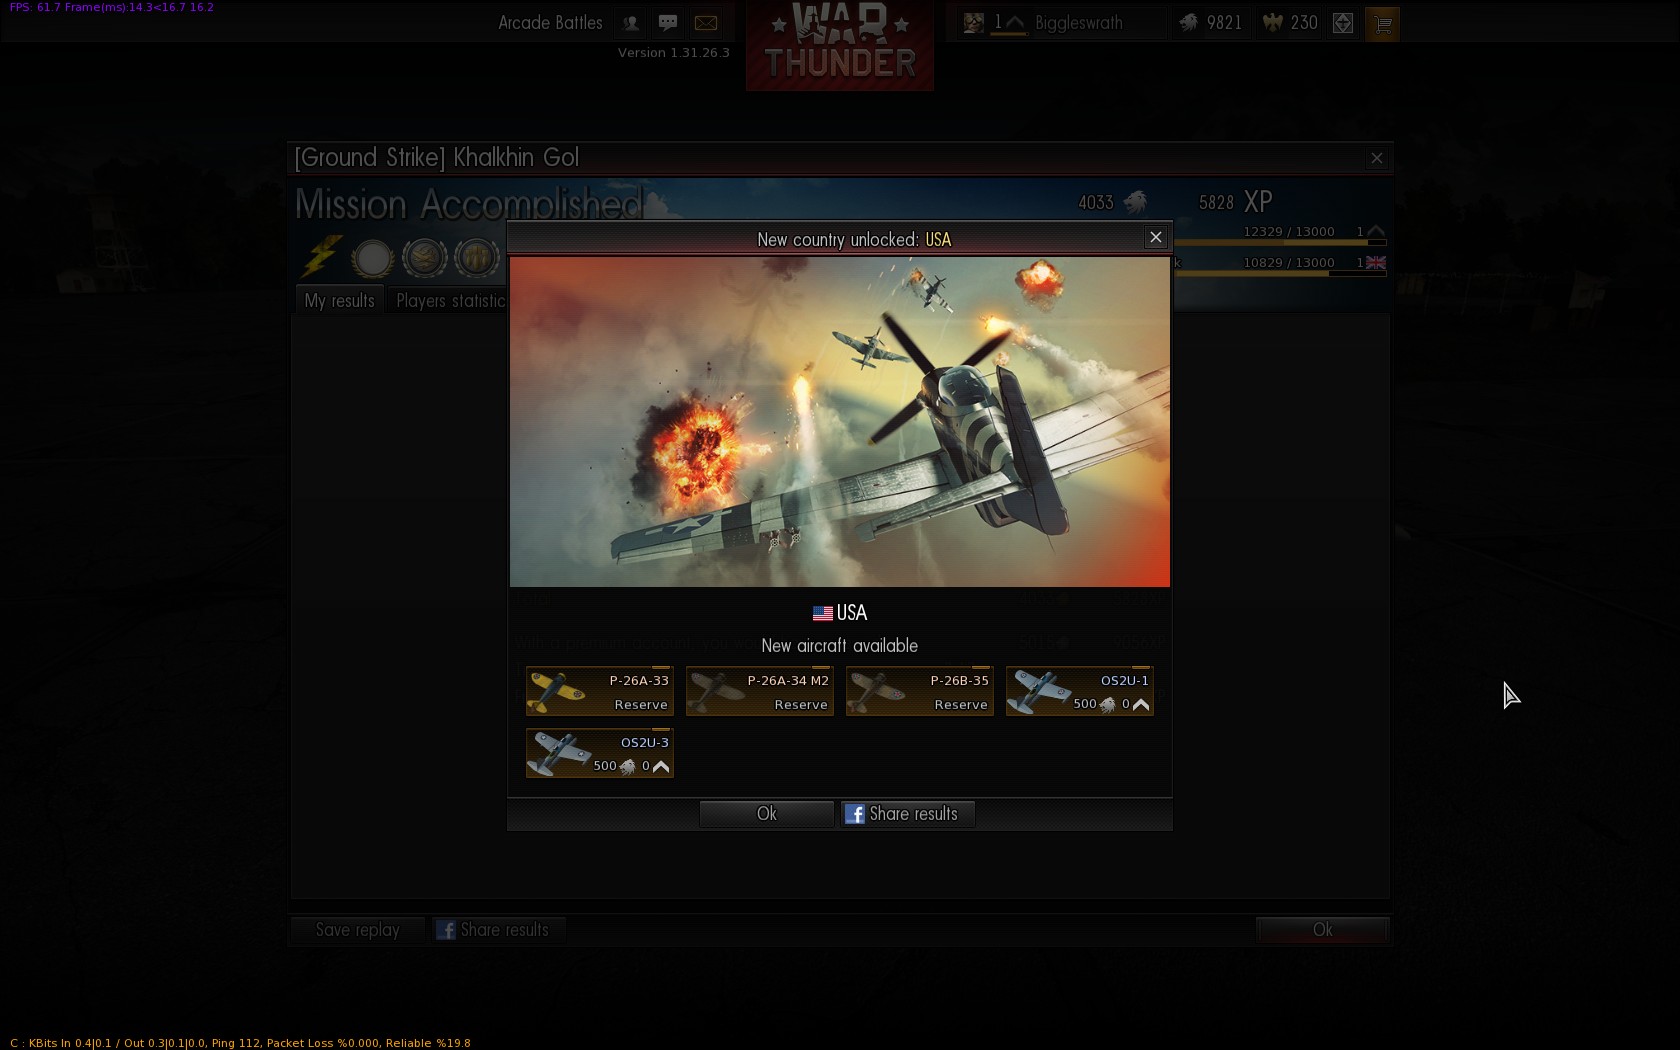
You might well get shot down, possibly without even without landing a hit on an opponent; rather frustrating after all the time taken to get into battle in the first place, but such is life. To add insult to injury, you’ll probably end up out of pocket if you pay to repair the aircraft straight away; I always have automatic repairs turned off, so you can make the decision of whether you want to take that hit and get back for another battle, or leave the aircraft repairing over time and take something else out for a flight.
If you’re still alive, that’s a triumph. If you’re still alive and managed to shoot something, that’s not only a triumph but also a huge success. If you’re undamaged and still have some ammunition go find something else to shoot, otherwise it’s time to return to base.
Bringing It All Back Home
If you’re under no threat, have a nice leisurely little flight back to your home base. If you’re out of ammo and need to extricate yourself from combat then diving and pushing the throttle up to 110%/WEP can be enough to open up a gap to get to safety (try and point yourself towards home in the dive), if you’re already at treetop height then you probably need to jink around and hope your opponent misses a lot, call for cover and/or have a much faster plane… Airfields are protected by ack-ack guns that are more effective in Historical Battles than arcade, if an enemy does chase you then they may well break off as you get close to your airfield, if they’re aggressive enough to press home the attack then evasive manoeuvres over the base might give the gunners enough of a chance to bring them down.
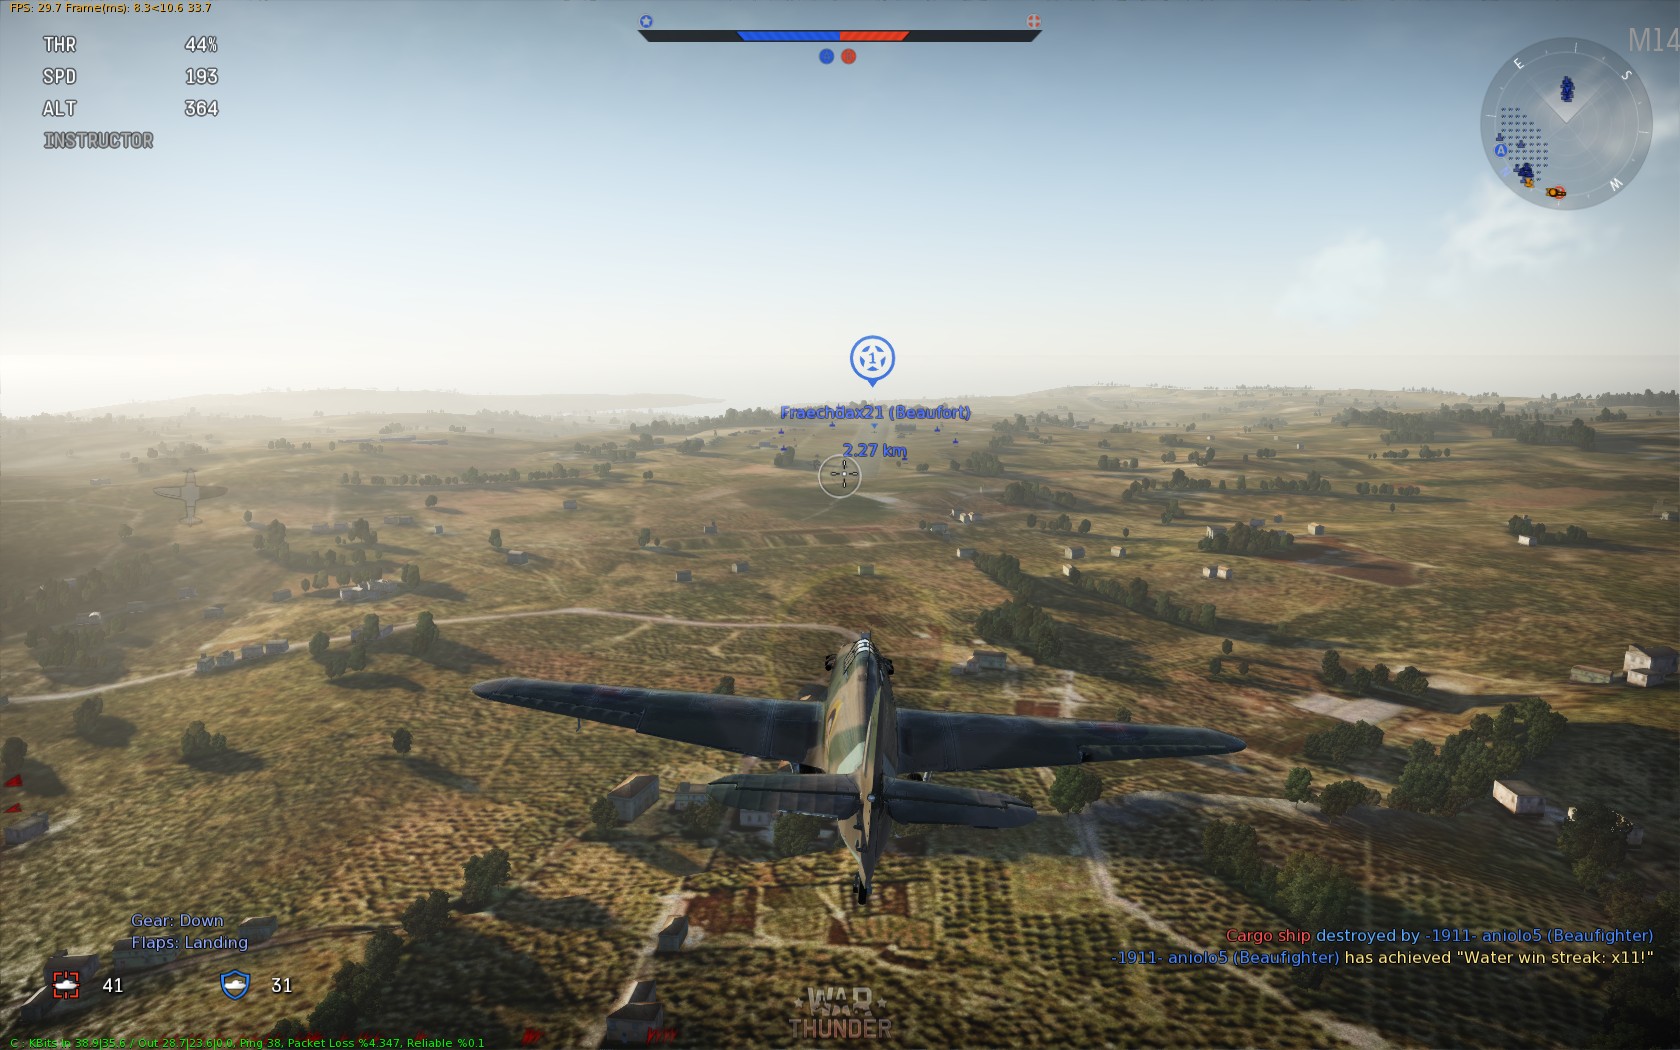
There are three simple rules for making a smooth landing. Unfortunately, no one knows what they are.
When safe to do so, carefully land as per the tutorial: line up on the runway nice and early, gradually reduce throttle, deploy flaps (‘F’) and lower landing gear (‘G’), lovely. If you’ve taken damage then the controls probably won’t be as responsive, you’ll need to be particularly gentle and careful in the approach. It’s well worth practising landing in general in the tutorial, and also via the “Test Flight” option in the hanger for specific aircraft to get an idea of the sort of speed you’re aiming for (just above stall speed as you touch down) and the general handling; I should probably have mentioned that before you started the fight… Once on the deck, apply brakes (by default the Throttle Down key), but make sure you release them if your tail starts coming up, you don’t want to dig the runway up with your prop.
All being well you come to a nice gentle stop, and within about 30 seconds you’ll be repaired and rearmed and automatically placed back at the start of the runway to get back into the air. Don’t panic too much if you do nose over, or slightly misjudge the landing speed and slam in to the ground a bit hard, even quite serious damage can be repaired in a minute and a half or so, though it’s a bit variable; sometimes what seems to be a flaming wreck can be repaired, other times seemingly less serious damage will end your game. Take off again, and repeat until either you or the entire opposing team have been shot down!
Ground Attack
Most of this post so far has been about air combat, as that’s the deciding factor in the majority of Historical Battles, but as the battle progresses and things break up then strafing a few ground targets brings in a bit of cash and XP if nothing else. Be very careful at low level, especially around dense concentrations of enemy anti-aircraft units, you can easily be brought down with a single hit; try not to fly slowly in a straight line any longer than you have to. I’ve been in a battle where the enemy was down to one damaged plane that returned to base and repaired, we had three or four planes left that decided to take out some ground targets, and all of them were shot down by flak, much to the opposition’s amusement. If you want to be a bit more serious about ground attack, and your aircraft can fit bombs or rockets, then when you return to base, after you’ve landed are are *fully* repaired, you can leave the aircraft (either via the ‘Esc’ menu or by holding down ‘J’), and you’ll return to the initial aircraft selection screen, where you can change Weapons, Fuel and, if you’re bored of your paint job, Camouflage before going back to the fight.
I think that covers the basics; if the longer build-up isn’t for you or you just want a quick blast then there’s always Arcade, and if Historical Battles are still too simplified then there are Full Real Battles, but I find them a nice balance.